Material Guide & How to Tie a Necklace Sliding Knot That Lasts
Master how to tie a necklace sliding knot with our cord buying guide. Compare friction rates, thicknesses, and materials for adjustable jewelry.

The Anatomy of a Perfect Sliding Knot
Adjustable necklaces are a staple in modern jewelry design, offering a custom fit without the need for complex clasps or chain extenders. However, the mechanism relies entirely on friction. If you have ever wondered how to tie a necklace sliding knot only to find it slips loose or refuses to glide, the issue rarely lies in your technique—it lies in your material selection. As of 2026, the market is flooded with advanced synthetic and natural cords, but understanding the physics of cord texture is the true secret to a lasting slider.
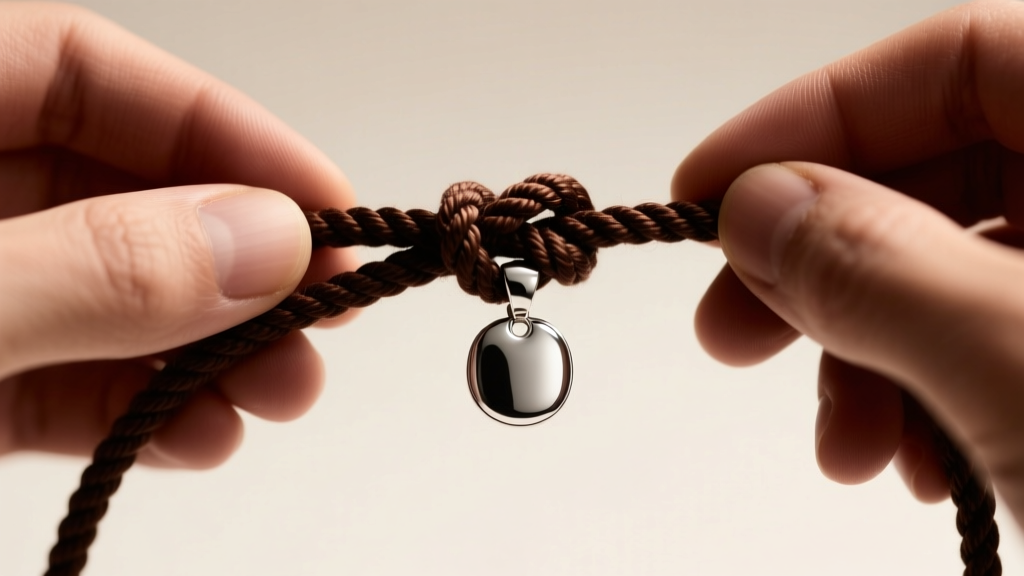
A sliding knot (often a macrame square knot or a barrel wrap knot) requires a delicate balance between static friction (which holds the knot in place when resting) and kinetic friction (which allows it to slide when pulled). According to jewelry fabrication experts at Ganoksin, selecting a cord with a friction coefficient that is too high will cause the knot to bind and snap under tension, while a coefficient that is too low will result in a necklace that slowly loosens throughout the day.
Friction vs. Slip: The Science of Cord Textures
Natural fibers like hemp and unwaxed cotton possess microscopic barbs that create immense static friction. While they hold a knot securely, they make adjusting the necklace a frustrating, skin-pinching experience. Conversely, extruded synthetics like pure silk or smooth nylon offer buttery kinetic friction but lack the 'bite' required to hold a heavy pendant in place. The solution? Surface treatments and specific braiding patterns.
Cord Material Buying Guide: What to Look For
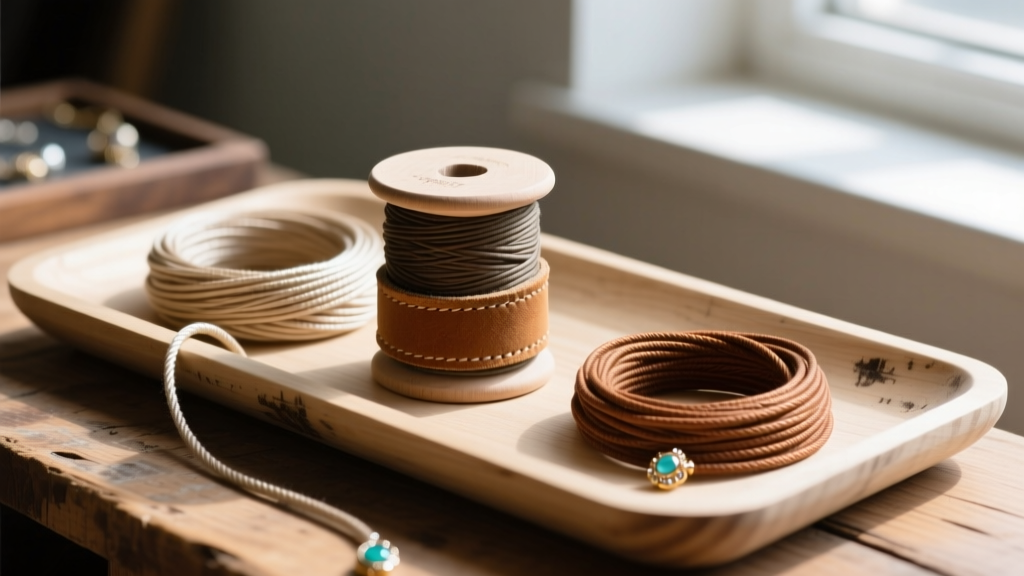
When shopping for cord to learn how to tie a necklace sliding knot, you must evaluate three metrics: material composition, thickness (gauge), and surface treatment. The ideal thickness for a sliding knot is between 1.0mm and 1.5mm. Cords thicker than 2.0mm create bulky, stiff knots that resist sliding, while cords thinner than 0.8mm lack the surface area required to generate adequate friction and can cut into the wearer's neck.
| Cord Material | Ideal Thickness | Friction Profile | Best Use Case | Est. Price (per 10m) |
|---|---|---|---|---|
| Waxed Cotton (Linhasita) | 1.0mm - 1.5mm | High Static / Med Kinetic | Heavy pendants, everyday wear | $8.00 - $12.00 |
| Suede Leather | 1.5mm - 2.0mm | Medium Static / Low Kinetic | Boho styles, lightweight charms | $15.00 - $22.00 |
| Nylon S-Lon (Super-Lon) | 0.8mm - 1.0mm | Low Static / High Kinetic | Micro-macrame, bead weaving | $5.00 - $9.00 |
| Hemp (Polished) | 1.0mm - 1.5mm | High Static / High Kinetic | Eco-friendly, rustic designs | $6.00 - $10.00 |
| Satin Silk Cord | 1.5mm - 2.0mm | Very Low Static / Very Low Kinetic | Fine pearls (knotting, not sliding) | $18.00 - $30.00 |
For the most reliable sliding knot, waxed cotton remains the industry gold standard. The wax coating fills the microscopic gaps in the cotton braid, providing a smooth glide while the underlying cotton core maintains structural grip. Brands like Beadalon and Griffin offer pre-waxed options that eliminate the need for manual conditioning.
Step-by-Step: How to Tie a Necklace Sliding Knot
Once you have procured the correct 1.0mm waxed cotton or nylon cord, you are ready to execute the knot. The most secure and aesthetically pleasing method is the Square Knot Slider, which encases both cord ends in a symmetrical, flat barrel.
Phase 1: The Overhand Anchor and Setup
- Cut a 12-inch piece of cord to serve as your 'knotting cord'.
- Lay your two main necklace cords parallel to each other, overlapping by about 3 inches.
- Place the center of your 12-inch knotting cord underneath the parallel cords, creating a 'U' shape.
Phase 2: The Wrapping Technique
This is where precision matters. According to supply specialists at Rio Grande, maintaining consistent tension during the wrapping phase is critical to prevent the knot from warping.
- Take the right side of the knotting cord and pass it over the two main cords, then under the left side of the knotting cord.
- Take the left side of the knotting cord and pass it over the two main cords, then thread it through the loop created on the right side.
- Pull both ends gently to snug the first half-knot against the parallel cords.
- Reverse the process: Left cord over the mains and under the right; right cord over the mains and through the left loop.
- Repeat this alternating square knot pattern for exactly 5 to 7 wraps. Fewer than 5 wraps will cause slipping; more than 7 will make the slider too stiff to pull.
Phase 3: Locking and Finishing
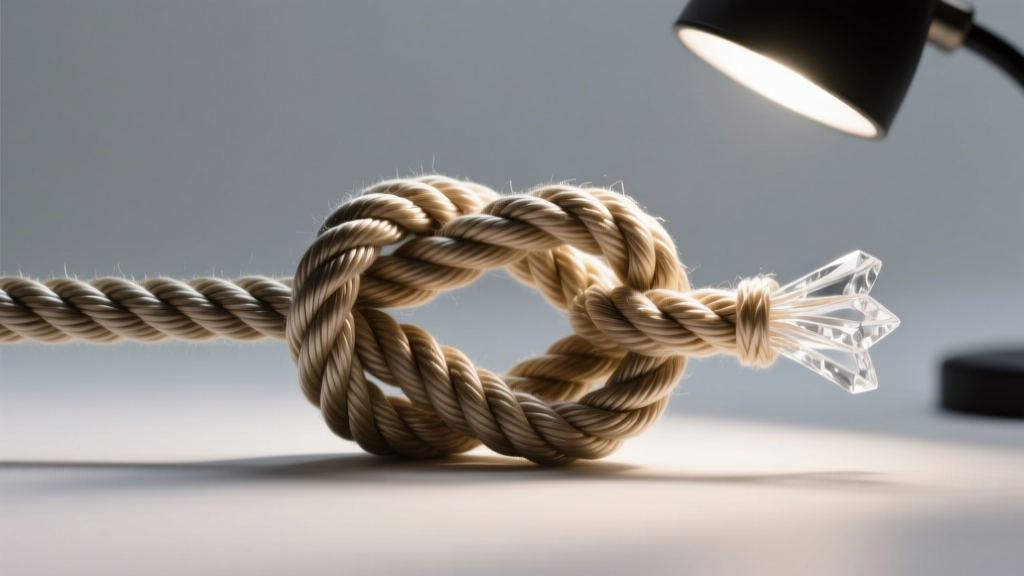
To secure the knot, pull the two ends of the knotting cord tightly. Trim the excess tails, leaving about 2mm of material. If you are using synthetic nylon (like S-Lon), use a thread zapper or a precision butane lighter to melt the ends into a tiny, smooth bead that will lock inside the knot. If using natural waxed cotton, apply a microscopic drop of flexible jewelry cement (like E6000 or GS Hypo Cement) to the trimmed ends and tuck them into the knot's crevice with a needle tool.
Expert Insight: Never use standard superglue (cyanoacrylate) on natural fiber cords. It dries brittle and will shatter when the necklace flexes, leading to sudden knot failure. Always use flexible, fabric-safe adhesives for cotton, hemp, or leather.
Troubleshooting Common Sliding Knot Failures
Even with the right materials, jewelers encounter specific failure modes. Here is how to diagnose and fix them:
- The Knot Won't Slide (Binding): Your cord is likely over-waxed or too thick. Solution: Run the cord through a piece of raw denim to strip excess surface wax, or switch to a 0.8mm nylon alternative.
- The Knot Loosens on Its Own (Slipping): You have chosen a cord with too low a friction coefficient (e.g., smooth silk), or your pendant is too heavy for the cord's grip. Solution: Increase the number of square knot wraps from 5 to 8, or switch to a textured hemp cord.
- The Cord Frays at the Friction Point: Abrasion from repeated sliding is wearing through the fibers. Solution: Apply a thin layer of clear beeswax to the main cords where the slider rests to act as a dry lubricant and protective barrier.
Final Sizing & Wearability Metrics
When designing an adjustable necklace, always account for the 'dead space' created by the sliding knot itself. A standard 6-wrap square knot consumes approximately 14mm of cord length and adds 4mm of bulk to the profile. Ensure your main cords are cut to a minimum of 36 inches to allow the necklace to slip comfortably over an average adult head (which requires a minimum circumference of 24 inches) before being cinched down to a standard 16-inch or 18-inch collarbone length.
Mastering how to tie a necklace sliding knot is less about manual dexterity and more about material science. By matching the correct cord gauge and friction profile to your specific pendant weight, you elevate a simple DIY technique into a professional, retail-ready jewelry finish.