How to Craft a Demon Horn Necklace RS3 Replica (2026)
Learn how to craft and style a real-world demon horn necklace RS3 replica. Step-by-step casting, patina, and chain pairing guide for fantasy fans.

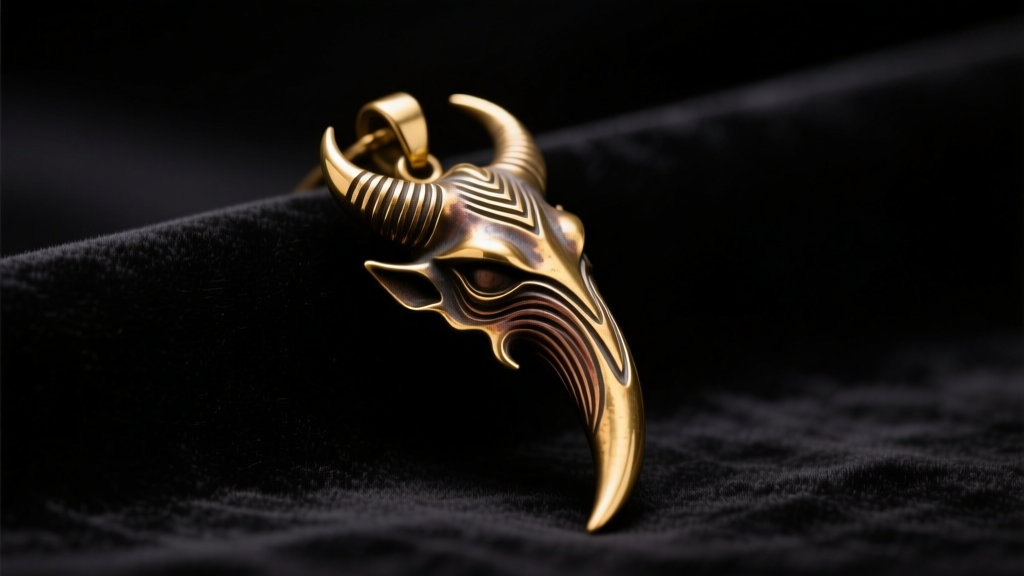
Bridging Gielinor and Reality: The RS3 Demon Horn Aesthetic
For dedicated fans of RuneScape 3 (RS3), the dark fantasy elements of Gielinor offer endless inspiration for real-world jewelry. While official merchandise often relies on cheap alloys and mass-produced molds, crafting a custom demon horn necklace rs3 replica allows you to capture the gritty, high-level Slayer trophy aesthetic with fine jewelry techniques. Whether you are cosplaying a veteran Demon Slayer or simply want a subtle, rugged fantasy pendant for everyday wear, this 2026 guide will walk you through the professional lost-wax casting process, metallurgical finishing, and styling techniques required to forge your own demonic artifact.
Materials and Tools for Fantasy Jewelry Casting
Creating a durable, skin-safe, and visually striking demon horn pendant requires specific jewelry-making supplies. As of 2026, desktop 3D printing has made custom wax models highly accessible, but the metallurgy remains rooted in traditional bench techniques.
| Category | Material / Tool | Specification / Grade |
|---|---|---|
| Modeling | Castable Resin | Siraya Tech Cast or Formlabs Wax 40 |
| Alloy | Cartridge Brass | C260 (70% Copper, 30% Zinc) |
| Investment | Phosphate-Bonded Powder | Satincast 200 or equivalent |
| Patina | Liver of Sulfur (LOS) | Extended Life Gel Formula |
| Finishing | Rotary Tool & Burrs | Flexible shaft with silicone polishers |
Step 1: 3D Modeling and Sprue Attachment
The foundation of any great demon horn necklace rs3 inspired piece is the digital sculpt. Using software like Blender or ZBrush, model a curved, ridged horn that mimics the organic, asymmetrical geometry of high-level RS3 demonic foes.
Critical Design Parameters
- Wall Thickness: Maintain a minimum thickness of 1.5mm to prevent warping during the brass quenching phase.
- Bail Integration: Model a hidden bail or a tapered loop at the base of the horn. An 8mm inner diameter loop accommodates heavier chains.
- Texture: Use alpha brushes to carve deep, porous textures resembling calcified bone or keratin, ensuring the crevices are at least 0.5mm deep so they survive the casting and tumbling process.
Once printed in castable resin and cured under UV light, attach a 10-gauge wax sprue to the thickest part of the horn (usually the base) to ensure smooth molten metal flow.
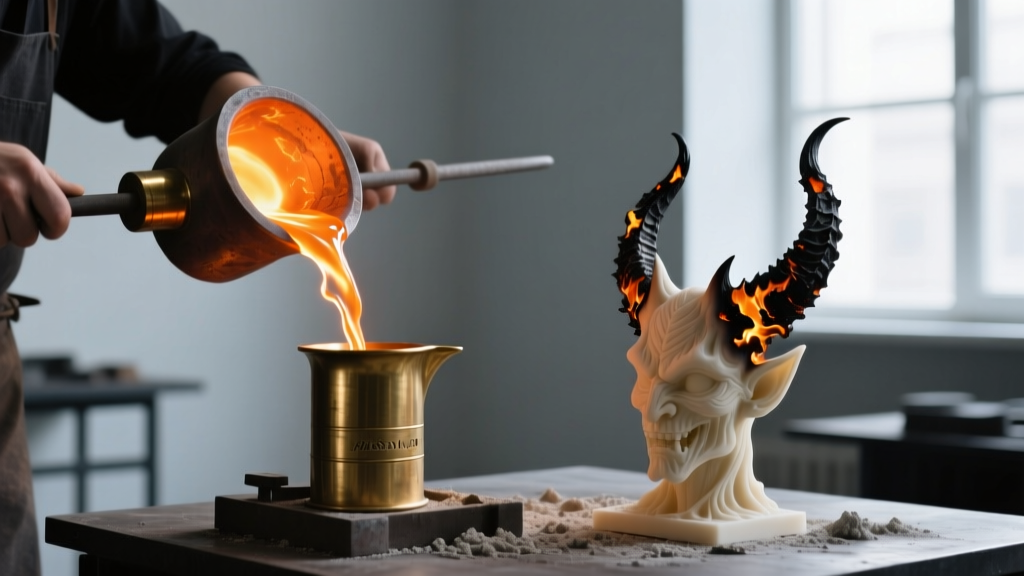
Step 2: Lost-Wax Casting in Cartridge Brass
To achieve the heavy, premium feel of a genuine fantasy artifact, we use C260 Cartridge Brass. This alloy provides a brilliant gold-like hue when polished, which contrasts beautifully with dark oxidized recesses. According to master jewelers at Ganoksin, proper burnout and temperature control are vital for brass.
The Burnout and Casting Schedule
- Investment: Mix phosphate-bonded investment powder with distilled water at a 38/100 ratio. Pour over the wax tree in a vacuum chamber to eliminate air bubbles.
- Burnout Cycle: Place the flask in a kiln. Ramp to 1350°F (732°C) and hold for 3 hours to completely vaporize the resin, leaving a hollow cavity.
- Casting: Melt the C260 brass in a graphite crucible. Brass melts at approximately 1680°F (915°C). Once the metal pools and flows like water, use a centrifugal caster to force the molten brass into the hot flask.
- Quenching: Allow the flask to cool for 10 minutes until the brass button solidifies and dulls to a dark red, then quench in cold water to shock the investment off the metal.
Step 3: Applying a Demonic Patina
A freshly cast brass horn looks too bright and modern for a rugged RS3 Slayer trophy. The magic happens during the patina and polishing phase, which creates the illusion of aged, battle-worn bone.
Bench Tip: Always wear nitrile gloves and work in a ventilated area when handling chemical patinas. The oils from your skin can cause uneven oxidation on raw brass.
The Liver of Sulfur (LOS) Technique
Dissolve a pea-sized amount of Liver of Sulfur gel in a glass beaker of hot (160°F) distilled water. Submerge the brass demon horn using copper tongs. Within seconds, the metal will shift from gold to bronze, then to deep gunmetal black. Remove the horn when it reaches a uniform black, and rinse in cold water to halt the chemical reaction.
Next, mount a soft cotton buffing wheel on your flex shaft. Apply a light rouge and gently buff only the high points and ridges of the horn. This removes the black patina from the raised textures, leaving the deep crevices dark and shadowed. This high-contrast finishing technique is what gives the demon horn necklace rs3 replica its striking, three-dimensional realism. Finally, seal the piece with a micro-crystalline wax or a specialized jewelry coating like ProtectaClear to prevent the brass from turning the wearer's skin green.
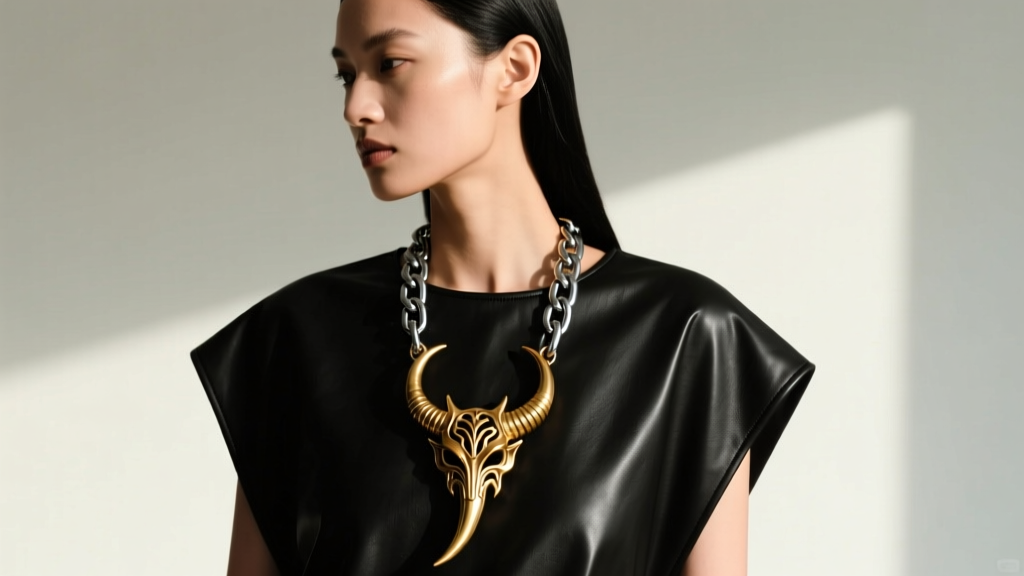
Step 4: Chain Selection and Styling Framework
A heavy, intricately detailed pendant requires a chain that balances its visual weight without snapping. When styling dark fantasy jewelry, the chain is just as important as the pendant itself. Below is a decision framework for pairing your demon horn replica with the right necklace.
Chain Pairing Matrix
| Chain Style | Gauge / Width | Material | Best For |
|---|---|---|---|
| Wheat Chain | 2.5mm - 3.0mm | Oxidized Sterling Silver | Everyday subtle fandom wear; mimics woven leather. |
| Rope Chain | 3.5mm - 4.0mm | Antiqued Brass | Heavy cosplay; matches the pendant's metallic hue. |
| Leather Cord | 4.0mm | Braided Black Leather | Rugged, budget-friendly Slayer aesthetic. |
Neckline and Layering Advice
For men's or masculine styling, a 22-inch or 24-inch chain allows the demon horn to rest on the sternum, perfect for wearing over dark t-shirts, flannel, or leather jackets. If you are layering, use the Rio Grande rule of thumb: maintain a minimum 2-inch length difference between chains. Pair your 24-inch demon horn pendant with a 20-inch matte black onyx bead necklace to create a tiered, dark-fantasy look that nods to RS3's gothic aesthetics without looking like a costume.
Troubleshooting Common Casting Defects
Even experienced jewelers encounter issues when casting intricate fantasy shapes. Here is how to troubleshoot the most common defects when making your demon horn pendant:
- Porosity (Tiny pits on the surface): Usually caused by casting the brass too hot or cooling the flask too slowly. Ensure your crucible is clean and pre-heated, and strictly follow the 10-minute bench-cool rule before quenching.
- Incomplete Fill (Missing horn tip): The resin wax may not have fully burned out, creating back-pressure in the flask. Extend your 1350°F burnout hold time by an additional hour to ensure total vaporization.
- Shrinkage Cracks: If the sprue is too thin, it will freeze before the pendant, starving the horn of molten metal as it shrinks. Always use a sprue that is at least 75% of the cross-sectional thickness of the pendant's base.
Final Thoughts on Fandom Jewelry
Translating digital game assets into tangible, high-quality jewelry is a deeply rewarding process. By utilizing professional lost-wax casting, precise chemical patinas, and thoughtful chain pairing, your custom demon horn necklace rs3 piece will transcend cheap convention-merch and become a lasting artifact of your time in Gielinor. Whether you are celebrating a maxed Slayer level or simply appreciate the dark fantasy motif, mastering these bench techniques ensures your jewelry is as resilient as the monsters it represents.


