How to Craft the RDR2 Tilly Necklace: A Step-by-Step Replica Guide
Learn how to craft an authentic RDR2 Tilly necklace replica. Our step-by-step guide covers 1899 materials, wire wrapping, and aging techniques.

Decoding the RDR2 Tilly Necklace: 1899 Frontier Elegance
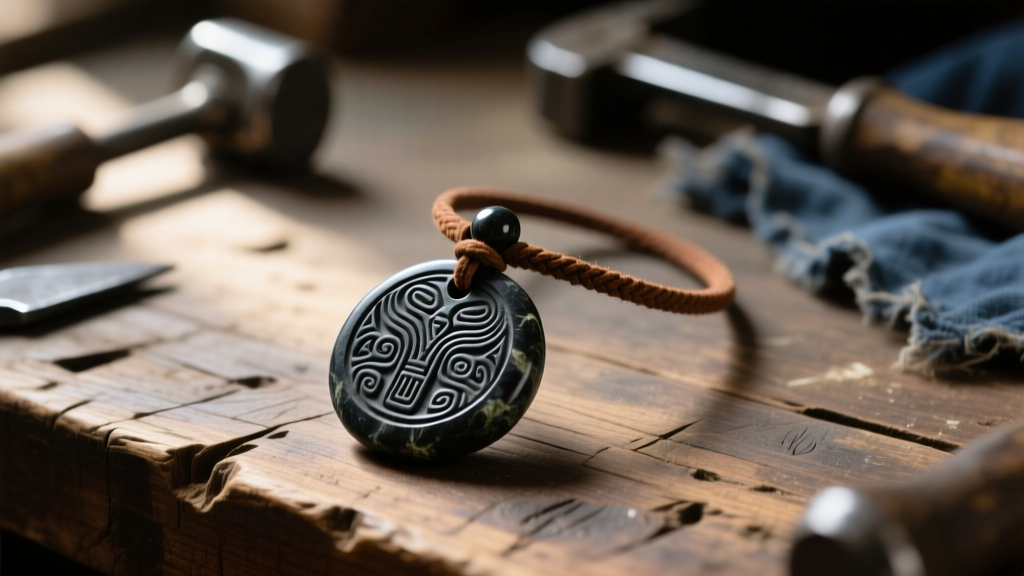
When analyzing the intricate character design in Rockstar's Red Dead Redemption 2, Tilly Jackson stands out for her pragmatic yet elegant frontier style. While Arthur Morgan's wolf pendant or Sadie Adler's rugged accessories often dominate cosplay discussions, the rdr2 tilly necklace remains a highly sought-after piece for enthusiasts who appreciate subtle, historically grounded 1899 jewelry. Tilly's necklace features a dark, unpolished stone suspended on a weathered leather cord, reflecting the resourcefulness and understated grace of her character.
In 2026, historical cosplay and replica crafting have evolved significantly, with makers prioritizing period-accurate metallurgy and authentic aging techniques over cheap, mass-produced plastics. Recreating this specific piece requires an understanding of late 19th-century frontier jewelry, which often utilized locally sourced stones, rudimentary wire wrapping, and organic cords. This comprehensive guide will walk you through fabricating a museum-quality replica of Tilly's necklace, complete with exact material grades, wire-wrapping dimensions, and chemical patina recipes.
Historical Context: Frontier Jewelry at the Turn of the Century
Before cutting any wire, it is crucial to understand the historical context of 1899. According to the GemSelect Historical Archives, frontier jewelry was rarely cast in molds. Instead, it was hand-forged or wire-wrapped using soft metals like brass, copper, or low-karat gold. The dark stone seen on Tilly's character model aligns with materials readily available in the American West, such as matte onyx, dark turquoise, or even vulcanite (a hardened rubber popular in mourning jewelry). To achieve an authentic rdr2 tilly necklace replica, we must avoid modern stainless steel or shiny rhodium platings, opting instead for raw brass and organic stones.
Materials & Tools Sourcing Guide
Selecting the right components is the difference between a cheap costume prop and a wearable piece of art. Below is a breakdown of the recommended materials for this build.
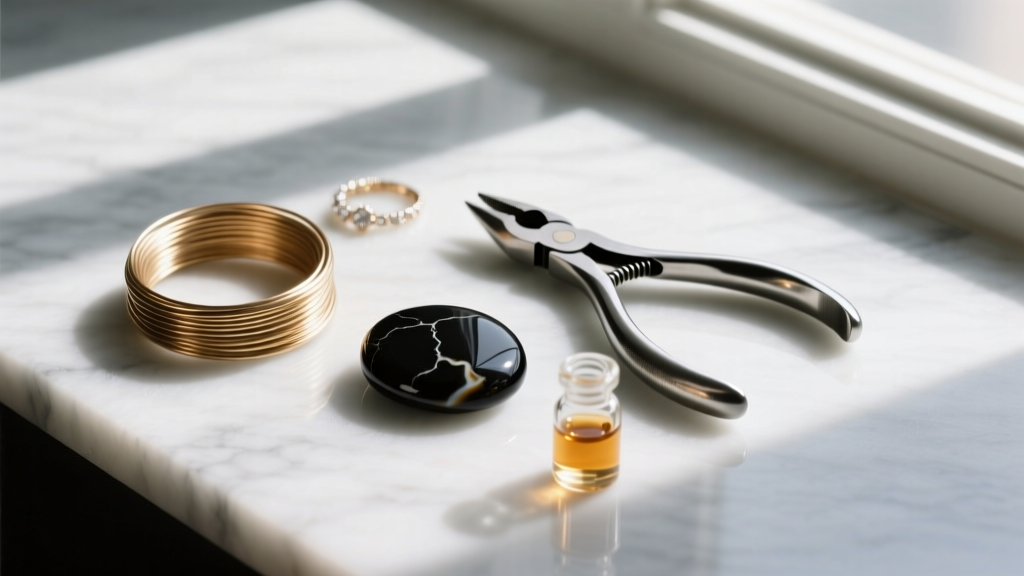
| Component | Specification | Historical Accuracy | Est. Cost (2026) |
|---|---|---|---|
| Center Stone | Matte Onyx Teardrop Cabochon (20x15mm) | High (Onyx was widely traded) | $8 - $14 |
| Base Wire | 20-Gauge Half-Hard Raw Brass | Very High (Standard frontier gauge) | $12 / spool |
| Accent Wire | 24-Gauge Dead-Soft Raw Brass | High (Used for binding) | $10 / spool |
| Cord | 2mm Kangaroo Leather Lace (Dark Brown) | High (Kangaroo is tough and period-plausible) | $6 / 10ft |
| Aging Agent | Liver of Sulfur (LOS) Gel | N/A (Modern equivalent to historical sulfur baths) | $15 |
Step 1: Preparing and Setting the Center Stone
The focal point of the rdr2 tilly necklace is the dark, teardrop-shaped stone. We are using a 20x15mm matte onyx cabochon. Onyx ranks at 6.5 to 7 on the Mohs hardness scale, making it durable enough for daily wear at conventions or outdoor photoshoots, unlike historical vulcanite which is brittle and prone to cracking.
Creating the Wire Frame
Cut two 5-inch lengths of 20-gauge half-hard brass wire. Place them parallel to each other and bind the center tightly with your 24-gauge dead-soft wire. Wrap the 24-gauge wire around the two base wires five times, creating a secure anchor. This will form the bottom curve of your bezel. Gently bend the base wires around the perimeter of the onyx cabochon, using your thumb to mold the metal rather than pliers, which can leave modern, anachronistic tool marks on the brass.
Step 2: Fabricating the Brass Bail and Wrapping
Once the wire frame conforms to the stone, it is time to create the bail (the loop that the leather cord will pass through). This is where structural integrity is paramount.
The Bail Formation Technique
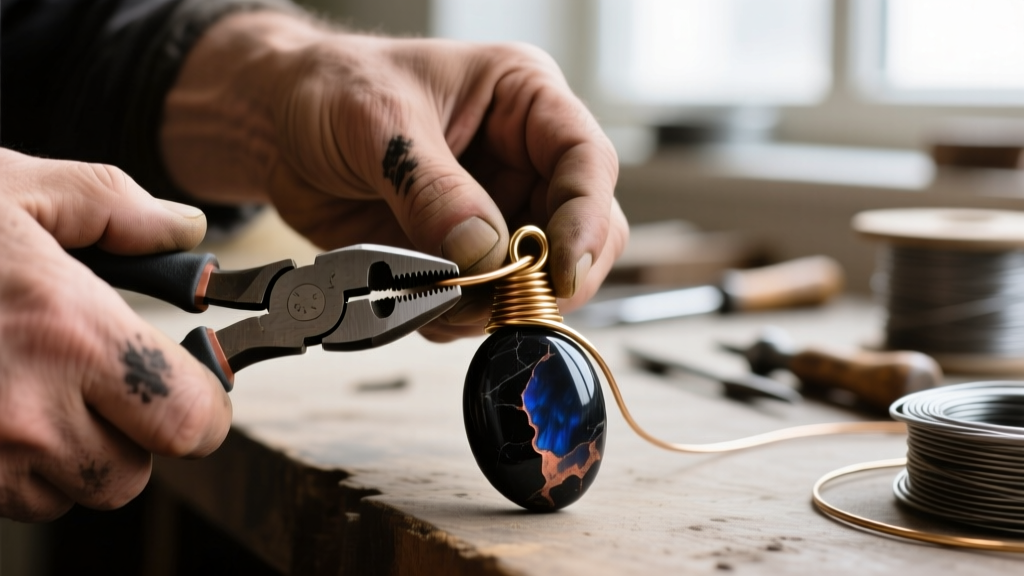
- Extend the Base Wires: Ensure both 20-gauge wires extend at least 1.5 inches past the top point of the teardrop stone.
- Form the Loop: Using round-nose pliers, bend both wires backward simultaneously to create a teardrop-shaped loop. The inner diameter of this loop must be at least 4mm to accommodate the 2mm leather cord and a sliding knot.
- Secure the Collar: Wrap the 24-gauge binding wire tightly around the base of the bail (the "neck") at least six times. This collar prevents the bail from pulling apart under the weight of the stone.
- Trim and Tuck: Cut the excess 24-gauge wire, leaving a 2mm tail. Use a bezel pusher or the flat side of your chain-nose pliers to tuck this sharp tail flush against the frame, preventing it from snagging on clothing.
Step 3: Assembling and Aging the Cord
A pristine, shiny brass pendant on a stiff, dyed leather cord will immediately break the 1899 immersion. The rdr2 tilly necklace requires a cord that looks like it has survived a year on the trail. We will use a chemical aging process for the brass and a physical distressing method for the leather.
Chemical Patina: The Liver of Sulfur Bath
Raw brass is an alloy of copper and zinc. To age it, we use Liver of Sulfur (LOS). In a glass jar, mix one drop of LOS gel with one cup of warm distilled water. Submerge your finished brass pendant for exactly 30 to 45 seconds. You will watch the metal shift from bright yellow to iridescent gold, then to a deep, muddy brown. Remove the pendant and immediately drop it into a baking soda and water bath to neutralize the chemical reaction. Once dry, use 0000-grade super fine steel wool to gently polish the high points of the wire. This leaves the dark oxidation in the crevices and wire wraps, mimicking decades of grime and wear, while the high-contact areas retain a dull, historical sheen.
Distressing the Kangaroo Leather
Kangaroo leather is incredibly strong but can look too uniform straight from the spool. Cut a 36-inch length of your 2mm cord. Rub the cord vigorously between your palms with a small amount of neatsfoot oil and a pinch of finely ground charcoal or coffee grounds. This darkens the leather unevenly and embeds microscopic particles into the hide's pores, replicating the dusty, oiled look of frontier tack and accessories. Thread the cord through your newly patinated brass bail and secure it with a simple adjustable square knot (cobra knot), allowing the wearer to adjust the length from a 16-inch choker to a 24-inch drop.
Master Jeweler's Tip: Never use clear nail polish or modern sealants over your liver of sulfur patina. In 1899, frontier jewelry was raw and required occasional oiling by the wearer. A light rub of mineral oil once a month will keep the brass from turning your skin green while maintaining the authentic, unsealed matte finish.
Troubleshooting Common Replication Errors
Even experienced crafters run into issues when replicating historical pieces. Here is how to solve the most common problems encountered when building the rdr2 tilly necklace:
- Wire Snapping During Wrapping: If your 24-gauge brass wire keeps snapping while binding the bail, you are likely work-hardening the metal by bending it back and forth. Always wrap in one continuous direction and use dead-soft wire, which has been annealed to withstand tight coils without fracturing.
- Stone Slipping in the Bezel: If the onyx cabochon rattles or falls out, your 20-gauge frame is too loose. Before securing the top bail, use a piece of painter's tape to hold the stone firmly in place, then use your nylon-jaw pliers to gently squeeze the side wires inward until they grip the stone's beveled edge.
- Leather Cord Rot: If you wear the necklace in the rain or sweat heavily at a convention, untreated leather can degrade. While we avoided modern sealants on the brass, treating the leather cord with a light coat of beeswax after the coffee-staining process will waterproof it without altering the rustic aesthetic.
Final Thoughts on Frontier Craftsmanship
Crafting the rdr2 tilly necklace is more than just a cosplay exercise; it is a study in late 19th-century material culture. By respecting the metallurgical properties of raw brass, utilizing period-appropriate wire-wrapping techniques, and applying genuine aging methodologies, you create a piece of jewelry that tells a story. Whether you are wandering the plains of New Hanover or simply appreciating the art of historical jewelry making, this replica stands as a testament to the enduring legacy of Red Dead Redemption 2's incredible character design.


