How to Style and Craft Cult of the Lamb Necklaces
Learn how to style, layer, and custom-craft Cult of the Lamb necklaces. Explore enamel grades, chain gauges, and dark cottagecore pairing tips.

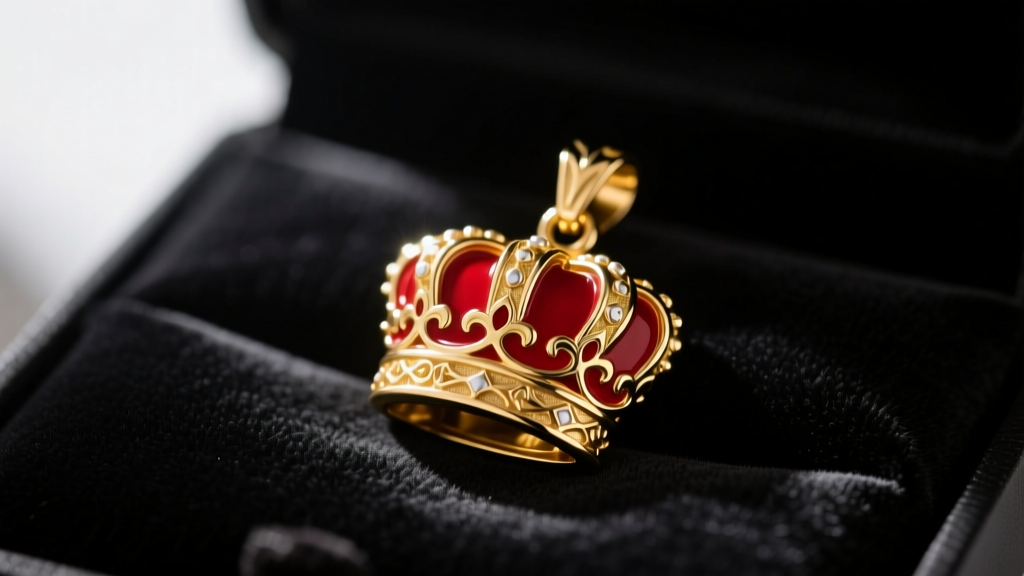
The indie phenomenon Cult of the Lamb has transcended the gaming world, deeply influencing alternative fashion, dark cottagecore aesthetics, and artisan jewelry. Fans are increasingly seeking out cult of the lamb necklaces to showcase their devotion to the adorable yet sinister Red Crown-wearing protagonist. Whether you are looking to curate a layered witchcore stack from official merch or cast your own custom resin pendant, understanding the metallurgy, chain gauges, and styling frameworks is essential.
This comprehensive guide breaks down the anatomy of fandom jewelry, providing actionable steps for sourcing, styling, and crafting your own high-quality pieces.
The Anatomy of a Cult of the Lamb Pendant
The most iconic imagery from the game revolves around the Lamb, the Red Crown, and the four Bishops of the Old Faith. Translating these 2D sprites into 3D wearable jewelry requires specific manufacturing techniques. The majority of mass-produced fan necklaces utilize die-struck zinc alloy bases with enamel fills, while premium artisan pieces lean into lost-wax casting with sterling silver.
Material Breakdown: Enamel vs. Cast Resin vs. Silver
When evaluating cult of the lamb necklaces, the base material dictates the pendant's weight, longevity, and price point. Hard enamel (cloisonné) is polished completely flat, offering a smooth, glass-like finish that resists scratching. Soft enamel, conversely, leaves the metal lines raised and the colored epoxy recessed, providing a highly textured, tactile feel that mimics the game's hand-drawn art style.
| Material Type | Durability & Finish | Average Price Range | Best Use Case |
|---|---|---|---|
| Zinc Alloy + Soft Enamel | Moderate; textured, prone to tarnish if unplated | $15 - $28 | Casual cosplay, convention wear |
| Brass + Hard Enamel | High; smooth, scratch-resistant, heavy | $35 - $55 | Daily wear, layered stacks |
| Cast Sterling Silver (925) | Exceptional; hypoallergenic, requires polishing | $85 - $160+ | Heirloom pieces, sensitive skin |
| Epoxy Resin (DIY/Artisan) | Variable; lightweight, can yellow if UV exposed | $20 - $45 | Custom colors, oversized props |
Step-by-Step: Sourcing and Verifying Official Merch
The secondary market is flooded with unauthorized, low-quality dropshipped knockoffs. To ensure you are purchasing high-grade cult of the lamb necklaces, follow this verification framework:
- Check the Source: Official merchandise is typically distributed through Devolver Digital or their licensed physical retail partners. Independent artists on Etsy are also excellent, provided they disclose their fabrication methods.
- Inspect the Hallmarks: If a seller claims a pendant is sterling silver, look for a stamped "925" on the back of the pendant or the jump ring. Plated zinc alloy will lack this stamp and feel suspiciously light.
- Evaluate the Jump Ring: High-quality pendants use a soldered jump ring or a thick-gauge split ring to attach to the chain. Bootlegs often use thin, easily pried-open wire loops that will result in a lost pendant.
How to Layer Your Lamb: Dark Cottagecore Styling

Styling cult of the lamb necklaces requires balancing the macabre with the whimsical. The "dark cottagecore" or "witchcore" aesthetic relies heavily on asymmetrical layering, mixed metals, and varying chain textures.
Chain Gauge and Length Pairings
The chain you select must support the pendant's weight without overpowering the delicate artwork. According to jewelry supply standards from Rio Grande Jewelry Supply, matching the chain gauge to the pendant weight is critical for preventing breakage.
- The 14" Choker (1.0mm - 1.2mm Box Chain): Ideal for a minimalist, subtle nod to the game. Use a small, lightweight enamel Lamb face pendant. A 1.0mm box chain offers a modern, geometric contrast to the organic shapes of the pendant.
- The 18" Princess (1.5mm Cable Chain): The workhorse of the necklace stack. A 1.5mm sterling silver or gold-plated cable chain provides enough tensile strength to hold a 15-gram Red Crown pendant securely while resting perfectly on the collarbone.
- The 24" Opera (2.0mm Rolo Chain): Best for oversized, heavy resin pendants. The thick, interlocking circular links of a rolo chain provide a rugged, vintage feel that pairs beautifully with oversized knitwear or lace collars.
Pro Styling Tip: Mix your metals. Pairing an oxidized silver Lamb pendant with a bright gold-plated chain creates a striking, antique relic aesthetic that perfectly matches the game's false-prophet narrative.
DIY Guide: Casting Your Own Red Crown Pendant
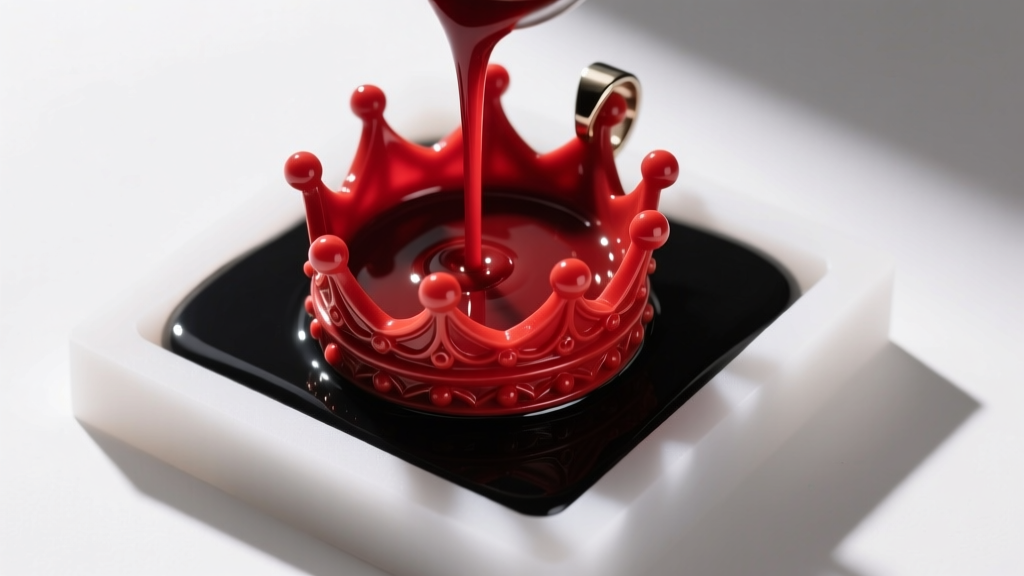
For crafters and cosplayers who want a bespoke piece, casting your own cult of the lamb necklaces using epoxy resin allows for total control over color, scale, and embedded elements (like crushed mica or gold leaf). Here is a professional-grade workflow for resin casting.
Step 1: Master Sculpting and Mold Making
Begin by 3D printing or hand-sculpting your master Red Crown prototype. Sand the master up to 2000-grit to ensure a glass-smooth finish, as resin will replicate every scratch. Create a two-part mold using a Shore 15A hardness tin-cure or platinum-cure silicone. Shore 15A provides enough flexibility to demold intricate undercuts without tearing.
Step 2: Resin Mixing and Degassing
Do not use UV resin for thick pendants; it shrinks and yellows over time. Instead, use a high-quality, deep-pour epoxy resin with a 1:1 mix ratio by volume.
- Mix Slowly: Stir the resin and hardener for a full 3 minutes, scraping the sides and bottom of the cup to prevent sticky, uncured spots.
- Add Pigment: Use opaque alcohol inks or mica powders for the signature crimson and obsidian black of the Red Crown.
- Pressure Pot Curing: To achieve a flawless, bubble-free finish, place the filled silicone mold into a pressure pot set to 40 PSI for the duration of the cure time. As Resin Obsession notes, compressing the air bubbles to a microscopic size is the only way to achieve professional optical clarity in thick resin pours.
Step 3: Demolding and Hardware Installation
Once fully cured (usually 24-48 hours), demold the pendant. Sand any flash lines with wet/dry sandpaper. To attach the chain, use a micro drill bit (0.8mm) to drill a pilot hole at the top loop of the crown. Apply a tiny drop of cyanoacrylate (super glue) mixed with baking soda into the hole, then screw in a threaded metal eyelet jump ring. This creates an unbreakable mechanical bond that will never pull out of the resin.
Hardware, Clasps, and Maintenance
The clasp is the most common point of failure on any necklace. For heavy enamel or resin cult of the lamb necklaces, avoid standard spring ring clasps, which have weak internal springs and small solder joints. Instead, upgrade your chains with lobster claw clasps or magnetic neodymium clasps for secure, one-handed fastening.
To maintain your jewelry, store enamel and silver pieces in an airtight anti-tarnish bag with a 3M anti-tarnish strip. The sulfur-absorbing strip will prevent the copper and zinc alloys from oxidizing, ensuring your tribute to the One Who Waits remains pristine for years to come.


