How to Craft and Style a Wire-Wrapped Monkey Ball Necklace
Learn how to craft a wire-wrapped monkey ball necklace with our step-by-step guide. Master wire gauges, cage weaving, and styling tips for this unique pendant.

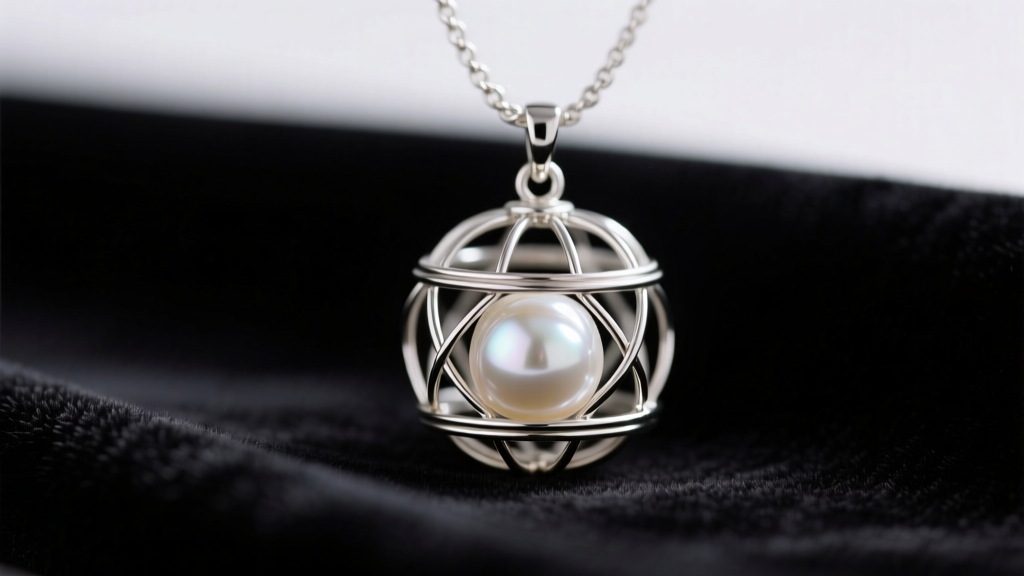
The term monkey ball necklace refers to a highly specialized, artisan wire-wrapping technique that creates a hollow, spherical cage pendant—often resembling a monkey fist knot or a complex geometric labyrinth. Unlike traditional bezel or prong settings, a monkey ball cage relies entirely on the structural tension and interlocking geometry of the wire to encapsulate a loose gemstone or pearl. This how-to guide will walk you through the exact metallurgy, tooling, and step-by-step weaving process required to craft a professional-grade monkey ball necklace, followed by expert styling advice.
The Anatomy of a Monkey Ball Cage Pendant
Before bending your first wire, it is crucial to understand the structural anatomy of a monkey ball pendant. The design consists of three primary components:
- The Core Frame: Heavy-gauge wires that form the longitudinal and latitudinal 'ribs' of the sphere.
- The Tension Weave: Fine-gauge wires that wrap around the core frame, locking the structure together and creating the 'cage' aesthetic.
- The Bail: The top loop that allows the pendant to slide onto a chain, often integrated seamlessly into the top ribs of the sphere.
When executed correctly, the internal diameter of the cage is precisely 0.5mm smaller than the gemstone it holds, ensuring the stone is permanently trapped without the use of adhesives or solder.
Essential Tools and Material Grades
Wire wrapping requires precise material selection. Using the wrong temper (hardness) of wire will result in a brittle frame or a sloppy weave. According to jewelry supply standards outlined by Rio Grande, dead-soft wire is mandatory for complex weaving, while half-hard wire is better suited for structural clasps.
| Component | Recommended Gauge | Material & Temper | Estimated Cost (per oz) |
|---|---|---|---|
| Core Frame Ribs | 18 or 20 AWG | Dead-Soft Argentium Silver or Copper | $35 - $45 |
| Tension Weave | 26 or 28 AWG | Dead-Soft Fine Silver or Copper | $40 - $55 |
| Bail & Jump Rings | 16 or 18 AWG | Half-Hard Sterling Silver | $30 - $40 |
Required Tool Kit:
- Steel step mandrel (10mm to 15mm steps)
- Nylon-jaw pliers (to prevent marring the soft wire)
- Flush cutters (for clean, flat wire ends)
- Chain-nose and round-nose pliers
- Liver of Sulfur (for optional antiquing/patina)
Step-by-Step: Forging the Monkey Ball Frame
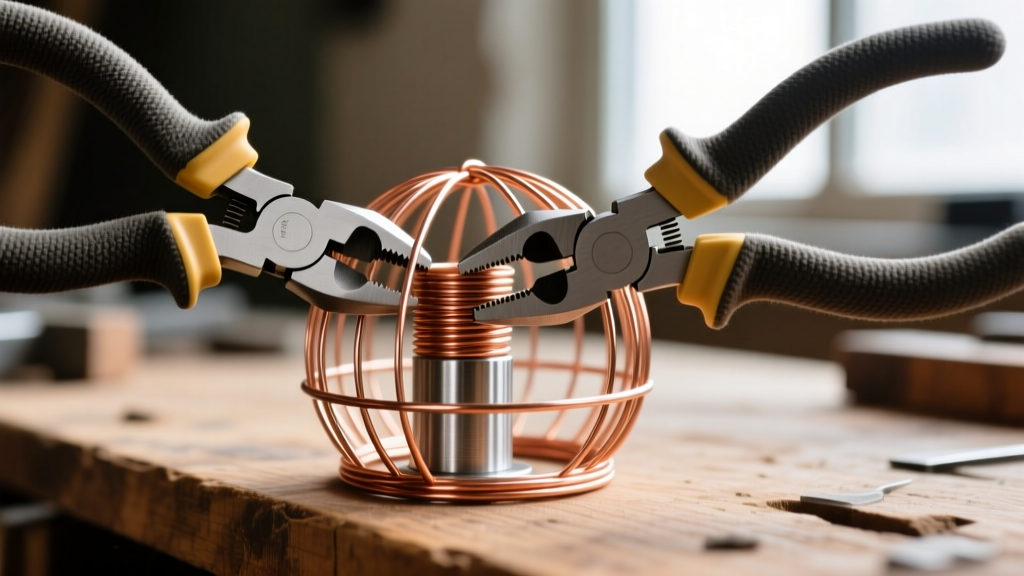
Creating the spherical frame is the most mathematically demanding part of the process. You are essentially building a three-dimensional grid.
- Cut the Core Wires: Cut four pieces of 20-gauge dead-soft wire, each exactly 6 inches long. These will form the primary longitudinal ribs.
- Find the Center: Mark the exact center of each wire with a non-permanent marker. Stack all four wires together at their center marks and bind them tightly with a piece of masking tape or a temporary 28-gauge tie wire.
- Form the Equator: Using your nylon-jaw pliers, gently bend the wires outward from the center point, splaying them like the spokes of an umbrella. Wrap a continuous piece of 26-gauge wire around the equator of the spokes, spacing them evenly to create a perfect circle. This is your latitudinal anchor.
- Cage the Sphere: Bring the top and bottom halves of the splayed wires together to meet at the north and south poles. Use your round-nose pliers to create a small, neat loop at each pole, capturing all four wire ends. The structure will now resemble a hollow, wire globe.
Step-by-Step: The Tension Weave and Gemstone Setting
Once the basic globe is formed, it is time to secure the gemstone. The International Gem Society notes that spherical cabochons or round pearls (typically 10mm to 14mm) are ideal for cage settings because their uniform geometry distributes tension evenly.
- Insert the Stone: Before closing the final pole loop, slip your 12mm round gemstone (e.g., a lapis lazuli sphere or freshwater pearl) into the center of the cage.
- Close the Poles: Secure the top and bottom loops. The stone should rattle slightly; this is normal and necessary for the next step.
- The Labyrinth Weave: Take a 10-foot spool of 28-gauge dead-soft wire. Anchor it to the top bail loop. Begin weaving in and out of the longitudinal ribs, moving diagonally across the sphere. This diagonal weave pulls the ribs inward, shrinking the internal diameter of the cage.
- Lock the Tension: As you weave, continuously test the stone. Once the wire cage shrinks to the point where the stone can no longer pass through the gaps, the tension is locked. The stone is now permanently secured by the geometric compression of the silver or copper web.
Assembling the Chain and Bail
A common mistake in artisan jewelry is pairing a heavy, intricate pendant with a flimsy chain. A monkey ball pendant, due to the dense layering of wire, can weigh between 15 and 25 grams.
To support this weight without stretching the chain links, opt for a 1.5mm to 2.0mm box chain or a 2.5mm wheat chain. Avoid delicate cable chains or snake chains, which will kink or snap under the pendulum motion of a heavy spherical pendant. Attach the chain using two 18-gauge half-hard jump rings, ensuring the seams of the jump rings are soldered or tightly closed with chain-nose pliers to prevent the wire weave from catching and unspooling.
Styling Guide: Necklines and Occasions
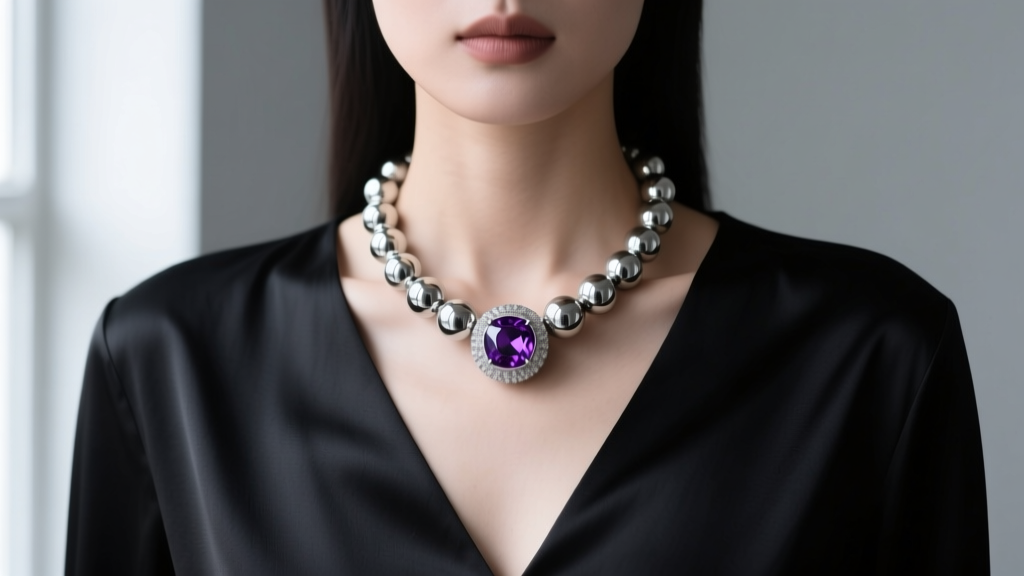
The monkey ball necklace is a statement piece that bridges the gap between bohemian artisan craft and modern geometric minimalism. Here is how to style it based on current neckline trends:
- The Deep V-Neck: A monkey ball pendant naturally draws the eye downward. Pair an 18-inch or 20-inch cage necklace with a deep V-neck silk blouse or wrap dress. The spherical pendant will rest perfectly in the negative space of the neckline, acting as a focal anchor.
- The Scoop Neck & Crew Neck: For higher necklines, shorten the chain to 16 inches (choker/princess length). The pendant will rest on the collarbone or upper chest, contrasting beautifully against the solid fabric of a cashmere sweater or cotton tee.
- Layering Constraints: Because the monkey ball cage is highly textured and three-dimensional, it tangles easily with other chains. If you must layer, pair it with a simple, flat 14-inch herringbone choker that sits well above the bail, avoiding any chain-on-chain friction.
Maintenance and Tarnish Prevention
The intricate weave of a monkey ball necklace creates dozens of tiny crevices where skin oils, lotions, and environmental sulfur can accumulate, leading to rapid tarnishing—especially if you used copper or standard sterling silver.
- Antiquing (Optional but Recommended): Many artisans intentionally oxidize the cage using Liver of Sulfur, then polish only the high points with a polishing cloth. This darkens the deep crevices, highlighting the 3D labyrinth weave and making future tarnish less noticeable.
- Cleaning: Never use ultrasonic cleaners on a monkey ball necklace if it contains a pearl, opal, or turquoise sphere, as the high-frequency vibrations and harsh chemicals will destroy the stone's luster. Instead, use a soft-bristled baby toothbrush dipped in warm water and a drop of mild dish soap to gently scrub the wire crevices.
- Storage: Store the necklace hanging vertically in a low-humidity environment. Laying it flat in a jewelry box can cause the bail to bend or the delicate 28-gauge tension wires to warp under the weight of the pendant.
Mastering the monkey ball necklace elevates your jewelry craftsmanship from simple stringing to structural engineering. By respecting wire tempers, understanding geometric tension, and pairing the finished piece with the correct chain weight, you create an heirloom-quality pendant that is as mechanically fascinating as it is beautiful.


