How to Design and String a Custom Beads Necklace for Ladies
Learn how to design, string, and finish a custom beads necklace for ladies. Master crimping, material selection, and styling in this step-by-step guide.

The Renaissance of Artisanal Beaded Jewelry
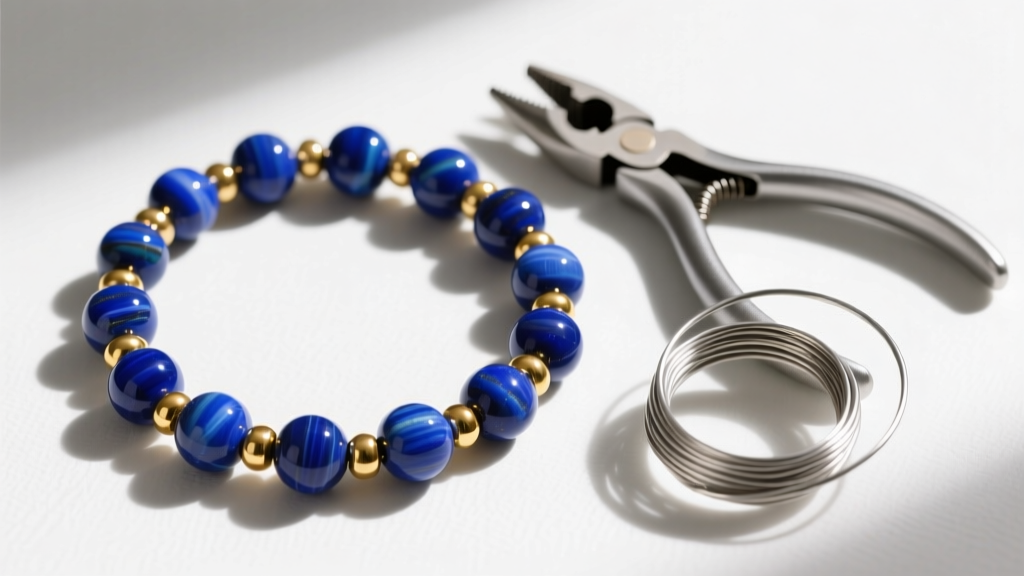
In 2026, the jewelry landscape has decisively shifted away from mass-produced, fast-fashion accessories toward bespoke, artisanal craftsmanship. A custom-designed beads necklace for ladies is no longer just a craft project; it is a statement of personal style and material appreciation. Whether you are working with high-grade semi-precious gemstones, freshwater pearls, or artisan lampwork glass, understanding the structural engineering of a beaded necklace is what separates a fragile craft from a durable, heirloom-quality garment. This comprehensive guide will walk you through the exact material grades, tension tolerances, and finishing techniques required to string a professional-grade beaded necklace.
Step 1: Selecting the Right Stringing Material
The most common failure point in any beaded necklace is the stringing material. Selecting the wrong core for your specific bead weight and hole diameter will result in snapped wires, frayed threads, and lost gemstones. According to the Gemological Institute of America (GIA), the Mohs hardness and edge sharpness of your beads must dictate your stringing choice. For instance, sharp-edged beryl or quartz will slice through standard silk thread in a matter of weeks.
| Material Type | Best Application | Tensile Strength & Specs | Estimated Cost |
|---|---|---|---|
| 49-Strand Nylon-Coated Stainless Steel (.019") | Heavy gemstones, crystals, glass | High (40+ lbs); excellent drape | $15 - $25 / spool |
| Size F or G Silk Thread | Pearls, soft organic gems (amber, coral) | Low (requires knotting between beads) | $4 - $8 / card |
| Braided Polyethylene (e.g., Power Pro) | Seed beads, lightweight stones, illusion necklaces | Medium-High (20-30 lbs); no memory | $10 - $18 / spool |
Expert Insight: For a standard semi-precious stone beads necklace for ladies, 49-strand .019" nylon-coated stainless steel wire (such as Soft Flex or Beadalon) is the industry gold standard. The 49 micro-strands provide a fluid, fabric-like drape that prevents the necklace from kinking, a common failure mode in cheaper 7-strand or 19-strand alternatives.
Step 2: Preparing Your Bead Board and Design Layout
Before cutting your wire, you must map the physical geometry of the necklace. A flocked bead board with measurement channels is non-negotiable for achieving symmetrical tension. When designing an 18-inch princess-length necklace, account for the 1-inch loss that occurs during the crimping and clasp attachment phase.
Establishing Focal Points and Spacer Ratios
A well-balanced beads necklace for ladies relies on the strategic use of spacer beads to prevent visual clutter and reduce friction between larger gemstones. Use the 3:1 ratio rule: for every 3mm of focal bead surface area, introduce 1mm of metallic or glass spacer material. This not only enhances the visual rhythm but also protects the drill holes of softer stones from grinding against one another.
"Never drill-to-drill hard gemstones without a micro-spacer. The friction from daily wear will eventually enlarge the bead holes and compromise the structural integrity of the strand." — Master Jeweler Bench Notes, Fire Mountain Gems Encyclopedia.
Step 3: The Stringing and Crimping Masterclass
Crimping is the mechanical anchor of your necklace. A poorly executed crimp will either slip, causing the necklace to unstring, or act as a guillotine, slicing through the nylon coating of your wire. You must use seamless 2x2mm sterling silver or gold-filled crimp tubes. Avoid base-metal crimp beads, which are brittle and prone to cracking under pressure.
Executing the Perfect Micro-Crimp
- Thread the Wire: Pass the .019" wire through the 2x2mm crimp tube, through the soldered jump ring of your clasp, and back down through the crimp tube, leaving a 2-inch tail.
- Positioning: Slide the crimp tube close to the clasp, leaving just enough room for the clasp to move freely (about 2mm of slack).
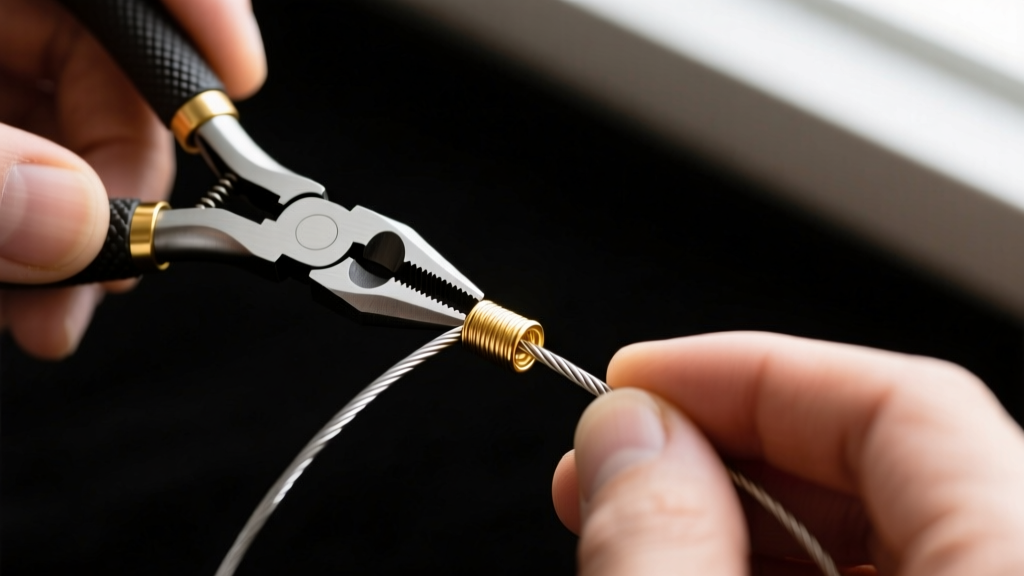
- The First Squeeze: Place the crimp tube in the back notch (the U-shaped groove) of your micro-crimping pliers. Squeeze firmly to separate the two wires inside the tube into distinct channels.
- The Fold: Rotate the tube 90 degrees and place it in the front notch (the oval groove) of the pliers. Squeeze to fold the U-shape in half, encasing the wires securely.
- The Tuck: Thread the 2-inch tail through the first three beads of your design before trimming it flush with a pair of precision flush-cutters.
By tucking the tail into the beadwork, you eliminate the need for toxic jewelry glues and ensure a clean, professional finish that withstands decades of wear.

Step 4: Finishing with French Wire (Bullion)
If you are stringing high-value pearls or creating a luxury beads necklace for ladies, skipping French wire is a critical error. French wire, or bullion, is a microscopic coiled spring of fine sterling silver or gold that acts as a protective sleeve over your stringing material where it rubs against the metal clasp.
How to Apply French Wire:
- Cut a 3/4-inch piece of fine (.014") French wire using a dedicated razor blade (scissors will crush the delicate coil).
- Thread your wire through the French wire coil before passing it through the clasp ring.
- When you pull the wire taut, the French wire will bend smoothly over the metal ring, taking 100% of the frictional wear and preventing the clasp from sawing through your nylon-coated steel or silk thread.
Step 5: Styling and Layering Your Beaded Necklace
Once your bespoke piece is constructed, styling it correctly is paramount to maximizing its visual impact. The current 2026 styling paradigm favors intentional, structured layering over chaotic maximalism.
Neckline Pairing Framework
- The V-Neck Blouse: Pair an 18-inch princess-length beads necklace for ladies with a delicate 16-inch gold vermeil choker. The V-shape of the beads will mirror the neckline, elongating the neck.
- The Crew Neck Sweater: Opt for a 20-to-24-inch matinee or opera-length strand. The beads should rest entirely below the collar line to avoid visual competition with the garment's ribbing.
- The Open Collar Button-Down: A multi-strand beaded lariat or a heavily graduated 16-inch choker provides a striking geometric contrast to the structured lines of a crisp cotton shirt.
By mastering the technical aspects of stringing, crimping, and finishing, you elevate a simple strand of beads into a masterwork of wearable engineering. For further reading on advanced metallurgical clasp mechanisms and gemstone tension testing, refer to the Soft Flex Company Beading Wire Guide.


