Diamond Anchor Necklace Troubleshooting & Repair Guide
Is your diamond anchor necklace snagging, tangling, or losing stones? Discover expert troubleshooting tips and repair solutions for lasting wear.

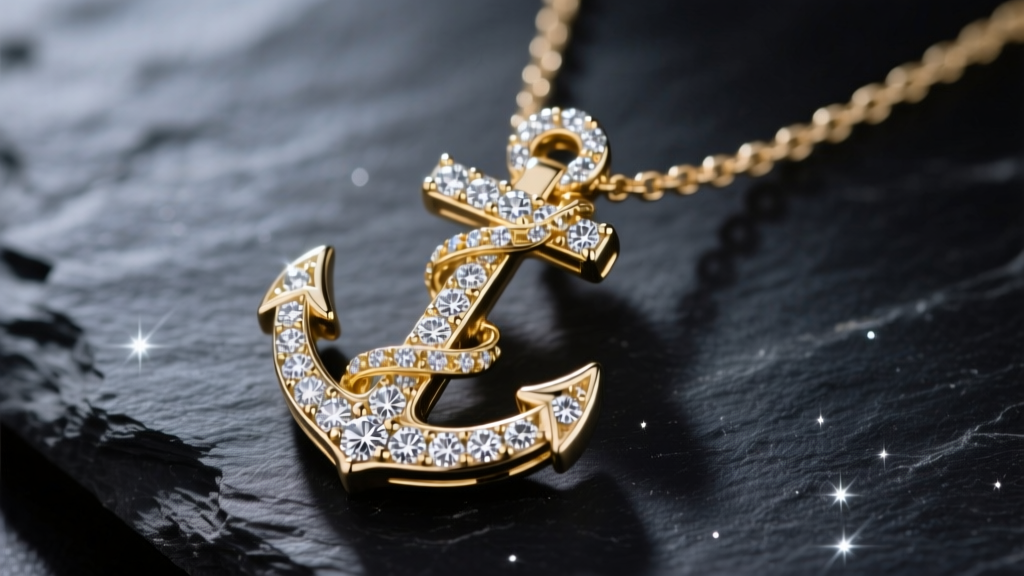
The diamond anchor necklace is a timeless nautical motif symbolizing hope, stability, and steadfast love. However, beneath its sentimental appeal lies a complex piece of jewelry engineering. The asymmetrical weight distribution of the anchor's flukes, the high-relief pave settings, and the constant friction at the shackle loop create unique structural vulnerabilities. As we move through 2026, jewelers are seeing a spike in repair requests for these specific pendants, ranging from chronic flipping to micro-pave diamond loss.
This comprehensive troubleshooting guide bypasses generic jewelry advice to address the exact mechanical and metallurgical failure modes of anchor necklaces. Whether you are dealing with a snagging fluke tip or a worn-through crown loop, here is how to diagnose and resolve the issues.
The Center of Gravity Problem: Flipping and Tangling
The most frequent complaint regarding anchor pendants is that they refuse to lay flat against the collarbone. The anatomy of an anchor features a heavy, curved bottom section (the flukes and bill) and a lighter top section (the crown and stock). When suspended from a highly flexible chain, the pendant's center of gravity causes it to rotate, often ending up upside down or tangled.
Diagnostic Checklist for Flipping
- Chain Flexibility: Snake chains and herringbone chains possess high lateral flexibility, allowing the heavy flukes to pull the pendant forward and flip it.
- Bail Proportions: If the bail (the loop connecting the pendant to the chain) has an internal diameter larger than 2.5mm, the pendant has too much 'swing room' to rotate.
- Clasp Migration: A heavy anchor pendant will naturally pull the chain's clasp to the front of the neck if the chain is not properly counterbalanced.
The Engineering Solution
To stabilize a diamond anchor necklace, you must restrict lateral movement. Switch to a 1.2mm to 1.5mm box chain or a rigid cable chain. The structural rigidity of a box chain resists the rotational pull of the anchor's flukes. Additionally, ensure the pendant features a fixed bail (soldered directly to the crown) rather than a free-swinging jump-ring bail. If flipping persists, a jeweler can add a discreet 2mm platinum counterweight bead to the back of the crown to balance the mass of the flukes.
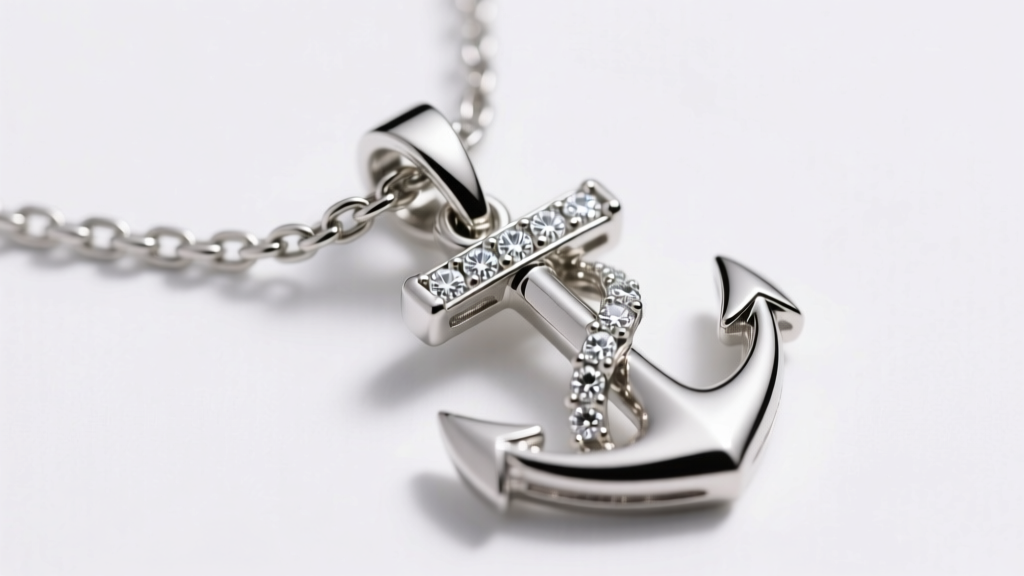
Snagging and Prong Failures on the Flukes
The sharp, tapered tips of the anchor flukes are notorious for catching on knitwear, lace, and hair. This is not just an annoyance; it is a primary cause of diamond loss and metal deformation.
According to the Gemological Institute of America (GIA), repeated micro-snags on pave settings gradually lift the metal beads or prongs holding melee diamonds, eventually leading to stone loss without any obvious impact damage.
Identifying the Prong Type
Examine the tips of your anchor's flukes under a 10x jeweler's loupe. Are the diamonds held by shared prongs (a continuous line of metal) or bead settings (tiny raised droplets of metal)?
- Shared Prongs (High Snag Risk)
- Shared prongs create a raised, linear ridge of metal. If the edge of the fluke catches on fabric, the entire row of prongs can peel back, exposing multiple 0.02ct melee diamonds to falling out. Fix: Have a jeweler file down the profile of the shared prongs and re-tip them using a laser welder for a lower-profile finish.
- Bead Settings (Low Snag Risk)
- Bead settings sit flush against the metal surface. If a bead-set diamond anchor necklace is snagging, the issue is likely a burr on the cast metal edge of the fluke itself, not the setting. Fix: A simple polishing and burnishing of the fluke's edge will resolve the friction.
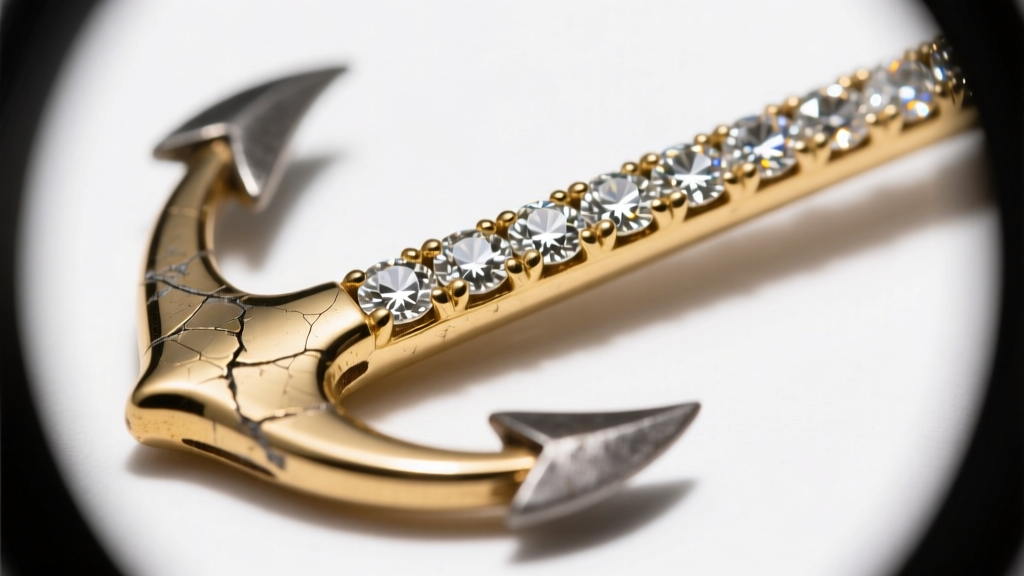
The Shackle Loop: A Critical Wear Point
The 'shackle' is the circular ring at the very top of the anchor pendant where the bail threads through. This component suffers from severe, localized metal fatigue. Every time you move, the bail rubs against the interior of the shackle ring. Over 3 to 5 years of daily wear, this friction acts like a slow-moving saw.
Material Hardness and Wear Rates
The lifespan of your shackle loop depends heavily on the metal alloy:
| Metal Type | Mohs Hardness / Alloy Density | Average Time to Critical Wear (0.5mm loss) | Recommended Repair Method |
|---|---|---|---|
| 14k Yellow Gold | Softer, higher copper/zinc content | 3 - 4 Years | Laser welding with 14k gold wire |
| 18k White Gold | Medium hardness, nickel/palladium alloy | 4 - 6 Years | Re-plating and structural soldering |
| Platinum (950/50 Ru) | Dense, highly durable, work-hardens | 10 - 15+ Years | Rarely needed; burnishing if grooved |
Troubleshooting Tip: Inspect the top interior curve of the shackle ring annually. If the metal thickness has worn down to less than 0.8mm, the ring is at imminent risk of snapping, which will result in the loss of the entire diamond pendant. A jeweler can rebuild the interior curve using laser welding, which adds metal precisely without melting the surrounding diamond pave.
Rhodium Depletion on High-Relief Areas
If your diamond anchor necklace is crafted from white gold, you will inevitably face rhodium plating depletion. White gold is naturally a faint yellowish-gray; it is plated with rhodium to achieve a bright, reflective white finish. Because anchor pendants feature high-relief elements (the raised stock and the ridges of the shank), these areas experience direct contact with skin, clothing, and environmental acids.
Why the Anchor Wears Faster Than Standard Pendants
Standard flat pendants distribute friction evenly. An anchor pendant concentrates friction on its protruding edges. The rhodium layer is typically only 0.75 to 1.0 microns thick. Once this microscopic layer wears away on the fluke tips or the shank ridge, the underlying yellowish tint of the white gold becomes visible, creating a 'dirty' or tarnished appearance that polishing cannot fix.
The 2026 Maintenance Protocol: Do not attempt to polish the yellowing areas yourself, as abrasive cloths will strip the remaining rhodium from the recessed areas. Instead, consult a professional for an ultrasonic cleaning followed by a selective re-plating. The Jewelers of America recommends having white gold pieces with intricate pave settings re-plated every 12 to 18 months to maintain the contrast between the bright metal and the diamonds.
Ultrasonic Cleaning Dangers for Pave Anchors
A common troubleshooting mistake occurs when owners attempt to clean a dull diamond anchor necklace in an at-home ultrasonic cleaner. The high-frequency sound waves create microscopic cavitation bubbles that blast away oils and lotions. However, if the micro-prongs on the anchor's shank are already weakened by daily friction, the intense vibration of the ultrasonic cleaner will shake the melee diamonds completely out of their settings.
Safe Cleaning Alternatives
- The Soak Method: Mix warm water with a few drops of ammonia-free dish soap. Let the necklace soak for 15 minutes.
- Targeted Brushing: Use an extra-soft baby toothbrush to gently agitate the dirt trapped beneath the anchor's crossbar (the stock). Brush in the direction of the prongs, never against them.
- The Shake Test: Before wearing the necklace after cleaning, hold it near your ear and gently shake it. If you hear a faint 'clicking' or rattling sound, a diamond is loose in its pave setting and requires immediate professional tightening.
Final Verdict: Preventative Diagnostics
A diamond anchor necklace is a beautiful but mechanically demanding piece of jewelry. By understanding the specific stress points—the rotational pull of the flukes, the friction of the shackle loop, and the vulnerability of the fluke prongs—you can transition from reactive repairs to proactive maintenance. Inspect your bail-to-chain ratio, monitor the thickness of your shackle ring, and avoid ultrasonic cleaners to ensure your nautical symbol remains secure and brilliant for decades to come.