How to Make Bandana Necklace Chokers: Material Guide
Learn how to make bandana necklace chokers with our 2026 material guide. Compare cotton, silk, and blends, plus hardware tips for durable DIY jewelry.
The Anatomy of a Bandana Necklace: Beyond the Basic Knot
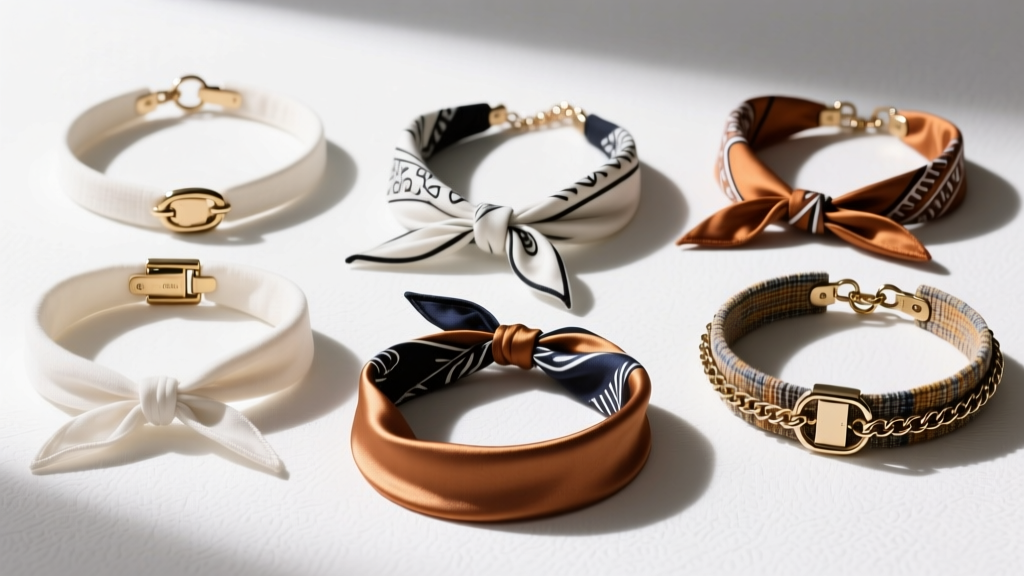
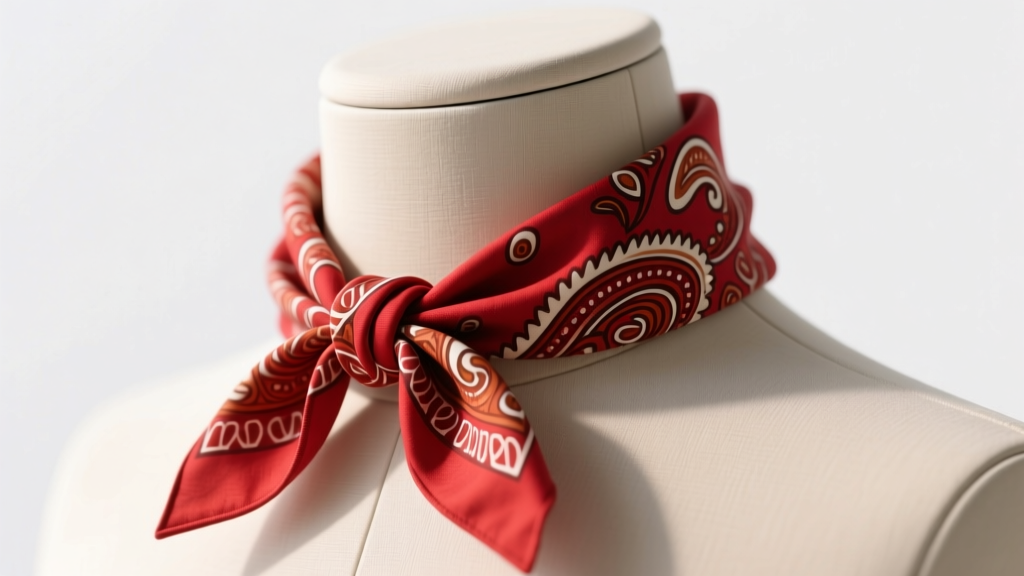
When learning how to make bandana necklace designs that transcend temporary festival wear, the secret lies in treating the textile not just as a decorative tie, but as a structural jewelry component. In 2026, the DIY jewelry landscape has shifted heavily toward hybridization—merging heritage, upcycled textiles with permanent jewelry hardware. A true bandana choker or pendant necklace requires an understanding of fabric tensile strength, dye stability, and metal-to-fabric integration.
Simply tying a piece of fabric around your neck results in uneven tension, rapid fraying at the stress points, and eventual dye transfer onto your skin. To craft a professional-grade bandana necklace, we must analyze the material properties of the bandana itself and engineer a hardware system that supports the fabric's unique drape and weight.
Fabric Material Comparison: Which Bandana Base is Best?
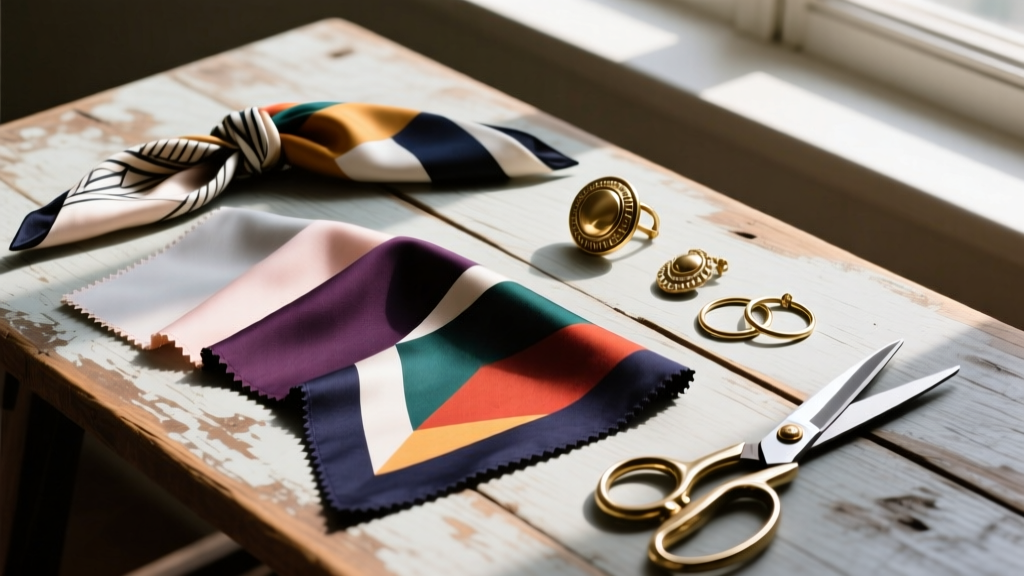
Not all bandanas are created equal. The traditional 22x22 inch square is woven in various materials, each presenting unique challenges and advantages for jewelry making. According to textile experts at Mood Fabrics, understanding the GSM (Grams per Square Meter) and weave type is critical before cutting into your material.
| Material | GSM Range | Drape & Stiffness | Hardware Compatibility | Best Necklace Style |
|---|---|---|---|---|
| Cotton Cambric | 110-130 | Medium stiffness, holds knots well | Excellent for crimps & grommets | Structured chokers, lariat pendants |
| Silk Twill | 60-80 | Fluid, luxurious drape | Poor for crimps; requires sewing | Delicate tie-necks, scarf pendants |
| Poly-Blend | 90-110 | Stiff, resistant to wrinkling | Good for crimps, melts with heat | Everyday streetwear chokers |
| Upcycled Denim | 250-350 | Heavy, rigid, structural | Requires heavy-duty rivets/grommets | Statement collars, chain-hybrids |
Understanding Weave Density and Crocking
The most common failure mode in DIY fabric jewelry is crocking—the transfer of excess dye from the fabric to the wearer's skin or clothing, accelerated by body heat and friction. Cheap, mass-produced cotton bandanas often use surface-printed dyes that sit on top of the warp and weft threads rather than penetrating them.
Before constructing your necklace, perform a crocking test: rub a damp white cloth vigorously against the printed side of the bandana. If color transfers, you must pre-treat the fabric. Soak the bandana in a solution of cold water, one cup of white vinegar, and a tablespoon of salt for 30 minutes to help set the dye, then wash it with a textile detergent like Synthrapol to suspend and remove unfixed dye particles.
Hardware & Findings: Upgrading from Fabric Tie to Clasp
To elevate your design from a simple tied rag to a secure piece of jewelry, you must integrate metal findings. The challenge is that fabric lacks the rigidity of chain or cord, meaning standard jewelry crimp beads will simply slice through the textile under tension. Instead, we use fold-over ribbon crimps and specialized adhesives.
Clasp Materials and Failure Modes
When selecting hardware, consider the galvanic reaction between your metal findings and the moisture from the wearer's neck. Brass and raw copper will oxidize rapidly when in contact with sweat and dyed cotton, often leaving a green residue that stains the bandana fabric permanently. For 2026 DIY standards, always opt for 316L surgical stainless steel or nickel-free plated zinc alloy for any component that will anchor the fabric.
- 10mm to 15mm Fold-Over Ribbon Crimps: These provide a wide surface area to grip the folded edge of the bandana without cutting the fibers.
- 18-Gauge Stainless Steel Jump Rings (5mm outer diameter): Thick enough to prevent warping when the wearer pulls on the necklace.
- Lobster Clasps with Swivels: A swivel component prevents the fabric from twisting and bunching up at the nape of the neck.
Step-by-Step: Constructing a Hybrid Chain-Bandana Choker
This technique combines the soft comfort of a cotton cambric bandana with the security and adjustability of a metal chain extension. This method is highly recommended by crafting authorities like The Spruce Crafts for ensuring longevity in fabric-based accessories.
Step 1: Cutting on the Bias vs. Straight Grain
Do not cut your bandana in a straight horizontal or vertical line. Cutting on the bias (at a 45-degree angle to the selvedge edge) allows the woven fabric to stretch and contour smoothly around the cervical spine without buckling. Cut a strip 2 inches wide and 18 inches long on the bias.
Step 2: Edge Finishing and Fray Prevention
Because bias cuts expose the diagonal weave, they are prone to stretching and fraying. Fold the long edges inward by 1/4 inch and apply a flexible fabric glue or use a tight zig-zag stitch with a polyester thread. Avoid using standard fray-check liquids on the edges that will touch the skin, as they dry hard and can cause contact dermatitis.
Step 3: Attaching the Ribbon Crimps
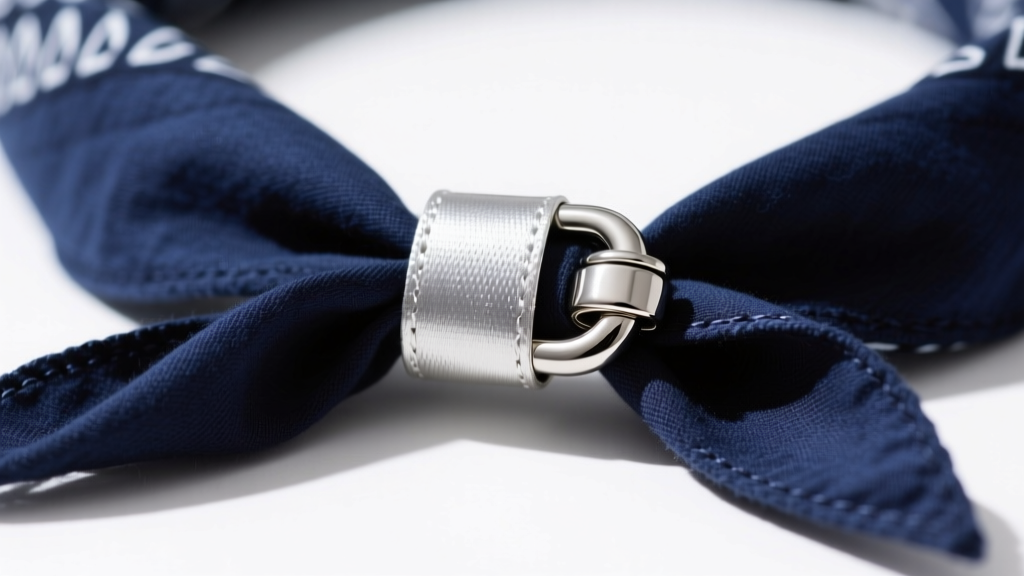
Fold the short ends of your bandana strip into a tight 10mm wide triangle. Apply a drop of flexible jewelry adhesive (such as E6000 Fabri-Tac) inside the fold. Slide a 10mm silver ribbon crimp over the folded edge and use nylon-jaw pliers to clamp the crimp shut. The nylon jaws prevent the pliers from marring the metal or crushing the fabric fibers too harshly.
Step 4: Chain Integration
Attach a 5mm 18-gauge jump ring to the loop of the ribbon crimp. On one side, connect your lobster clasp; on the other, connect a 3-inch piece of stainless steel cable chain. This chain acts as an adjustable extender, allowing the wearer to customize the drop length from a tight 14-inch choker to a 17-inch princess-length necklace.
Maintenance: Preventing Fray and Dye Transfer
Fabric necklaces require different care protocols than solid metal jewelry. Never submerge a hybrid bandana necklace in ultrasonic cleaners or harsh chemical dips. The vibrations and chemicals will degrade the flexible adhesives used in the ribbon crimps and strip the protective top-coat from the metal hardware.
For spot cleaning, use a mild, pH-neutral soap and a damp microfiber cloth, dabbing gently at the cotton fibers. Always lay the necklace flat to dry in a well-ventilated area away from direct sunlight, which can cause the vibrant paisley or floral dyes to experience UV fading. By respecting the material properties of both the textile and the metal, your DIY bandana necklace will remain a durable, standout piece in your 2026 wardrobe rotation.
For more advanced jewelry making techniques and metal stamping guides to customize your clasps, suppliers like Rio Grande offer extensive educational resources on integrating non-traditional materials into fine jewelry frameworks.


