How to Make an Adjustable Necklace Cord for Personalized Gifts
Learn how to make an adjustable necklace cord for personalized gifts. Master sliding knots, cord materials, and occasion-matching tips.

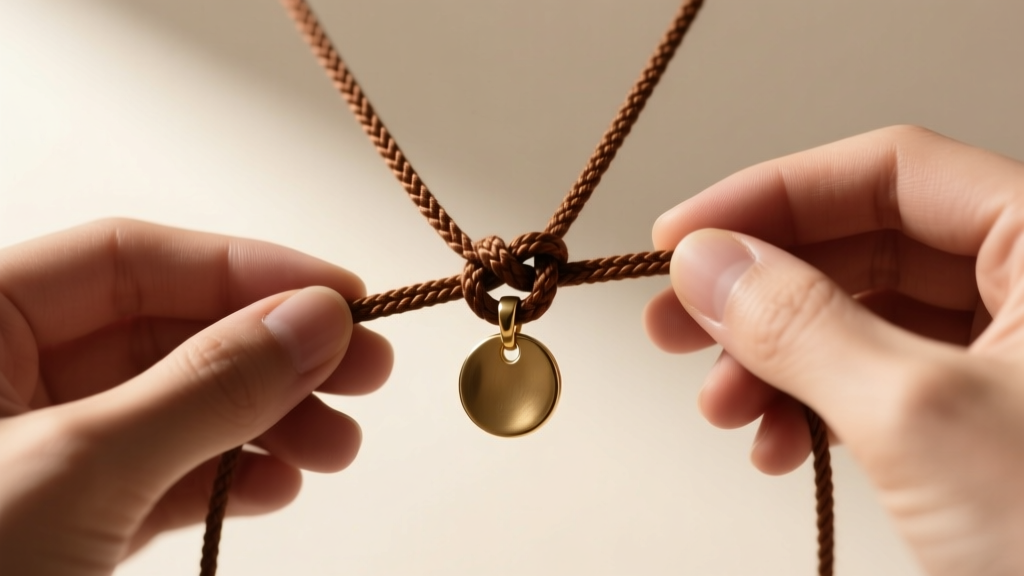
The Art of the Adjustable Cord: Why It Makes the Perfect Gift
Gifting jewelry is a deeply personal gesture, but it often comes with a frustrating logistical hurdle: sizing. When you are crafting a bespoke pendant necklace for a friend, partner, or family member, guessing their exact neck circumference can lead to a beautiful piece sitting unworn in a drawer. Learning how to make an adjustable necklace cord completely eliminates this problem, transforming your handmade gift into a versatile, one-size-fits-all accessory that the recipient can tailor to their daily wardrobe.
Beyond the practical benefits of sizing, an adjustable cord necklace offers a distinct, artisanal aesthetic that rigid metal chains simply cannot replicate. It allows the wearer to adjust the pendant's drop length from a high collarbone rest (around 16 inches) down to a dramatic solar plexus plunge (up to 26 inches), making it ideal for layering over different necklines. In this comprehensive gift guide, we will explore the material sciences of jewelry cords, master the macramé sliding knot, and provide a framework for matching your custom creation to specific gifting occasions.
Selecting the Right Cord Material for Your Recipient
The foundation of any durable, high-quality adjustable necklace is the cord itself. Choosing the wrong material is the most common failure mode for beginner jewelry makers. A cord must possess high tensile strength, resist fraying at the friction points of the sliding knot, and complement the visual weight of the pendant. Below is a comparative analysis of the top four cord materials used in professional jewelry design.
| Material | Ideal Diameter | Best For | Durability & Failure Modes |
|---|---|---|---|
| Waxed Cotton | 1.0mm - 1.5mm | Everyday wear, bohemian styles, metal pendants | Highly durable. The wax coating prevents fraying inside the knot. Can fade if exposed to constant UV/sweat. |
| Braided Leather | 1.5mm - 2.0mm | Rustic designs, heavy stone pendants, masculine gifts | Strong but vulnerable to moisture. Repeated wetting and drying will cause the leather to stiffen and eventually snap. |
| Chinese Knotting Silk | 0.8mm - 1.5mm | Elegant gemstones, pearls, lightweight gold-filled pieces | Beautiful drape and sheen. Prone to fraying if the pendant bail has sharp, unpolished inner edges. |
| Nylon (C-Lon) | 0.5mm - 0.9mm | Micro-macrame, delicate crystals, minimalist layering | Exceptional tensile strength and colorfastness. Ends must be melted with a lighter to prevent unraveling. |
According to the jewelry supply experts at Fire Mountain Gems, waxed cotton and Chinese knotting silk remain the most popular choices for sliding knot applications because their slight surface texture provides the exact amount of friction needed to hold the knot in place while still allowing it to slide when intentionally pulled.
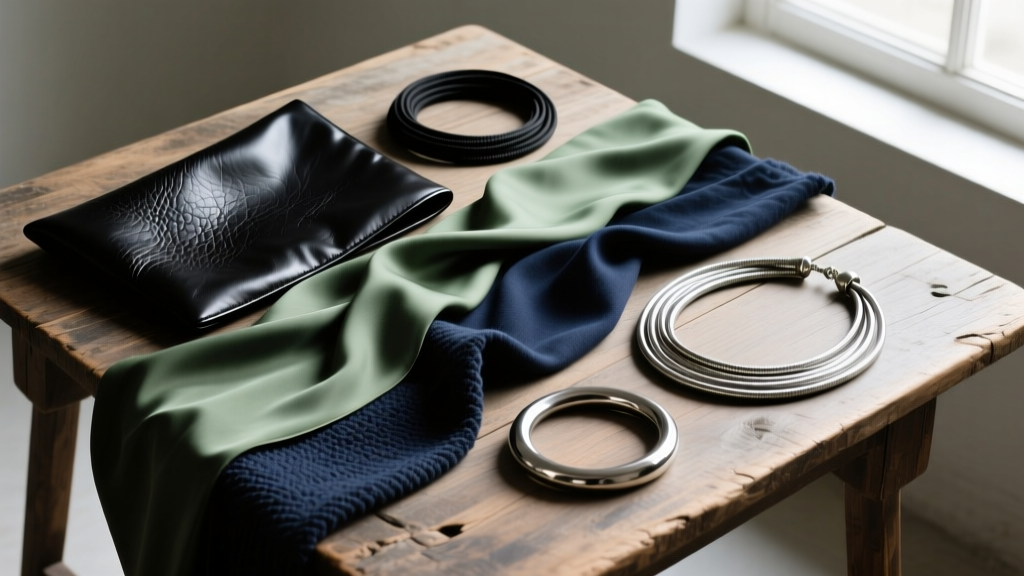
How to Make an Adjustable Necklace Cord: Step-by-Step
The secret to a professional-looking adjustable necklace lies in the sliding square knot (often referred to as a macramé sliding knot). This knot grips the underlying cords tightly enough to support the weight of a pendant without slipping, yet yields smoothly when the wearer pulls the ends to adjust the length.
The Macramé Sliding Knot Technique
To execute this technique, you will need your main necklace cord (cut to approximately 40 inches) and a separate 'knotting cord' of the exact same material and color, cut to about 12 inches.
- Prepare the Base: Overlap the two ends of your 40-inch main cord by about 2 inches on a flat surface, running parallel to each other.
- Position the Knotting Cord: Lay the 12-inch knotting cord horizontally underneath the overlapped section, ensuring you have equal lengths (about 6 inches) on both the left and right sides.
- The First Half-Knot: Take the right side of the knotting cord and pass it over the two main cords, then tuck it under the left side of the knotting cord. Pull tight.
- The Second Half-Knot: Take the left side of the knotting cord and pass it over the main cords, then tuck it under the right side. Pull tight. You have now completed one full square knot.
- Repeat and Tension: Repeat this alternating pattern for 6 to 8 full knots. The tension is critical here: you must pull the knots tight enough to bind the main cords together, but not so tight that you crush the fibers and restrict their ability to slide.
- Finish the Knot: Trim the excess knotting cord as close to the square knot as possible. If using nylon, carefully melt the tips with a lighter. If using cotton or silk, apply a microscopic drop of G-S Hypo Cement to secure the ends without staining the cord.
For visual learners, The Spruce Crafts offers excellent foundational guides on macramé square knots, which are the exact building blocks used in this jewelry application.
Securing the End Stoppers
An adjustable cord is only as good as its stoppers. If the main cords slip entirely through the sliding knot, the necklace will fall off and the pendant will be lost. To prevent this, tie a simple overhand knot at the very tip of both main cords. For a premium, high-end gift finish, thread a tiny 2mm metal or glass seed bead onto each end before tying the overhand knot. This adds a deliberate, weighted 'pull' that makes adjusting the necklace a tactile pleasure.
Occasion Matching: Pairing Cords and Pendants
When crafting a gift, the material and color of your cord should reflect both the recipient's personal style and the significance of the occasion. Here is a strategic framework for matching your adjustable cord design to specific gifting milestones.
- The Anniversary (Romantic & Elegant): Opt for a 1mm sage green or champagne Chinese knotting silk cord. Pair it with a delicate gold-filled locket or a bezel-set birthstone. Silk elevates the perceived value of the piece, making it appropriate for intimate, high-stakes occasions.
- The Graduation (Grounding & Adventurous): Choose a 1.5mm dark brown or black waxed cotton cord. Pair it with a meaningful brass stamping, such as a compass, a topographic map of their college town, or a subtle crest. Waxed cotton is rugged and symbolizes durability as they enter a new life chapter.
- The Everyday Birthday (Minimalist & Modern): Use a 0.8mm matte black or charcoal nylon cord. Pair it with a geometric sterling silver or matte titanium pendant. Nylon is virtually indestructible, water-resistant, and perfect for the recipient who never takes their jewelry off, even in the shower.
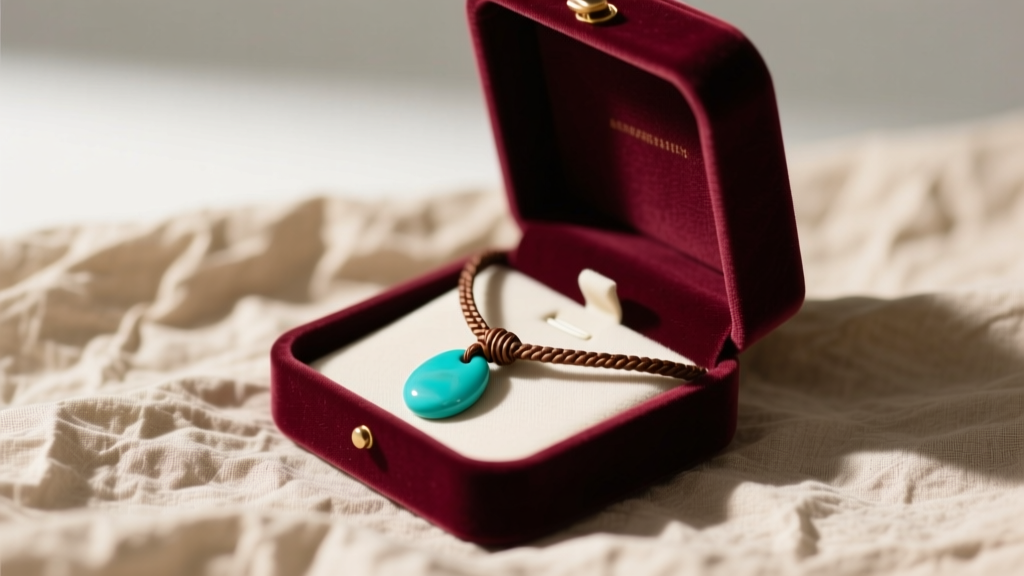
Pro Tips for Durability and Sizing
To ensure your handmade gift stands the test of time, pay close attention to the hardware and sizing mathematics. The internal diameter of your pendant's bail (the loop the cord passes through) must be at least 0.5mm larger than the thickness of your cord. Forcing a 1.5mm cord through a 1.5mm bail will cause rapid friction wear, eventually snapping the cord and losing the pendant. If you are sourcing metal findings, Rio Grande provides exact millimeter specifications for all their bails and jump rings, taking the guesswork out of your design process.
'The hallmark of a professional corded necklace is invisible finishing. Hide your glue points, melt your nylon cleanly, and ensure your stopper knots are symmetrical. The recipient should see the artistry of the knotwork, not the mechanics of the assembly.'
Finally, consider the 'slip-on' factor. The average adult head circumference is roughly 22 inches. When you tie your end stoppers, ensure the necklace can open to at least 25 inches. This allows the recipient to easily slip the necklace over their head without having to untie or manipulate the sliding knot every single time they put it on. By mastering these subtle engineering details, your adjustable cord necklace will transition from a simple DIY craft into a cherished, heirloom-quality gift.


