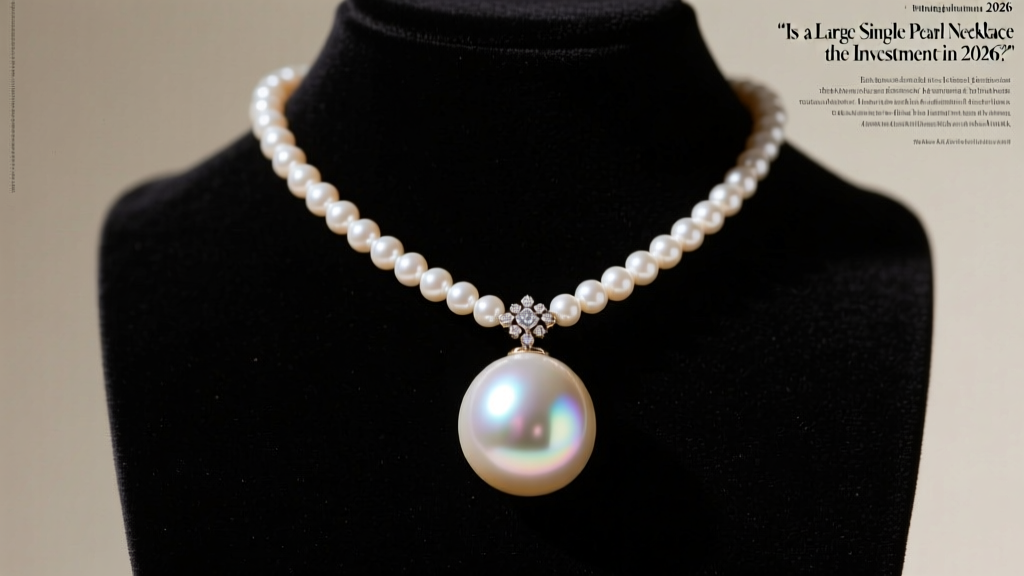
How to Make a Choker Necklace: The Ultimate DIY Gift Guide
Learn how to make a choker necklace for any occasion. This DIY gift guide covers wire gauges, metals, sizing, and step-by-step assembly.

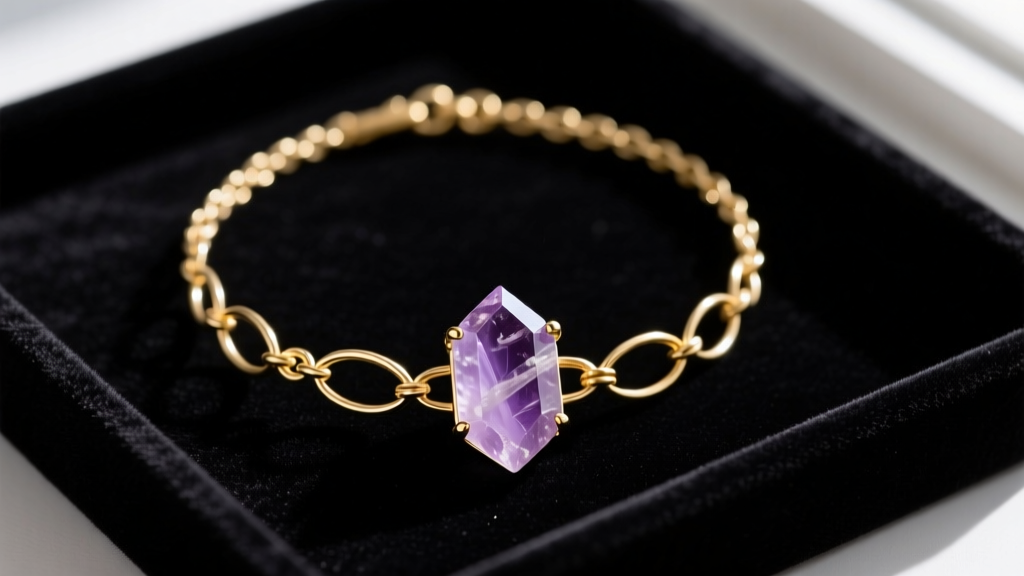
In the landscape of modern gifting, mass-produced accessories are increasingly taking a backseat to personalized, handcrafted jewelry. As we navigate the gifting trends of 2026, the DIY jewelry movement has evolved from simple stringing projects to sophisticated, bench-style wire wrapping and metalwork. Learning how to make a choker necklace allows you to create a deeply personal, perfectly fitted accessory that speaks volumes about the recipient. Whether you are crafting for a bridal party, an anniversary, or a milestone birthday, a handmade choker offers a unique blend of intimacy and high-end style.
This comprehensive guide will walk you through the exact metallurgical choices, precise gauge requirements, and structural techniques needed to craft a professional-grade choker necklace. We will also explore how to match specific materials and gemstones to various gifting occasions, ensuring your handmade piece is as meaningful as it is beautiful.
Sizing and Anatomy: Getting the Fit Perfect
Unlike standard princess-length necklaces (which sit at 18 inches and forgive minor sizing errors), chokers sit snugly at the base of the neck. A poorly sized choker is uncomfortable and unwearable. The standard choker length ranges from 14 to 16 inches, but to make a truly giftable piece, you must account for the recipient's specific neck measurement and the bulk of the clasp.
When designing your piece, always incorporate a 2-inch extender chain. This not only ensures a comfortable fit but also allows the wearer to adjust the choker based on their neckline. According to jewelry supply experts at Rio Grande, adding a 10mm lobster clasp paired with a 16-gauge cable extender chain is the industry standard for adjustable, high-quality necklaces.
| Neck Measurement | Base Chain Length | Total Length (with Extender) | Best Fit Style |
|---|---|---|---|
| 12.5 - 13.5 inches | 14 inches | 16 inches | Snug / Collarbone |
| 14.0 - 15.0 inches | 15 inches | 17 inches | Standard Choker |
| 15.5 - 16.5 inches | 16 inches | 18 inches | Relaxed Choker |
Material Selection: Matching Metals to the Recipient
The longevity of your handmade gift depends entirely on your material choices. Avoid base metals or cheap brass, which can oxidize and turn the skin green. For a piece meant to be cherished, you need jewelry-grade alloys.
Argentium Sterling Silver
Traditional sterling silver (925) is prone to tarnishing, which can be a disappointment when the recipient pulls the gift from its box months later. Halstead Bead highly recommends Argentium Sterling Silver (935 or 960). By replacing some of the copper with germanium, Argentium is highly tarnish-resistant and hypoallergenic. It is the ultimate choice for everyday wear chokers and requires minimal maintenance from the recipient.
14/20 Gold-Filled Wire
Do not confuse gold-filled with gold-plated. Gold-plated wire has a microscopic layer of gold that will wear off within weeks of friction against the neck. 14/20 gold-filled wire contains a solid layer of 14k gold that makes up exactly 5% of the total weight of the wire, mechanically bonded to a brass core. It behaves like solid gold during wire-wrapping and will last a lifetime, making it a luxurious yet budget-friendly option for anniversary gifts.
Step-by-Step: How to Make a Choker Necklace
For this guide, we will construct a wire-wrapped crystal choker. This design is elegant, structurally sound, and allows the central gemstone to be the focal point.
Tools and Materials Required
- Base Wire: 4 feet of 20-gauge (0.8mm) dead-soft Argentium silver or gold-filled wire.
- Wrapping Wire: 10 feet of 26-gauge (0.4mm) matching metal wire.
- Chain: 15 inches of 14-gauge cable chain, plus a 2-inch extender.
- Findings: Two 3mm cord ends or wire guardians, one 10mm lobster clasp, two 4mm jump rings.
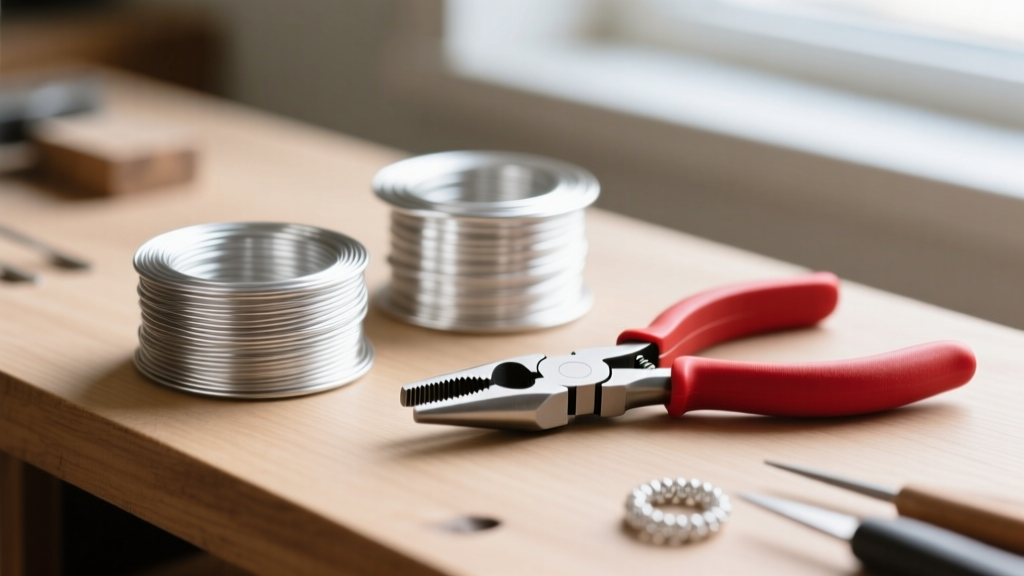
- Tools: Flush cutters, chain-nose pliers, round-nose pliers, and nylon-jaw pliers (essential for straightening wire without marring the metal).
- Focal Stone: One top-drilled gemstone briolette or raw crystal.
Assembly Instructions
- Prepare the Frame: Cut two 18-inch lengths of your 20-gauge wire. Using your nylon-jaw pliers, pull the wire to straighten it and work-harden it slightly. Align the two wires side-by-side.
- Create the Center Wrap: Anchor your 26-gauge wrapping wire to the center of the two base wires. Tightly coil the 26-gauge wire around both base wires for about 1.5 inches. This creates a rigid, decorative center plate where your stone will rest.
- Set the Stone: Thread your top-drilled gemstone onto the 26-gauge wire. Bring the wire up and over the top of the stone, wrapping it securely to the base wires on the opposite side. Ensure the stone is locked in place but not squeezed so tightly that it cracks.
- Taper the Sides: Separate the two base wires on either side of the center wrap. Use the 26-gauge wire to create a woven or spiral pattern down the base wires for another inch on each side, tapering off to leave the remaining wire bare for flexibility around the neck.
- Attach the Findings: Create a simple wrapped loop at both ends of your choker frame using your round-nose pliers. Attach the cable chain to one side via a jump ring, and the lobster clasp and extender chain to the other.
Occasion Matching: Which Choker Style for Which Event?
Understanding the symbolic language of gemstones and metals elevates a handmade gift from a simple accessory to a profound gesture. Here is how to tailor your choker design to specific gifting occasions.
Bridal Parties and Bridesmaids
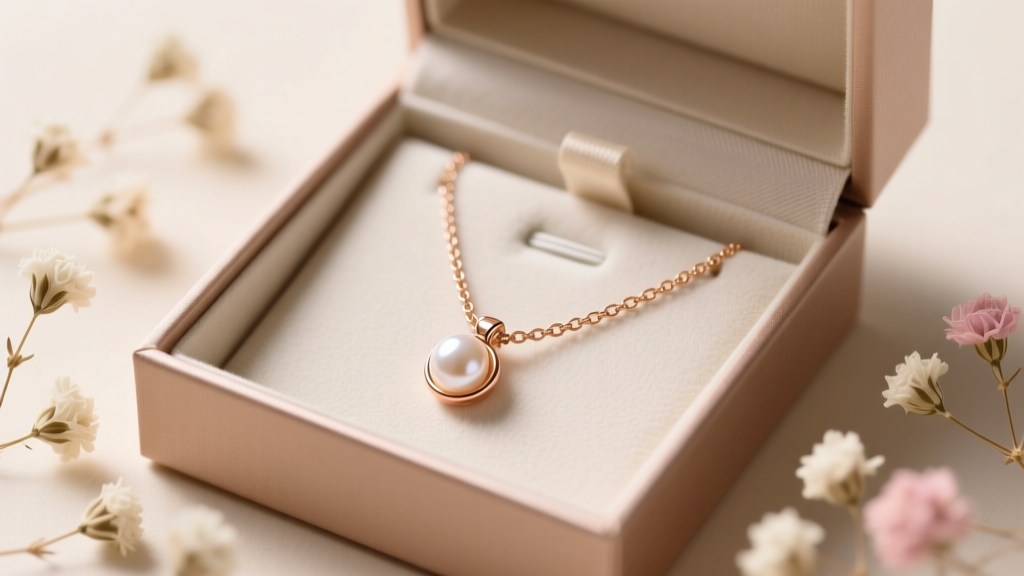
For weddings, uniformity and elegance are key. Opt for 14k gold-filled wire paired with freshwater pearl drops. Pearls symbolize purity and loyalty, making them ideal for bridesmaids. Keep the wirework minimal—a simple 22-gauge gold-filled chain with a single, centrally wrapped 6mm pearl creates a cohesive, photogenic look for the entire bridal party without overpowering their dresses.
Milestone Anniversaries
Anniversaries call for durability and romance. Use Argentium silver or solid gold wire, and incorporate the recipient's birthstone or the traditional gemstone associated with their anniversary year (e.g., sapphire for the 5th, ruby for the 15th). According to the Gemological Institute of America (GIA), ensuring your gemstone is properly cared for is vital; include a small care card with your gift noting whether the stone is porous (like opal or turquoise) or durable (like corundum) to guide their maintenance.
Graduations and New Beginnings
For a graduate entering the professional world, craft a choker that bridges the gap between trendy and professional. A sleek, black niobium wire choker is an excellent choice. Niobium is an elemental metal that is completely hypoallergenic and can be anodized into stunning, permanent colors like deep iridescent purple or midnight blue. It signals a modern, forward-thinking aesthetic perfect for a young professional.
Packaging and Presentation for DIY Jewelry Gifts
The presentation of a handmade choker is just as critical as the craftsmanship. A common mistake amateur jewelers make is tossing a finished piece into a standard cotton-filled box, which can accelerate tarnishing and result in a tangled chain.
Always use an airtight polybag with an anti-tarnish strip (such as Intercept Technology tabs) inside the gift box. This neutralizes corrosive gases in the air, keeping your Argentium silver or gold-filled wire brilliantly polished until the moment it is opened. Nest the choker in a velvet or suede-lined box with a built-in neck form to maintain the curve of the wire and prevent the chain from kinking.
Finally, include a handwritten note detailing the materials used, the gauge of the wire, and the specific origin or meaning of the gemstone. In an era dominated by fast fashion and automated manufacturing, taking the time to explain the meticulous process of how to make a choker necklace by hand transforms your creation into a priceless, one-of-a-kind heirloom.