How to Build a Custom Necklace Wall Hanger: Step-by-Step
Learn how to build, install, and style a custom necklace wall hanger. Protect delicate chains from tangling with this step-by-step guide.

The Problem with Traditional Jewelry Boxes
If you own more than a handful of necklaces, you are likely familiar with the "spaghetti effect"—the frustrating tangle of chains that occurs when jewelry is stored in a standard box. Beyond the annoyance of untangling them, improper storage causes severe micro-abrasions. When a 14k or 18k gold chain rubs against diamond pendants or harder gemstones in a confined drawer, it leads to premature wear, stretched links, and dulled finishes. According to the Gemological Institute of America (GIA), proper storage is just as critical as regular cleaning for maintaining the structural integrity and luster of fine jewelry.
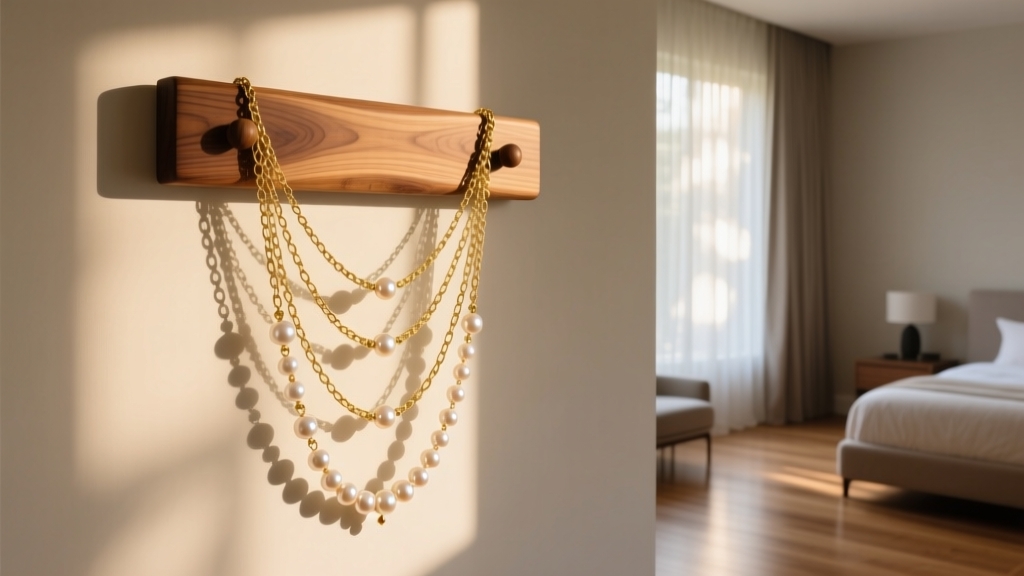
Building a custom necklace wall hanger solves these issues entirely. By allowing chains to hang freely at their natural drop length, you eliminate tangling, prevent kinking in delicate cable chains, and transform your collection into a functional piece of bedroom decor. This guide will walk you through the exact materials, structural considerations, and installation steps required to build a premium, jewelry-safe wall hanger.
Planning Your Necklace Wall Hanger Layout
Before purchasing wood or hardware, you must map out your collection. Necklaces vary wildly in length and weight, and your hanger must accommodate the longest matinee and opera-length pieces without them dragging on the furniture below.
Standard Necklace Lengths to Accommodate
- Choker (14-16 inches): Requires minimal vertical drop; ideal for the top row of hooks.
- Princess (18 inches): The most common length; requires a standard 9-inch vertical drop from the hook.
- Matinee (20-24 inches): Requires a 10 to 12-inch vertical drop.
- Opera (28-36 inches): Requires significant clearance; often best hung on the outer edges of the board or draped over specialized wider pegs.
For a comprehensive display, plan for a backboard that is at least 24 inches wide and 18 inches tall. This provides enough horizontal spacing (roughly 3.5 to 4 inches between hooks) to prevent adjacent pendants from clinking together, which can chip softer stones like opals or turquoise.
Selecting Jewelry-Safe Materials
The biggest mistake DIYers make is using cheap, uncoated steel hooks from a standard hardware store. Bare steel can cause galvanic corrosion when it comes into prolonged contact with the copper alloys found in 14k gold or sterling silver, especially in humid environments like bedrooms or coastal homes. Furthermore, rough metal edges will slice through delicate 0.8mm chains over time.
Hardware Comparison Chart
| Hook Material | Pros | Cons | Best For |
|---|---|---|---|
| Solid Brass | Non-corrosive, smooth finish, aesthetically pleasing | Can tarnish over time, softer metal | Gold chains, vintage pieces |
| 316L Stainless Steel | Extremely durable, rust-proof, hypoallergenic | Industrial look, harder to bend | Heavy pendants, platinum chains |
| Zinc-Plated Steel | Cheap, widely available | Plating wears off, causes tarnish/corrosion | Costume jewelry only |
| Silicone-Dipped Steel | Zero scratching, high grip | Can degrade with UV exposure over years | Delicate 0.8mm cable chains |
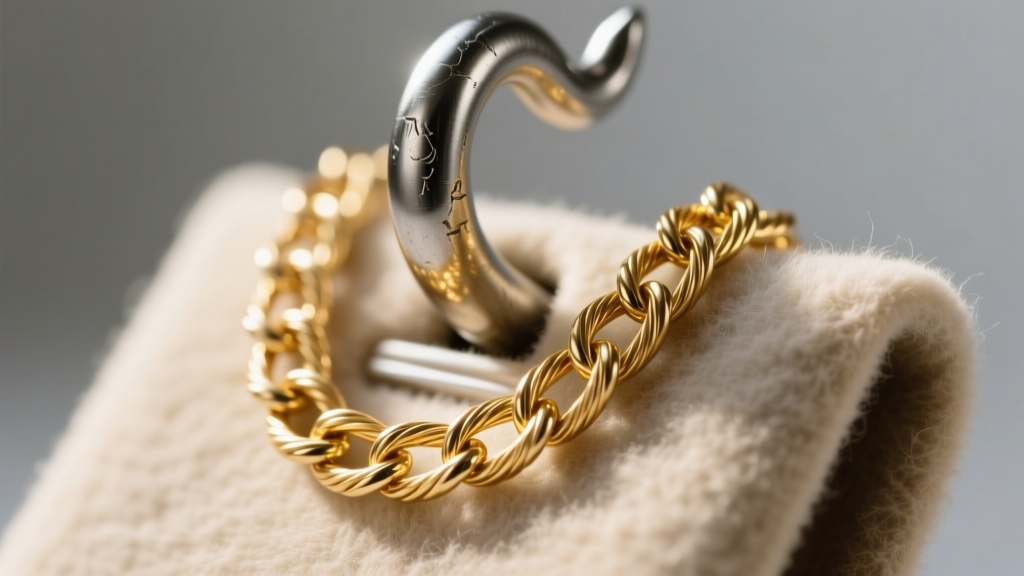
Expert Recommendation: Opt for solid brass or 316L stainless steel hooks. If your chains are exceptionally delicate (under 1.0mm gauge), wrap the base of the hook with a thin layer of self-adhesive felt tape to create a completely scratch-free resting point.
Step-by-Step Installation Guide
A sturdy installation is non-negotiable. A loaded oak board holding 20 heavy silver chains and gemstone pendants can easily exceed 15 pounds. Standard plastic drywall anchors will eventually pull out, damaging your wall and your jewelry.
Step 1: Prepare the Backboard
Cut a 3/4-inch thick hardwood board (walnut, oak, or maple) to your desired dimensions. Sand the edges with 220-grit sandpaper and apply a natural, low-VOC tung oil finish. Avoid polyurethane or heavily scented varnishes, as the off-gassing chemicals can accelerate silver tarnishing. Let the board cure for at least 72 hours in a well-ventilated area.
Step 2: Mark and Drill the Hook Holes
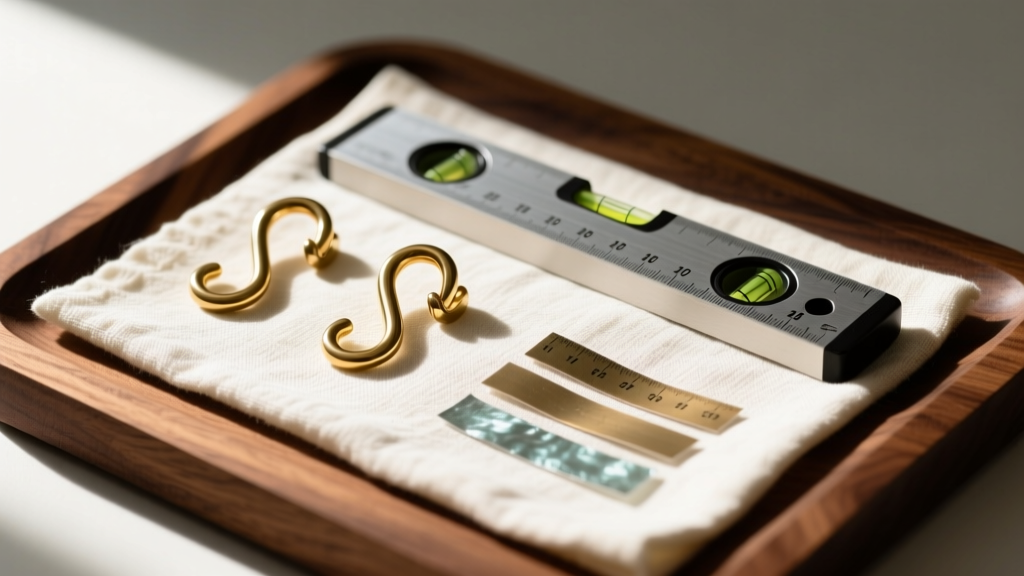
Using a pencil and a carpenter's level, mark your hook placements. Space them exactly 3.5 inches apart horizontally. Drill pilot holes slightly smaller than the threaded base of your hooks to ensure a tight, secure fit in the hardwood. Screw the hooks in by hand or with pliers (pad the pliers with a cloth to avoid marring the brass).
Step 3: Mounting to the Wall
Locate the wall studs using a magnetic or electronic stud finder. If your board spans across two studs, use 2.5-inch wood screws directly into the studs. If you are mounting on drywall where studs are unavailable, you must use 1/8-inch toggle bolts or SnapToggles, which distribute the weight behind the drywall and are rated for over 50 pounds per anchor in 1/2-inch drywall.
Pro-Tip: Place a strip of dark velvet or suede on the back of the wood board before mounting. This prevents the wood from scuffing your painted wall and adds a subtle friction grip that keeps the board perfectly level.
Organizing by Weight and Chain Gauge
How you hang your necklaces dictates their longevity. The Jewelers of America notes that improper hanging can cause permanent stretching in softer metals. Here is the framework for organizing your new necklace wall hanger:
- Heavy Pendants (10g+): Hang these on the thickest hooks (minimum 4mm diameter). A thin hook will force the chain links to bend at a sharp 90-degree angle under the pendant's weight, leading to metal fatigue and eventual snapping.
- Delicate Chains (0.8mm - 1.2mm): These should be hung on wider, U-shaped pegs rather than tight hooks. This allows the chain to drape in a natural teardrop shape rather than kinking at the clasp.
- Pearl and Beaded Strands: Never hang knotted pearl or heavy gemstone bead strands on a wall hanger. The constant downward gravity will stretch the silk threading over time. Keep these in padded, flat drawers.
Maintenance, Lighting, and Dust Prevention
An open-air necklace wall hanger is a stunning visual display, but it does expose your metals to airborne sulfur compounds and dust. To mitigate tarnish, adhere 3M anti-tarnish strips to the back of the wood board, replacing them every six months. These strips absorb corrosive gases before they can reach your silver and copper-alloy golds.
For lighting, avoid mounting the hanger in direct, harsh sunlight, which can fade heat-treated gemstones like amethyst or kunzite. Instead, install a low-heat LED picture light above the board. A color temperature of 3000K (warm white) will beautifully illuminate yellow gold and warm-toned gemstones without generating the heat that damages delicate jewelry adhesives.
By following these precise material selections and installation techniques, your custom necklace wall hanger will serve as both a protective vault for your most prized chains and a striking focal point in your dressing space.


