How to Make Safety Pin Necklace: Materials Buying Guide
Learn how to make safety pin necklace designs that last. Our buying guide covers surgical steel grades, chain types, and gauge sizes for skin-safe DIY.

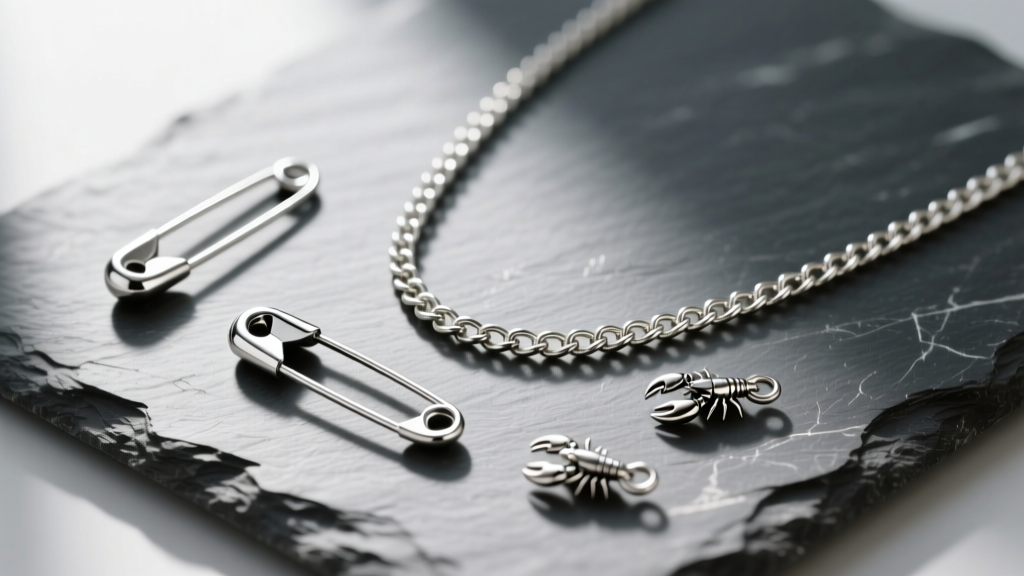
The safety pin necklace has transcended its 1970s punk origins to become a staple of modern streetwear and high fashion. As we move through 2026, the juxtaposition of utilitarian hardware with delicate chains remains a dominant trend. However, when researching how to make safety pin necklace designs at home, most DIYers overlook the metallurgical and structural realities of their components. A standard office-supply safety pin will rust, snap, or trigger severe contact dermatitis. This buying guide bridges the gap between punk aesthetics and professional jewelry making, detailing exactly what materials to source, what gauge sizes to demand, and how to avoid catastrophic hardware failure.
The Anatomy of a Skin-Safe Safety Pin
The most critical mistake beginners make is sourcing safety pins from general craft stores. These are typically made from nickel-plated brass or low-grade carbon steel. When exposed to the natural oils and sweat of the human neck, the plating degrades within days, leading to rust and severe allergic reactions. According to the American Academy of Dermatology, nickel is the most common cause of allergic contact dermatitis, affecting nearly 18% of adults.
When buying safety pins for jewelry, you must look for specific metallurgical grades:
- ASTM F138 Implant-Grade Stainless Steel: This is the gold standard for body jewelry. It contains virtually no free nickel and will not corrode against the skin.
- 316L Surgical Steel: A highly acceptable, more affordable alternative to F138. It contains trace amounts of nickel, but it is tightly bound within the alloy structure, making it safe for 95% of the population.
- Grade 23 Titanium (Ti-6Al-4V ELI): Hypoallergenic and incredibly lightweight. Titanium safety pins are harder to source but are mandatory for clients with severe metal sensitivities.
Pro-Tip: Avoid sterling silver safety pins. Silver is too soft (Mohs hardness of 2.5-3) to maintain the tension required for a safety pin's locking mechanism. The pin point will bend under the weight of a chain.
Sourcing the Right Chains and Hardware
Knowing how to make safety pin necklace designs that drape correctly requires understanding chain link geometry. The chain must be heavy enough to pull the safety pin taut, but flexible enough to move with the wearer's collarbone. Reputable jewelry suppliers categorize chains by link style and tensile strength.
| Chain Style | Link Geometry | Durability & Tensile Strength | Best Application |
|---|---|---|---|
| Rolo | Round/Oval interlocking | High (Resists pulling) | Heavy pendants, multi-pin clusters |
| Cable | Uniform oval links | Medium (Prone to stretching) | Lightweight, single-pin focal pieces |
| Curb | Flattened, interlocking | Very High (Lays flat, high tensile) | Chunky streetwear, tight chokers |
| Box | Square, hollow links | Medium-Low (Crushes under pressure) | Sleek, minimalist Y2K aesthetics |
For the clasp, avoid spring rings at all costs. The internal spring mechanism in cheap spring rings frequently fails, dropping your necklace. Invest in solid stainless steel lobster clasps (minimum 12mm length) with a soldered jump ring on the opposing end.
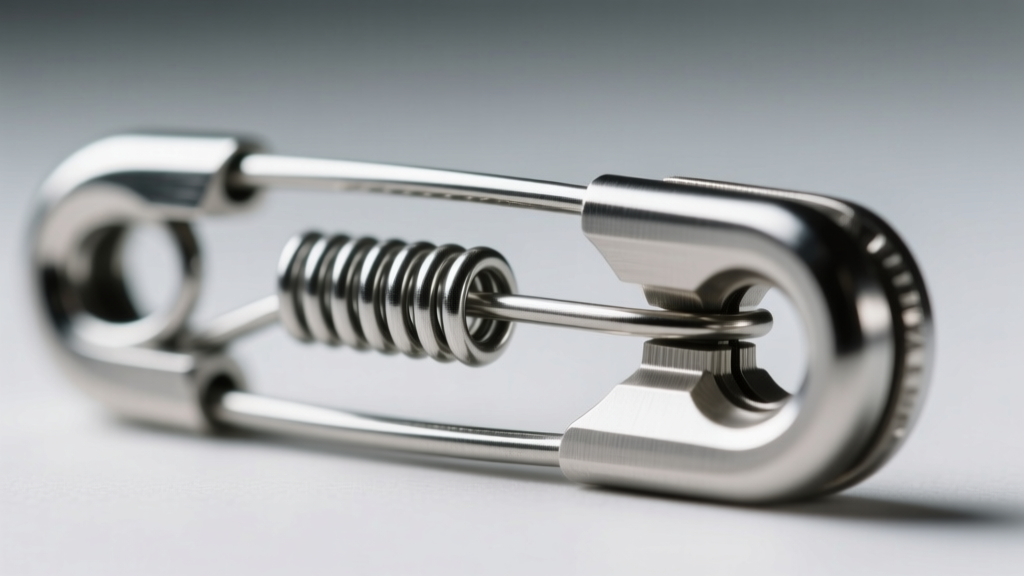
Understanding Gauge and Tension (Avoiding Failure Modes)
The structural integrity of a safety pin necklace relies entirely on the wire gauge of the pin and the tension of its coil. In jewelry wire terms, you should never use a safety pin thinner than 18-gauge (1.02mm). Standard 20-gauge or 22-gauge pins (often found in sewing kits) will warp and permanently deform when supporting a 4mm stainless steel chain.
The Coil Fatigue Problem
The most common failure mode in DIY safety pin jewelry is 'coil fatigue.' Every time the pin is opened and closed, the micro-coil at the hinge loses a fraction of its torsional tension. After 20 to 30 articulations, the pin will fail to snap securely into the locking cap, posing a severe laceration hazard to the wearer's neck.
The Solution: When assembling your necklace, do not use the pin point to attach the chain. Instead, thread your jump ring through the empty hole at the base of the coil, or wrap the chain directly around the solid spine of the pin. Keep the pin permanently locked in the closed position. This transforms the safety pin from a functional hinge into a static structural charm, eliminating coil fatigue entirely.
Step-by-Step Assembly for Maximum Longevity
Once you have sourced your 18-gauge 316L steel pins and a durable rolo chain, the assembly process must prioritize security over speed.
- Lock the Pin: Snap the safety pin shut. Ensure the point is fully seated inside the locking cap.
- Secure the Spine: Use a 2mm flat-nose pliers to gently squeeze the locking cap, ensuring zero lateral wiggle room.
- Attach via the Coil Hole: Open a 6mm, 20-gauge stainless steel jump ring using the twisting motion (never pull it apart laterally, which ruins the circle). Thread it through the bottom eyelet of the safety pin coil.
- Connect the Chain: Thread your chain through the jump ring and close it securely.
- The Adhesive Backup (Optional): For high-value pieces, apply a microscopic drop of cyanoacrylate (jewelry-grade super glue) to the seam of the jump ring to prevent vibrational loosening.
Pre-Made vs. Custom: What to Look For When Buying
If you decide that sourcing raw materials is too cumbersome, buying a pre-made safety pin necklace from an artisan or designer is a valid route. However, the market is flooded with cheap, mass-produced alloys disguised as 'punk fashion.' When evaluating a pre-made piece, apply this rigorous checklist:
- Hallmarks and Stamps: Look for '316L', 'Surgical Steel', or '925' (if the chain is silver, though the pin should still be steel). Unstamped metal is almost always zinc alloy.
- Soldered Links: Inspect the chain links under a macro lens or magnifying glass. High-quality chains feature soldered links (a tiny weld closing the seam). Unsoldered links will pull apart if the necklace snags on clothing.
- The Hinge Test: If the designer intends for the pin to be opened and closed by the wearer, inspect the coil. It should be tightly wound with no gaps between the wire wraps.

Pricing Expectations in 2026
Understanding the true cost of materials helps you spot scams and overpriced fast fashion:
- Fast Fashion / Dropshipped ($8 - $25): Almost exclusively zinc alloy with nickel plating. High risk of skin irritation and chain snapping.
- Independent Artisans / Etsy ($45 - $120): The sweet spot for DIY-level quality. Artisans typically use genuine 316L steel, hand-assemble the jump rings, and offer custom lengths.
- High-End Designer ($300 - $1,500+): Brands like Vivienne Westwood or Alexander McQueen use premium hardware, often incorporating 18k gold plating over solid brass or sterling silver bases. You are paying for the brand heritage, not necessarily superior metallurgical skin-safety.
Final Sourcing Tips for the Modern Maker
Mastering how to make safety pin necklace designs that rival luxury boutiques comes down to a refusal to compromise on base materials. Always demand mill certificates or explicit alloy breakdowns from your hardware suppliers. By prioritizing ASTM F138 or 316L stainless steel, selecting high-tensile rolo or curb chains, and engineering your assembly to bypass coil fatigue, you can create a piece of neckwear that is as structurally indestructible as it is stylistically rebellious. Whether you are building a single, oversized safety pin pendant or a complex, layered choker harness, the integrity of your jewelry is only as strong as its weakest link.


