How to Style and DIY a Safety Pin Necklace Silver Chain
Learn how to craft and style a safety pin necklace silver chain. Our step-by-step guide covers 925 sterling silver gauges, clasps, and layering techniques.

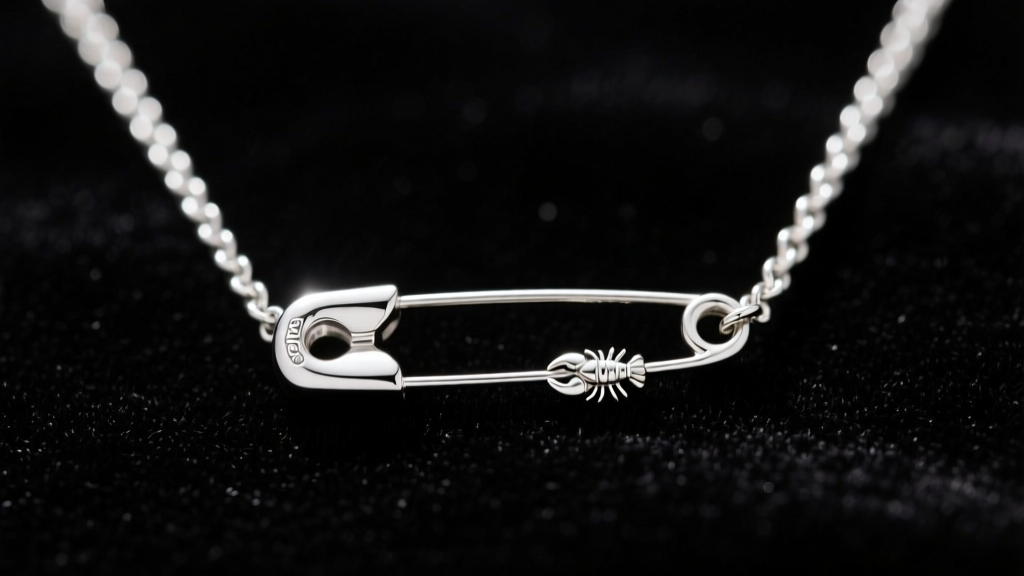
The Enduring Allure of the Safety Pin Necklace
What began as a subversive symbol of the 1970s punk movement has firmly cemented itself as a staple of contemporary high fashion and everyday streetwear. As we navigate the style landscape of 2026, the safety pin necklace silver trend continues to evolve, bridging the gap between grunge aesthetics and minimalist luxury. According to the Victoria and Albert Museum, the safety pin was originally repurposed by punk pioneers to challenge traditional sartorial norms. Today, crafting your own safety pin necklace allows you to control the metallurgical quality, the exact gauge of the wire, and the overall drape of the chain, ensuring a bespoke piece that outlasts fast-fashion costume jewelry.
In this comprehensive guide, we will walk you through the precise metallurgy required for a durable piece, provide a step-by-step fabrication tutorial, and offer advanced layering techniques to integrate your creation into your modern wardrobe.
Metallurgy and Materials: Selecting Your Silver
When designing a safety pin necklace silver chain, the structural integrity of the pin itself is paramount. A standard safety pin relies on spring tension, meaning the metal must possess the right balance of malleability for bending and tensile strength to hold its shape.
Silver Grades: 925 Sterling vs. Argentium
Most commercial jewelry utilizes 925 Sterling Silver, an alloy composed of 92.5% pure silver and 7.5% copper. While beautiful, the copper content makes it highly susceptible to oxidation and tarnishing, especially when exposed to the skin's natural oils and environmental humidity. For a DIY project that requires frequent handling and bending, the Gemological Institute of America (GIA) notes that Argentium Silver is a superior alternative. Argentium replaces some of the copper with germanium, resulting in a highly tarnish-resistant alloy that is also more malleable and fuses easily without solder. In 2026, Argentium wire costs approximately $2.50 to $3.50 per foot for standard gauges, making it an accessible investment for heirloom-quality DIY jewelry.
Wire Gauge and Chain Sizing
The gauge of your wire dictates the thickness and durability of the pin. For a standard 1-inch to 1.5-inch safety pin pendant, you must use 16-gauge (1.29mm) or 18-gauge (1.02mm) wire. Anything thinner, such as 20-gauge, will bend out of shape under the slight tension of a necklace chain. For the chain itself, a 1.5mm to 2.0mm cable or curb chain provides the perfect visual weight without overpowering the delicate mechanics of the pin. Jewelry supply experts at Rio Grande recommend dead-soft wire for initial bending, followed by work-hardening to lock the shape in place.
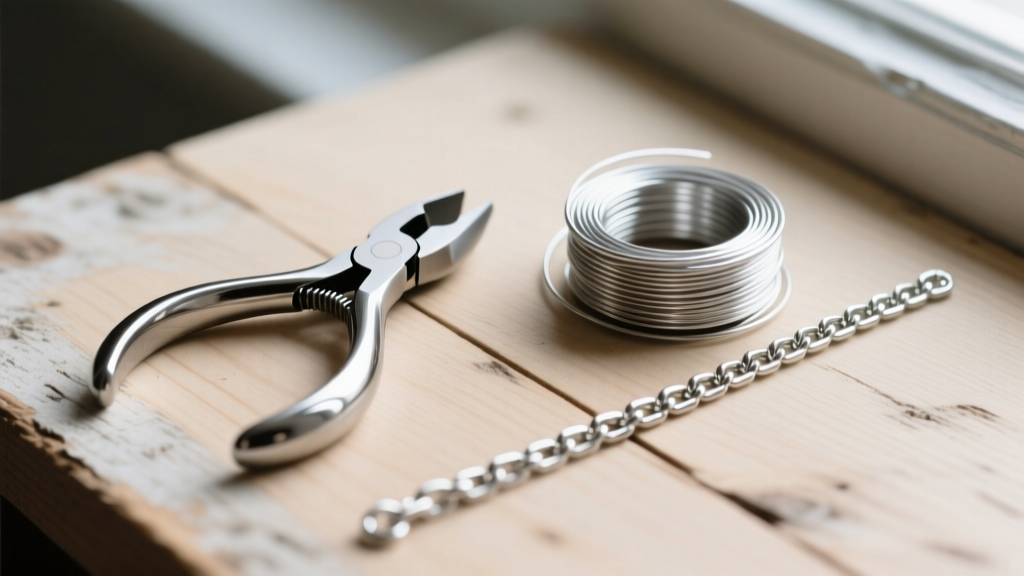
Step-by-Step Guide: Crafting the Perfect Safety Pin
Creating a functional, aesthetically pleasing safety pin requires precision. Follow these steps to fabricate your pendant.
- Measure and Cut: Using flush cutters, snip exactly 3.5 inches of 18-gauge dead-soft Argentium or 925 sterling silver wire. This length accommodates the coil, the body, and the cap of a standard 1.25-inch pin.
- Form the Coil: Grip the very tip of the wire with your round-nose pliers. Tightly wrap the wire around the plier jaw three times to create the tension coil. This coil is the engine of the safety pin; ensure the wraps are perfectly flush and touching.
- Bend the Body: Using chain-nose pliers, bend the long tail of the wire at a sharp 90-degree angle right next to the coil. This forms the main shaft of the pin.
- Create the Cap: At the opposite end of the shaft, use your round-nose pliers to form a small, tight loop. Then, bend the remaining wire tail back over the loop to create a protective cap that will house the sharp point.
- Shape the Point: File the very tip of the wire that extends from the coil into a smooth, slightly rounded point using a cup bur or fine jeweler's file. It should be sharp enough to pierce fabric if desired, but smooth enough not to snag your chain.
- Work-Harden: Gently tap the main shaft of the pin with a rawhide or nylon mallet over a steel bench block. This compresses the metal grains, work-hardening the silver so it retains its spring tension.
- Attach Jump Rings: Solder a 4mm closed jump ring to the top of the cap loop, and another to the side of the tension coil. Soldering is critical here; unsoldered rings will eventually pull apart under the weight of the silver chain.
Hardware Comparison: Choosing the Right Clasp
The clasp you choose for your safety pin necklace silver chain affects both the security and the ease of wear. Below is a comparison of the most reliable options for this specific pendant style.
| Clasp Type | Security Level | Best Chain Thickness | Estimated Price (2026) |
|---|---|---|---|
| Lobster Claw | High | 1.5mm - 3.0mm | $4.00 - $8.00 |
| Spring Ring | Medium | 1.0mm - 2.0mm | $2.00 - $4.00 |
| Magnetic Toggle | High | 2.0mm - 4.0mm | $12.00 - $25.00 |
| Box Clasp | Very High | 3.0mm+ | $15.00 - $40.00 |
For a 2mm curb chain paired with a safety pin pendant, a standard 10mm sterling silver lobster claw offers the best balance of security and unobtrusive design.
Styling Masterclass: How to Wear Your Creation
The beauty of the safety pin necklace lies in its versatility. It can be dressed up for an evening out or layered for a casual, textured daytime look.
The Solo Statement
When wearing your safety pin necklace silver chain as a solo piece, opt for a 16-inch or 18-inch length. This places the pin directly on the collarbone or just below the hollow of the throat. This placement works exceptionally well with deep V-necklines, scoop necks, and off-the-shoulder tops, allowing the silver to catch the light against bare skin. The minimalist approach highlights the craftsmanship of your DIY wirework.
The Grunge Layering Technique
To achieve a modern, textured look, layer your safety pin necklace with chains of varying weights and lengths. Start with a 14-inch delicate 1mm cable chain choker, follow with your 18-inch safety pin pendant, and finish with a 22-inch heavier 3mm rope chain featuring a simple geometric drop. This staggered approach prevents the chains from tangling and creates a cascading visual effect that draws the eye downward, elongating the neck.

Care and Maintenance for Silver Safety Pins
Because the safety pin features tight coils and overlapping wire caps, it is a magnet for trapping lotions, perfumes, and environmental dust. To maintain the brilliant shine of your silver, avoid wearing the necklace in chlorinated pools or hot tubs, as chlorine reacts violently with the copper alloys in sterling silver, causing irreversible brittleness.
For routine cleaning, use a specialized silver polishing cloth infused with micro-abrasives. Gently rub the main shaft and the chain. To clean inside the tight tension coil, use a soft-bristled baby toothbrush dipped in a mild solution of warm water and phosphate-free dish soap. Rinse thoroughly and dry completely with a microfiber cloth before storing it in an airtight bag with an anti-tarnish silica strip. By following these meticulous care instructions, your handcrafted safety pin necklace will remain a striking, wearable piece of art for decades to come.


