How to Make a Shark Tooth Necklace: A Beginner's Guide
Learn how to make a shark tooth necklace with our beginner guide. Master wire wrapping and cord knotting techniques for fossil or replica teeth.

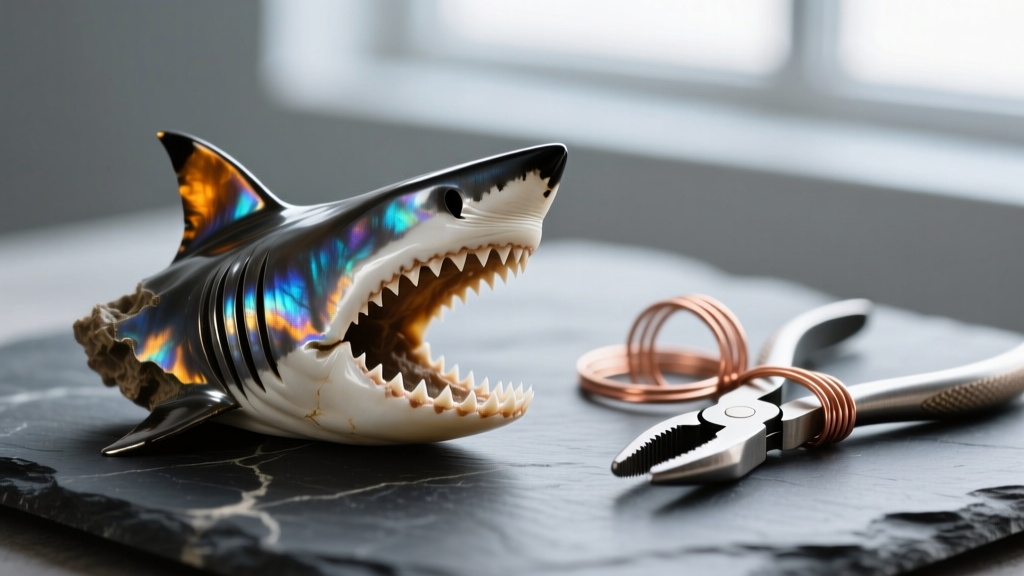
The Allure of Shark Tooth Jewelry
Shark teeth have captivated humans for centuries, serving as talismans of protection, symbols of oceanic power, and striking natural pendants. Whether you have found a fossilized megalodon tooth on a Carolina beach or purchased a polished great white replica, learning how to make a shark tooth necklace is a rewarding entry point into jewelry crafting. Unlike standard gemstones, shark teeth possess unique structural vulnerabilities and asymmetrical shapes that require specialized setting techniques. In this comprehensive guide, we will bypass destructive methods like gluing and focus on two professional, beginner-friendly techniques: the wire-wrap bail and the macramé sliding knot.
Understanding Shark Tooth Anatomy and Selection
Before picking up your tools, you must understand the anatomy of your pendant. A shark tooth consists of the crown (the pointed, enameloid-covered biting surface) and the root (the porous, V-shaped base that anchored the tooth to the jaw). Between these two sections lies the bourrelet, a distinct ridge or band that separates the crown from the root.
When selecting a tooth for jewelry, the bourrelet is your best friend. It provides a natural, structural ledge where wire or cord can rest securely without slipping down the smooth enamel of the crown or crushing the fragile, chalky root. Fossilized teeth, which have undergone permineralization over millions of years, are heavier and more brittle than modern teeth. According to the Florida Museum of Natural History, fossilized shark teeth from formations like the Hawthorn Group are highly prized but require gentle handling to prevent the root from flaking.
Preparation: Cleaning and Stabilizing
Never use harsh chemicals, ultrasonic cleaners, or abrasive brushes on a fossilized shark tooth. To clean your specimen, soak it in distilled water for 24 hours to draw out embedded salts and sand, then gently brush it with a soft-bristled baby toothbrush.
If the root of your fossil is chalky or prone to shedding gritty particles, you must stabilize it before crafting. Professional lapidaries and paleontologists use Paraloid B-72, an acrylic resin. Create a 5% to 10% solution by dissolving Paraloid B-72 pellets in pure acetone. Using a small brush, apply the solution exclusively to the porous root area. The acetone will flash off, leaving a clear, stable acrylic matrix that binds the fragile minerals together without altering the tooth's natural matte texture.
Method 1: The Wire-Wrap Bail Technique
Wire wrapping is the most secure and professional method for setting asymmetrical, irregularly shaped pendants. It relies on tension and structural framing rather than adhesives.
Tools and Materials Required
- Base Wire: 20-gauge (0.81mm) half-hard wire. Half-hard wire holds its shape under tension. Tarnish-resistant copper, argentium silver, or 14k gold-filled wire are ideal choices.
- Weaving Wire: 24-gauge (0.51mm) or 26-gauge (0.40mm) dead-soft wire for decorative binding.
- Pliers: Chain-nose, round-nose, and flush cutters. Ensure the jaws are nylon-coated or taped to prevent marring your wire.
- Mandrel or Pen: For forming the bail loop.
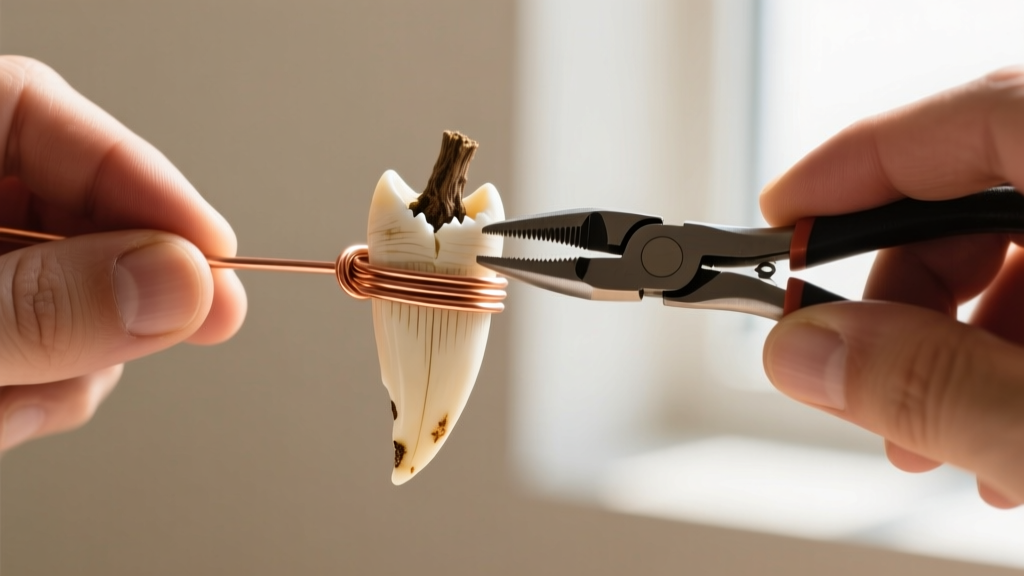
Step-by-Step Wire Wrapping
- Create the Cradle: Cut a 6-inch piece of 20-gauge wire. Find the center and bend it into a tight 'V' shape that perfectly mirrors the angle of the tooth's root. This cradle will support the bourrelet.
- Secure the Sides: Place the tooth into the 'V' cradle. Bend the two extending wire ends upward along the sides of the root. Use your chain-nose pliers to gently kink the wire inward just above the bourrelet, locking the tooth in place.
- Form the Bail: Bring both wire ends together at the top center of the tooth. Wrap them tightly around a pen or mandrel to create a circular loop (the bail) through which your chain will pass.
- Bind and Weave: Trim excess base wire, leaving about an inch. Use your 24-gauge dead-soft wire to weave over the base wires just below the bail, creating a tight, decorative coil that locks the entire frame together. As noted by jewelry supply experts at Rio Grande, dead-soft wire work-hardens as you weave, creating a permanent, rigid bond.
- Tuck the Ends: Use chain-nose pliers to aggressively tuck any sharp wire tails into the back of the weave to prevent them from scratching the wearer's skin.
Method 2: Macramé Sliding Knot on Waxed Cord
For a more rustic, bohemian, or surfer-inspired aesthetic, suspending the tooth on a knotted cord is an excellent alternative. This method is lightweight and allows the wearer to adjust the necklace length on the fly.
Cord Selection
Avoid standard cotton or nylon strings, which fray and degrade when exposed to sweat and seawater. Instead, opt for 1mm or 1.5mm waxed cotton cord or waxed linen. The wax coating provides water resistance, prevents fraying, and gives the cord enough 'bite' to hold complex macramé knots securely. For a premium look, you can also use 1.5mm braided leather, though leather requires specialized adhesives for the end caps.
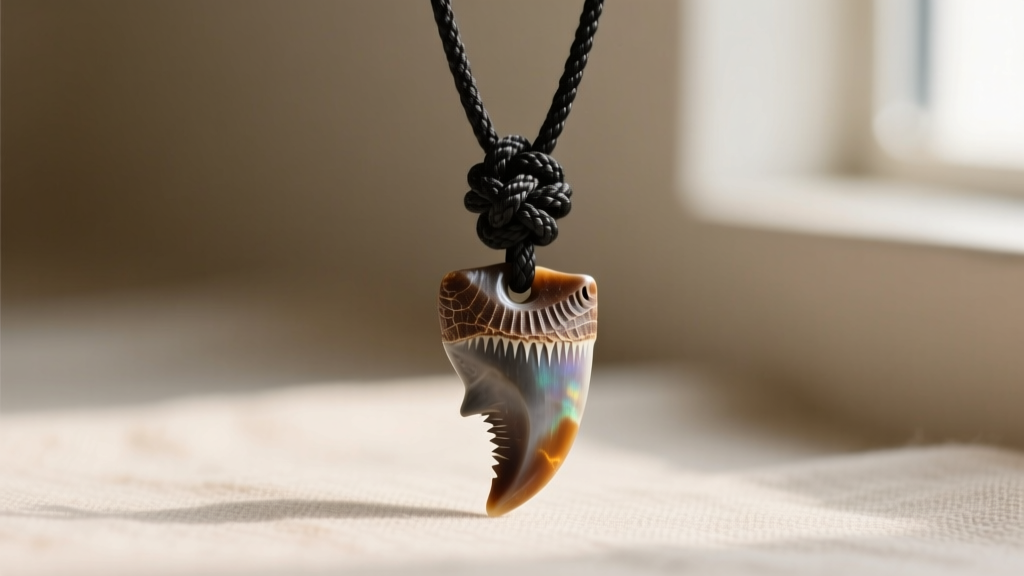
Tying the Adjustable Sliding Knot
The sliding square knot (or macramé square knot) is the gold standard for adjustable pendant necklaces.
- Cut a 40-inch length of waxed cord. Thread your wire-wrapped shark tooth bail onto the center of the cord.
- Overlap the two ends of the cord by about 6 inches, creating a continuous loop.
- Take a separate, 12-inch piece of the same waxed cord (your 'working cord') and place it horizontally across the overlapped section.
- Form a '4' shape with the right side of the working cord over the main cords, then pass the left side over the right tail, under the main cords, and up through the '4' loop. Pull tight.
- Reverse the process: form a backward '4' with the left side, pass the right side over, under, and through. Pull tight. This completes one square knot.
- Repeat for 4 to 6 knots. Trim the working cord tails and melt them slightly with a lighter to fuse the wax.
- Tie small overhand knots at the very ends of the main cords to act as stoppers, preventing the sliding mechanism from coming undone.
Material and Method Comparison Chart
| Method | Best For | Durability | Aesthetic | Skill Level |
|---|---|---|---|---|
| Wire-Wrap Bail | Heavy fossils, megalodons | High (if half-hard wire is used) | Elegant, metallic, structured | Intermediate |
| Waxed Cord Knot | Lightweight teeth, casual wear | Medium (cord may need replacing) | Rustic, bohemian, surfer | Beginner |
| Adhesive Glue | Nothing (Avoid entirely) | Very Low (fails with heat/sweat) | Messy, ruins fossil value | N/A |
What to Avoid: The Glue Trap
Never use cyanoacrylate (Super Glue) or epoxy to attach a metal bail directly to a shark tooth. Adhesives seep into the microscopic pores of the root, causing irreversible staining and destroying the specimen's paleontological and resale value.
Furthermore, the natural oils from human skin, combined with temperature fluctuations, will eventually degrade the adhesive bond. A glued bail will inevitably snap off, often resulting in the loss or shattering of the tooth when it hits the floor. Always rely on mechanical friction—wire wrapping or cord threading—to secure your pendant.
Final Thoughts on Styling Your Necklace
Once you have successfully crafted your shark tooth necklace, consider the chain or cord length. Shark teeth are inherently bold, statement-making pendants. For a modern, layered look, pair a wire-wrapped fossil on an 18-inch oxidized sterling silver rolo chain with shorter, simpler metallic chokers. If you opted for the waxed cord method, adjust the sliding knot to let the tooth rest at the sternum (approximately 24 to 28 inches), which complements casual linen shirts and beachwear. By respecting the natural anatomy of the tooth and utilizing proper jewelry-making mechanics, you will create a durable, striking piece of oceanic history that can be worn and cherished for decades. For further reading on metal properties and wire hardness, consult the educational resources provided by the Gemological Institute of America (GIA).


