How to Craft a Sterling Silver Paper Airplane Necklace
Learn how to craft a sterling silver paper airplane necklace with our step-by-step metalsmithing guide, covering gauges, folding, and soldering.

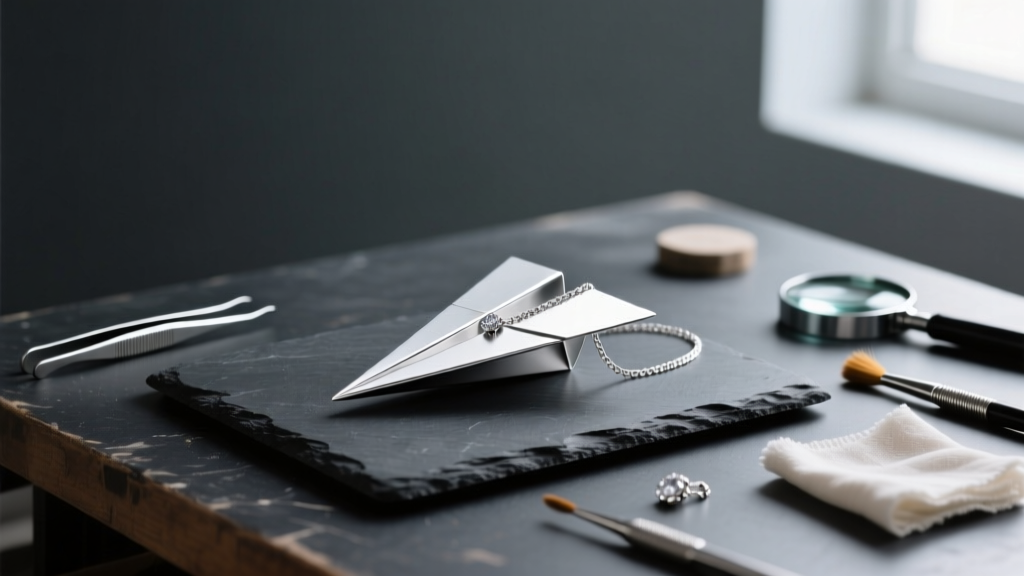
The Enduring Appeal of the Paper Airplane Motif
As we navigate the jewelry trends of 2026, the industry-wide shift toward 'quiet luxury' and sentimental micro-motifs has cemented the paper airplane necklace as a modern staple. Unlike the heavy, oversized statement pieces that dominated the early 2020s, today's collectors and everyday wearers seek delicate, narrative-driven pieces. The paper airplane symbolizes freedom, wanderlust, and new beginnings, making it an incredibly popular choice for custom commissions and personal projects.
While you can easily purchase mass-produced stamped versions online, crafting your own sterling silver paper airplane necklace elevates the piece from simple costume jewelry to a bespoke, heirloom-quality artifact. This comprehensive metalsmithing guide will walk you through the precise techniques required to cut, anneal, fold, and solder a 3D sterling silver dart airplane pendant, complete with a custom-soldered bail.
Materials and Tools Required
Working with sterling silver (an alloy of 92.5% pure silver and 7.5% copper) requires specific tools to manage its unique thermal and mechanical properties. The copper provides necessary hardness but also introduces challenges like work-hardening and firescale during heating.
| Item | Specification | Purpose |
|---|---|---|
| Sterling Silver Sheet | 22-gauge (0.65mm), 1x2 inch | Main body of the airplane |
| Hard Silver Solder | 1/4 inch wire or chips | Structural joints and bail attachment |
| Sterling Jump Ring | 18-gauge, 4mm inner diameter | Bail for the necklace chain |
| Pickle Solution | Warm citric acid or Sparex #2 | Post-solder oxidation removal |
| Jeweler's Saw | Fitted with a 2/0 blade | Precision cutting of the silver sheet |
Selecting the Right Silver Gauge
For a delicate paper airplane necklace, gauge selection is critical. A 24-gauge sheet (0.51mm) is too flimsy and will warp excessively during the soldering process. Conversely, an 18-gauge sheet (1.02mm) is too rigid to fold cleanly without cracking the silver's crystalline structure. A 22-gauge sheet hits the perfect sweet spot, offering enough structural integrity to hold the 3D folds while remaining thin enough to score and bend with hand tools.
Step 1: Cutting and Annealing the Silver Sheet
Begin by transferring your paper airplane template onto the 22-gauge sterling silver sheet. Use a fine-point permanent marker or a scribe to trace the outline. Secure the sheet to a bench pin and cut along the lines using a jeweler's saw equipped with a 2/0 blade. Apply beeswax to the blade frequently to reduce friction and prevent the delicate teeth from snapping.
Once cut, the silver must be annealed. The mechanical action of rolling the sheet at the mill, combined with the stress of sawing, work-hardens the copper in the alloy. If you attempt to fold the silver in this state, the edges will micro-fracture or split. To anneal, place the piece on a charcoal block or solderite pad. Using a propane-oxygen torch (such as a Smith Little Torch), apply a soft, neutral flame. Heat the silver evenly until it reaches approximately 1100°F (593°C). In a dimly lit room, look for a dull cherry-red glow. Hold this temperature for about 30 seconds, then quench the piece in a bowl of room-temperature water. This process resets the crystalline structure, rendering the metal completely malleable.
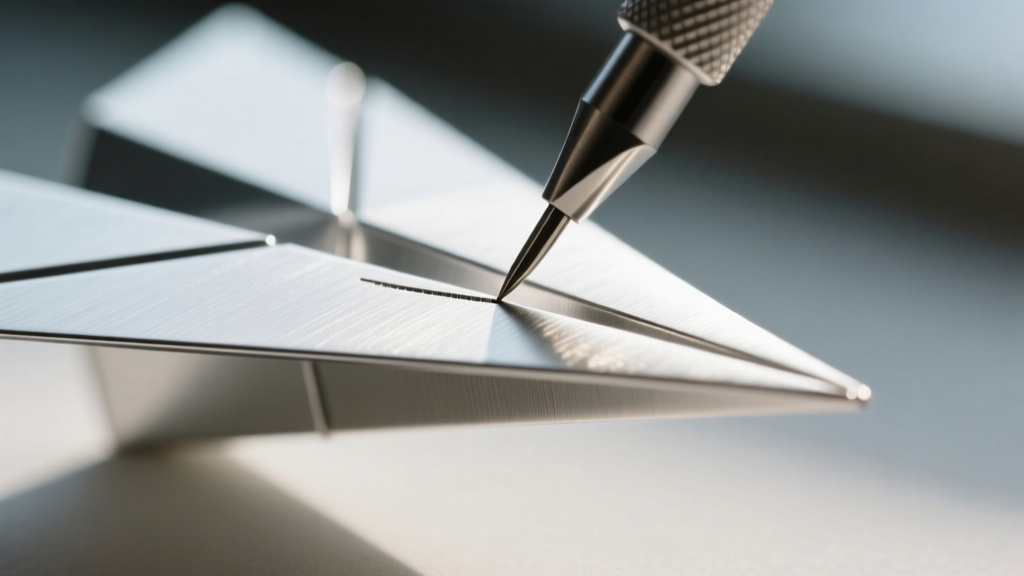
Step 2: Scoring and Folding the Airplane
With the silver annealed, it is time to create the iconic folds of a classic dart airplane. Precision here dictates the final symmetry of your necklace pendant.
Precision Folding Techniques
Do not attempt to bend the silver freehand. Use a machinist square and a sharp steel scribe to score the fold lines deeply into the surface of the metal. The scribe removes a microscopic V-channel of silver, which acts as a hinge and ensures a razor-sharp crease.
- The Center Crease: Score the vertical center line and fold the sheet in half. Use a rawhide mallet to tap the fold flat against a polished steel bench block. Never use a steel hammer, as it will mar the surface and require hours of sanding to fix.
- The Wing Folds: Open the sheet and score the diagonal lines for the first wing folds (typically at a 45-degree angle from the nose). Fold the top corners down to meet the center crease.
- The Secondary Folds: Score the secondary lines to narrow the fuselage, folding the edges inward again to create the sharp, aerodynamic profile of the dart.
According to master metalsmiths featured in Fire Mountain Gems jewelry making resources, using a bone folder or a polished agate burnisher along the inside of the fold can help compress the metal fibers and create a perfectly seamless crease without stretching the outer surface.
Step 3: Soldering the Bail and Setting the Structure
To hang the paper airplane necklace, you need to attach a bail to the spine (the top center ridge) of the pendant. This requires silver soldering, a process that relies on capillary action to draw molten solder into a joint.
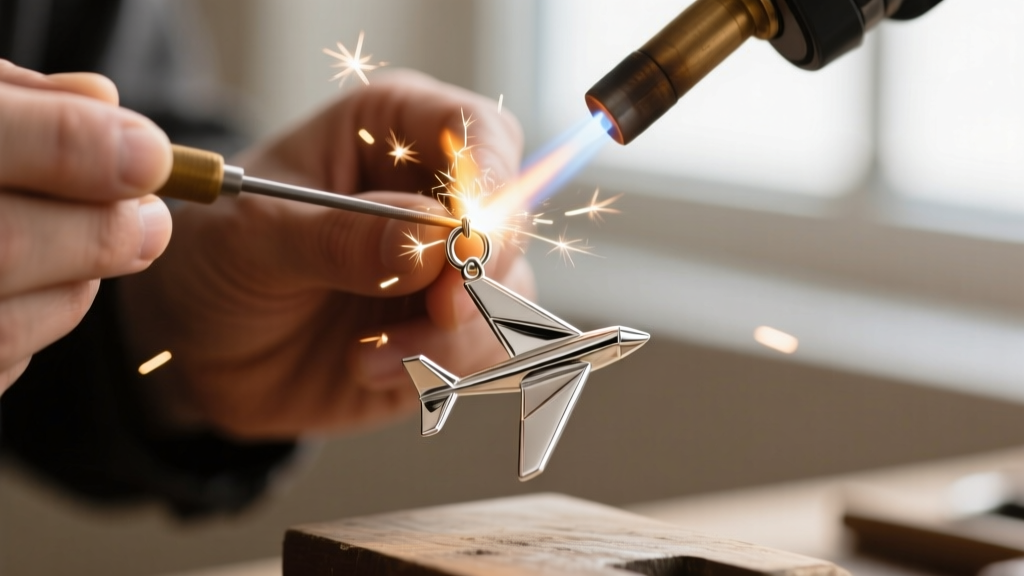
First, clean the pendant in a warm pickle solution to remove any oils from your fingers. Rinse and dry thoroughly. Apply a borax-based flux (like Handy Flux) to the top ridge of the airplane spine and the inside of an 18-gauge sterling jump ring. Place a tiny chip of Hard grade silver solder (which melts at 1450°F / 788°C) at the joint. As noted by the metallurgical experts at Rio Grande, hard solder is essential for primary joints because it has the highest melting point, allowing you to reheat the piece later for repairs without melting the initial connection.
Apply heat broadly to the entire pendant with your torch. Silver is highly thermally conductive; if you focus the flame only on the solder, it will melt into a ball and refuse to flow. Heat the surrounding metal until the flux turns clear and bubbles, then concentrate the flame tip on the joint. The moment the metal reaches the solder's flow point, the solder will flash and instantly wick into the gap between the jump ring and the silver spine. Quench in water, then drop into the pickle pot for 10 minutes to dissolve the glass-like flux residue and copper firescale.
Step 4: Polishing and Chain Selection
Once the pendant is clean and neutralized in baking soda, it is time for finishing. To highlight the geometric creases of the paper airplane, many jewelers use a technique called antiquing. Submerge the piece in a warm Liver of Sulfur solution for 30 seconds to turn the entire pendant black. Rinse it, then use a fine-grit polishing cloth or a flex-shaft with a radial bristle disc to polish only the high points and flat surfaces, leaving the deep creases dark. This creates striking contrast and emphasizes the 3D architecture of the folds.
Expert Tip: For a high-shine, mirror finish without antiquing, tumble the finished pendant in a rotary tumbler with stainless steel shot, warm water, and a drop of burnishing compound for 45 minutes. This work-hardens the surface, making your delicate paper airplane necklace highly resistant to everyday scratches.
Choosing the Perfect Chain
The chain you select dramatically alters the final aesthetic of the piece. Based on current 2026 styling frameworks, here is a comparison of the best chain styles for a micro-motif pendant:
| Chain Style | Thickness | Durability | Best For |
|---|---|---|---|
| Cable Chain | 1.2mm | High | Everyday wear, classic and unobtrusive look |
| Box Chain | 1.5mm | Very High | Heavier pendants, offers a modern, geometric aesthetic |
| Snake Chain | 1.0mm | Low | Occasional wear, provides a sleek, fluid profile |
| Rolo Chain | 1.8mm | High | Layering with other necklaces, vintage feel |
For a sterling silver paper airplane necklace, a 1.2mm cable chain or a 1.5mm box chain in an 18-inch length is generally the most versatile choice, allowing the pendant to rest perfectly at the collarbone.
Troubleshooting Common Metalsmithing Mistakes
Even experienced jewelers encounter issues when fabricating micro-pendants. Here is how to troubleshoot the most common problems:
- Solder Refuses to Flow: This is almost always a cleanliness issue. Silver solder will not flow over oxidation, skin oils, or old flux. Return the piece to the pickle, scrub it with a brass brush and pumice powder, and try again.
- Warped or Melted Wings: If the edges of your airplane wings look rounded or melted, you applied too much localized heat during soldering. Always use a larger, softer flame to heat the entire mass of the object evenly before focusing on the joint.
- Cracking During the Fold: If the silver splits along the crease, you either skipped the annealing step or used a sheet that was too thick. Always anneal immediately before any major bending operation.
By mastering these fundamental metalsmithing techniques, you can create a paper airplane necklace that is not only a beautiful symbol of adventure but also a testament to your craftsmanship. For long-term care, the Gemological Institute of America (GIA) recommends storing sterling silver in anti-tarnish bags with silica gel packets to prevent the copper alloy from reacting with atmospheric sulfur, ensuring your handmade piece remains pristine for decades to come.


