How to String and Style a Floating Pendant Necklace
Learn how to string, crimp, and style a floating pendant necklace. Expert tips on cord types, tensioning, and neckline pairings.

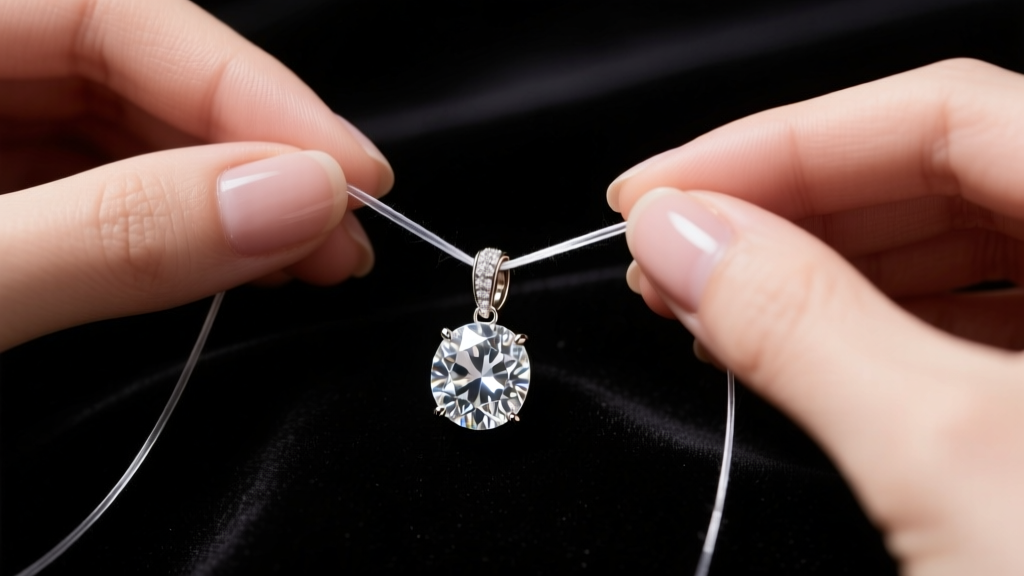
The magic of a floating pendant necklace lies in its illusion. By utilizing ultra-thin, nearly invisible cords or wires, the gemstone or charm appears to hover effortlessly against the skin. However, achieving that perfect, weightless drape requires precision engineering at the jeweler’s bench. Whether you are restringing a vintage piece or designing a custom floating pendant necklace from scratch, understanding the physics of tension, material fatigue, and finding proportions is critical.
In this comprehensive guide, we will walk through the exact step-by-step process of stringing a floating pendant necklace, comparing professional-grade materials, and troubleshooting the most common bench failures.
Essential Materials and Tools for Stringing
Before you begin, you must select the correct stringing medium. The choice between nylon illusion cord and stainless steel beading wire dictates the drape, durability, and finishing techniques of your floating pendant necklace.
1. The Stringing Medium
- Nylon Illusion Cord: Available in thicknesses from 0.25mm to 0.45mm. It is highly flexible, knots beautifully, and offers the most "invisible" look. However, it is susceptible to UV degradation and sweat acidity over time.
- Stainless Steel Beading Wire: Measured in inches (0.015" to 0.024") and strand counts (7, 19, or 49). A 49-strand wire at 0.018" offers the best compromise of flexibility and tensile strength. It will not stretch but can kink if mishandled.
2. Findings and Tools
To secure the ends, you will need 2x2mm sterling silver or gold-filled crimp tubes (approx. $12-$18 per pack of 100). Avoid base-metal crimp beads, as they frequently crack under pressure. You will also need micro-crimp pliers, a pair of flush cutters, and a bead stopper to maintain tension while working. For the clasp, a lightweight 5mm or 7mm lobster clasp is ideal; heavy toggle clasps will pull the lightweight cord backward, ruining the floating illusion.
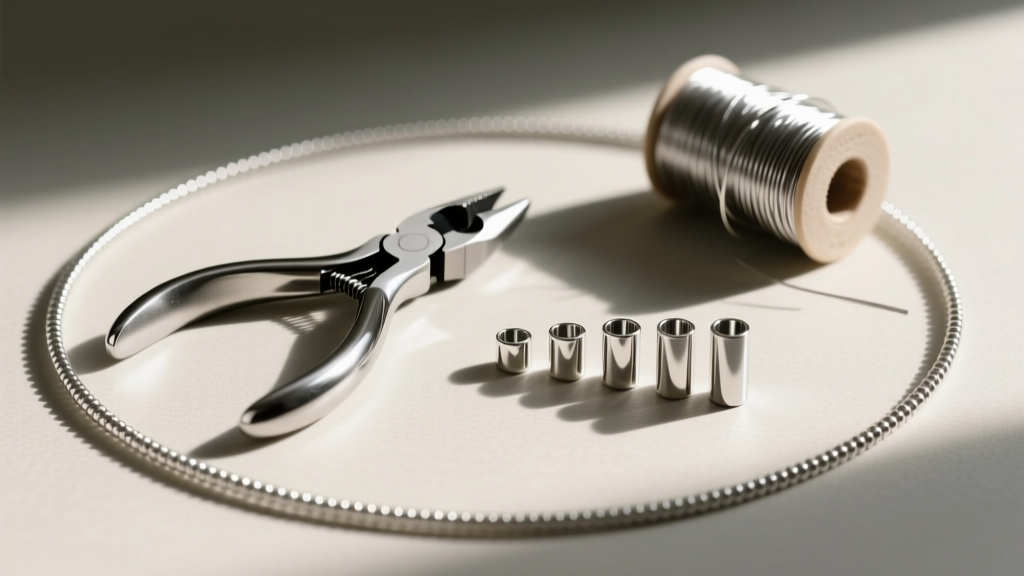
Step-by-Step Guide to Stringing Your Floating Pendant
Follow these precise bench steps to ensure your pendant floats perfectly in the center without sagging or sliding.
Step 1: Measuring and Cutting
Determine your desired finished length (e.g., 16 inches for a collarbone drape). Add exactly 4 inches to this measurement for working room. If you are using a 49-strand stainless steel wire, cut it cleanly with flush cutters to prevent fraying. If using nylon cord, seal the very tip with a quick pass of a lighter flame to create a stiff, needle-like point for easy threading.
Step 2: Securing the First Clasp
Thread one end of your cord through the jump ring of your lobster clasp, then pass it back through a 2x2mm crimp tube. Pull the tail so the loop is snug but not tight against the clasp ring (leaving about 1mm of play prevents metal-on-metal friction). Using your micro-crimp pliers, place the tube in the outer U-shaped notch and squeeze firmly. Then, move the tube to the inner round notch and fold it in half. According to the Rio Grande Bench Tips, a properly folded crimp tube should look like a seamless, rounded bead.
Step 3: Threading the Pendant and Centering
Slide your pendant onto the cord. To ensure it floats exactly in the center, fold the cord in half to find the midpoint, or measure precisely from the first crimp. Pro-Tip: If your pendant has a large bail, it may slide too far down the V of the neckline. Use a micro-drop of G-S Hypo Cement inside the bail to lock it to the cord once centered.
Step 4: Tensioning the Second End
This is where most DIYers fail. Thread the second clasp and crimp tube onto the tail end. Before crimping, lay the necklace flat on a table. Gently pull the tail wire to remove slack, but do not pull it taut like a guitar string. The cord must have a microscopic amount of give to drape naturally around the curve of the neck. Once the drape looks natural, crimp the second tube, trim the excess tail wire flush against the crimp, and apply a tiny drop of jeweler's epoxy to the cut end for safety.
Material Comparison: Nylon vs. Steel Wire
Choosing the right foundation for your floating pendant necklace depends on the weight of the gemstone and the wearer's lifestyle. Below is a structural comparison of the two most common professional materials.
| Feature | Nylon Illusion Cord (0.30mm) | 49-Strand Steel Wire (0.018") |
|---|---|---|
| Tensile Strength | Moderate (approx. 8-10 lbs) | High (approx. 15-20 lbs) |
| Drape & Flexibility | Fluid, fabric-like drape | Structured, holds a slight curve |
| Knotting Ability | Excellent (can use surgeon's knots) | Poor (cannot be knotted) |
| Environmental Weakness | Degrades with UV light and sweat | Prone to permanent kinking if bent |
| Best Pendant Weight | Under 5 grams (delicate diamonds) | 5 to 20 grams (heavy cabochons) |
| Average Material Cost | $4 - $8 per spool | $12 - $25 per spool |
Styling Your Floating Pendant Necklace
A floating pendant necklace is a masterclass in minimalist styling, but its impact relies heavily on the neckline it accompanies. Because the cord is virtually invisible, the eye is drawn exclusively to the gemstone and the expanse of skin beneath it.

The V-Neck and Scoop Neck Synergy
For V-neck blouses or wrap dresses, a 16-inch or 18-inch floating pendant necklace mirrors the geometric lines of the garment. The pendant should rest precisely one inch above the apex of the V-neck to create a cohesive, elongating visual triangle. According to the Gemological Institute of America (GIA), allowing the gemstone to rest directly on the skin rather than over fabric maximizes light return and brilliance, which is the primary advantage of the illusion cord.
Contrasting the Boatneck and Turtleneck
When wearing a horizontal boatneck or a high turtleneck, opt for a longer 20-inch to 24-inch floating pendant. The vertical drop of the pendant breaks up the harsh horizontal line of the collar, providing visual relief and drawing the eye downward. Avoid wearing floating pendants over heavily textured fabrics like chunky knits; the friction can fray nylon cords and obscure the delicate nature of the piece.
Troubleshooting Common Floating Pendant Issues
Even experienced jewelers encounter structural challenges when working with illusion necklaces. Here is how to diagnose and fix the most frequent problems.
Problem: The Pendant Constantly Slides Off-Center
The Cause: The bail hole is significantly wider than the cord diameter, and gravity pulls the heavier side of the necklace down, causing the pendant to migrate.
The Fix: Do not rely on friction alone. Thread a microscopic 1mm silicone O-ring or a tiny seed bead on either side of the pendant bail to act as a physical bumper. Alternatively, use a pinch-bail finding that mechanically clamps onto the cord.
Problem: The Cord Kinks or Snaps Near the Clasp
The Cause: Metal-on-metal friction between the steel wire and the clasp jump ring, or bending the wire at a sharp 90-degree angle during crimping.
The Fix: Always use a wire protector (also known as French wire or a wire guardian). This is a tiny, horseshoe-shaped metal finding that the wire threads through before entering the clasp. It creates a smooth, reinforced loop that prevents the wire from shearing against the clasp ring, extending the lifespan of your floating pendant necklace by years.
Problem: The Necklace Looks Stiff and Doesn't Drape
The Cause: The stringing wire was pulled too tight during the final crimping phase, or a wire with too high a gauge (e.g., 0.024") was used for a lightweight pendant.
The Fix: Cut the wire and start over. When securing the second crimp, allow the necklace to hang in a natural U-shape off the edge of your workbench. Only pull the wire tight enough to close the gap between the crimp tube and the clasp, leaving the natural gravity-induced curve intact.
"The secret to a flawless floating pendant necklace isn't just the invisibility of the cord; it's the engineering of the endpoints. A perfectly executed crimp and a reinforced wire loop will save a delicate gemstone from a tragic fall."
By mastering these stringing techniques and understanding the structural limits of your materials, you can create, repair, and wear floating pendant necklaces with absolute confidence. Whether showcasing a brilliant-cut diamond or a smooth cabochon, the illusion of the floating stone remains one of the most elegant achievements in modern jewelry design.


