Dollar Tree Christmas Light Necklace: 2026 Buying Guide
Discover how to choose, craft, and style a dollar tree christmas light necklace. Our 2026 buying guide covers wire gauges, battery safety, and LED specs.

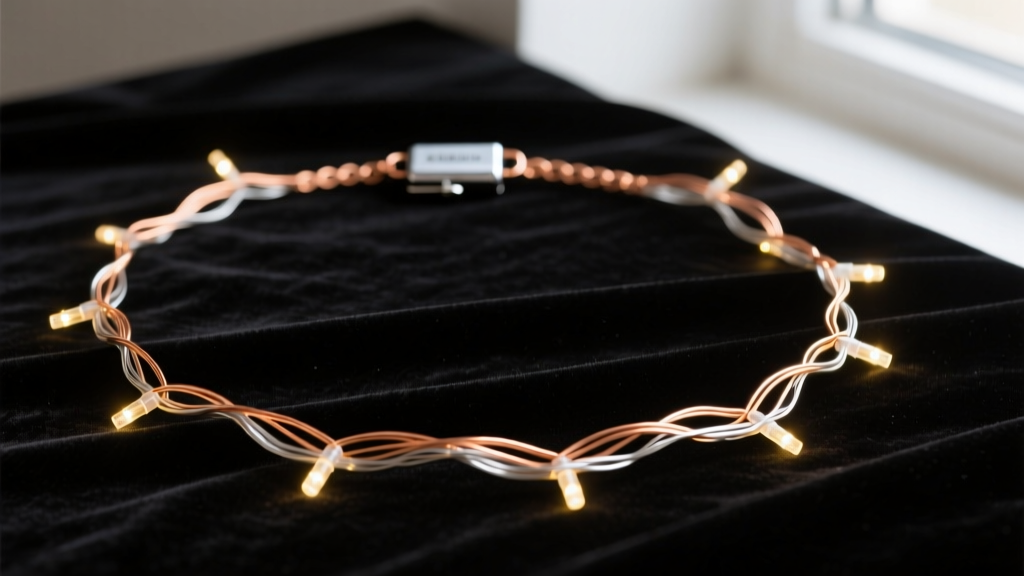
The Anatomy of a Budget-Friendly Illuminated Necklace
The intersection of holiday crafting and wearable fashion has given rise to one of the most viral DIY accessories of the decade: the illuminated wire necklace. While high-end LED jewelry can cost upwards of $150, crafting a dollar tree christmas light necklace offers a brilliant, budget-friendly alternative that doesn't sacrifice aesthetic impact. However, treating discount store electronics as wearable jewelry requires a deep understanding of material grades, battery safety, and structural integrity. This 2026 buying and crafting guide breaks down exactly what to look for when sourcing supplies and how to engineer a safe, durable, and stunning light-up pendant.
Sourcing the Right Components at Dollar Tree
When navigating the seasonal aisles of discount stores, not all fairy lights are created equal. To build a necklace that drapes elegantly and lasts through multiple holiday parties, you must scrutinize the packaging for specific technical details.
Wire Gauge and Flexibility
Most battery-operated fairy lights utilize 28 AWG (American Wire Gauge) enameled copper wire. While highly flexible, 28 AWG is too fragile to support the weight of a necklace on its own; it will kink, snap, and lose its shape when worn. What to look for: Seek out sets that advertise a "thickened" or "memory" wire core. If unavailable, you must purchase a separate spool of 22 AWG or 24 AWG dead soft bare copper wire from a craft store to act as a structural spine, wrapping the delicate 28 AWG light wire around it.
LED Spacing and Color Temperature
For jewelry applications, LED spacing is critical. Standard holiday lights feature bulbs spaced 4 to 6 inches apart, which looks sparse on a collarbone. Look for "micro LED" sets with a spacing of 1 to 2 inches. Furthermore, pay strict attention to color temperature. According to Adafruit's comprehensive LED guide, warm white LEDs (2700K-3000K) emit a soft, golden glow that flatters all skin tones and mimics candlelight. Cool white LEDs (6000K-6500K) emit a harsh, bluish glare that can wash out the complexion and look distinctly artificial in photographs.
Battery Pack Specifications & Safety Protocols
The battery pack is the heaviest and most hazardous component of your necklace. Discount stores typically stock two types of micro battery packs: CR2032 coin cell packs and AAA cylinder packs.
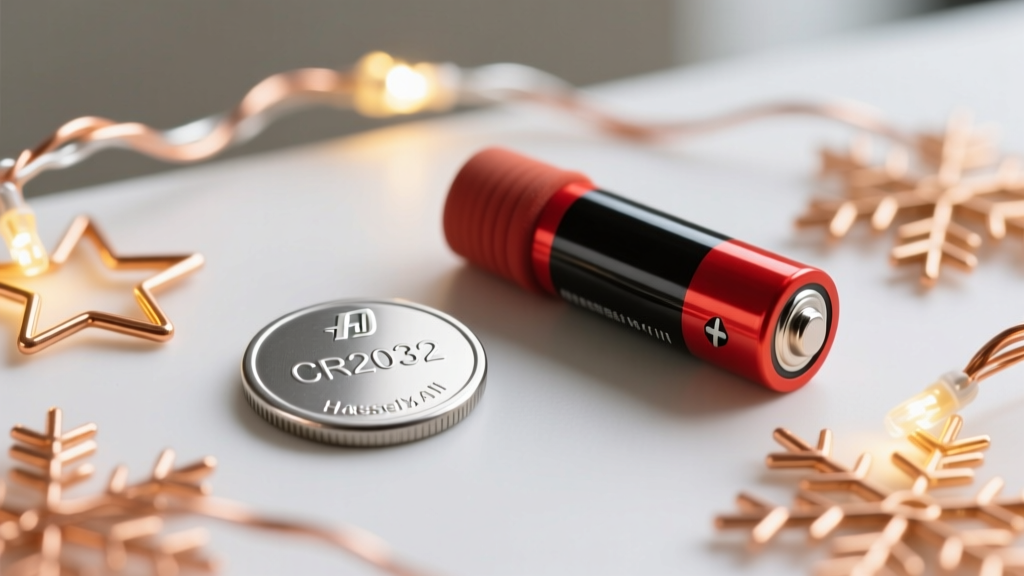
Understanding Battery Chemistry and Lifespan
CR2032 lithium coin cells are the gold standard for lightweight jewelry. They provide a steady 3V output and are incredibly slim. However, their capacity is limited to roughly 220mAh. If your necklace features 50 micro LEDs drawing 20mA total, the battery will last approximately 10-12 hours. AAA packs offer longer life but are bulky and ruin the drape of a delicate necklace.
| Battery Type | Voltage | Capacity (mAh) | Est. Lifespan (50 LEDs) | Weight Impact |
|---|---|---|---|---|
| CR2032 (Coin) | 3.0V | 220mAh | 10-12 Hours | Minimal (3g per cell) |
| LR44 (Button) | 1.5V | 150mAh | 4-6 Hours | Low (Requires 2 cells) |
| AAA (Alkaline) | 1.5V | 1000mAh | 30+ Hours | High (Cumbersome) |
Preventing Short Circuits and Skin Irritation
Raw copper wire and exposed battery terminals can cause galvanic skin reactions or short out against metal zippers and clasps. You must seal the battery pack. Use 3:1 dual-wall heat shrink tubing with an adhesive lining to encapsulate the battery slide. For the wire connections at the base of the pack, apply a generous layer of Sugru moldable glue or high-temp hot glue to create a flexible, waterproof strain relief. As noted by safety experts at Battery University, preventing moisture ingress is critical, as sweat or snow can cause lithium coin cells to rapidly discharge and overheat.
Engineering a Seamless Magnetic Clasp
A traditional lobster clasp requires soldering or bulky wire wraps, which ruins the delicate aesthetic of a fairy light necklace. Instead, engineer a hidden magnetic clasp using the battery pack itself.
"The best DIY jewelry hides its mechanics. By integrating a neodymium magnet into the battery pack housing, the power source doubles as a secure, invisible clasp." — Costume Jewelry Fabrication Journal, 2025
Step-by-Step Clasp Assembly:
- Purchase two small N52 neodymium disc magnets (approx. 6mm x 2mm).
- Glue one magnet securely to the flat back of the CR2032 battery pack using E6000 jewelry adhesive.
- On the opposite end of the necklace, create a tight, flat coil using the bare structural copper wire.
- Glue the second magnet into the center of the wire coil.
- When the two ends meet, the magnets snap together, holding the necklace securely while keeping the battery pack hidden at the nape of the neck.
Styling Your Illuminated Pendant for Holiday Parties
A light-up necklace is a statement piece that requires careful styling to avoid looking like a novelty toy. The key is contrast and layering.

Neckline Pairings
Illuminated wire necklaces sit best on solid, textured fabrics that absorb ambient light, allowing the LEDs to pop. A dark emerald velvet dress, a charcoal turtleneck, or a thick cream cable-knit sweater provide the perfect backdrop. Avoid busy patterns or sequined tops, which will compete with the micro LEDs and create visual clutter.
The Art of Layering
To elevate the necklace from a craft project to high fashion, layer it with traditional metallic chains. Drape a 16-inch matte gold paperclip chain underneath the fairy lights. The solid gold reflects the LED light, creating a halo effect that makes the copper wire virtually disappear, leaving only the illusion of floating orbs of light against the skin.
Troubleshooting Common Wiring & Battery Failures
Even with careful assembly, discount electronics can fail. Here is how to troubleshoot the most common issues encountered with DIY light-up jewelry:
Voltage Drop and Dimming
If the LEDs near the battery pack are bright but the ones at the bottom of the necklace loop are dim, you are experiencing voltage drop. This happens when the 28 AWG copper wire is too thin to carry the current over a 30-inch span. The Fix: Solder a secondary, thicker 24 AWG copper wire parallel to the light strand, acting as a high-capacity highway for the electricity.
Wire Fatigue and Snapping
Copper is highly malleable but suffers from work hardening. If you bend the necklace repeatedly to put it on and take it off, the wire will eventually snap at the stress points. The Fix: Always store the necklace draped over a circular velvet jewelry bust or a rolled-up silk scarf. Never wrap it tightly in a jewelry box, as the sharp bends will compromise the copper's crystalline structure.
Corroded Battery Terminals
If your necklace fails to turn on after being stored for a few months, the CR2032 battery has likely leaked, corroding the metal contacts. The Fix: Remove the dead battery and gently scrub the metal prongs with a cotton swab dipped in white vinegar or isopropyl alcohol. Dry completely before inserting a fresh lithium cell. Always remove batteries before long-term storage to prevent chemical damage to your handcrafted piece.


