Mastering DIY Necklace Displays: Structural & Material Guide
Master the structural engineering of DIY necklace displays. Learn load-bearing metrics, optimal drape angles, and material grades for heavy pendants.

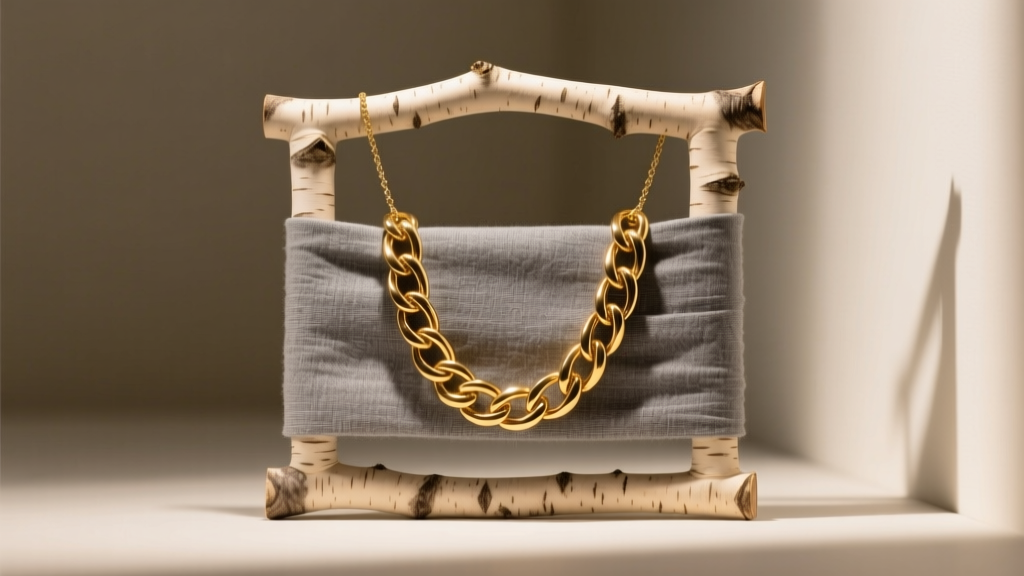
Most DIY necklace displays fail because they treat jewelry presentation as a purely aesthetic endeavor, entirely ignoring the physics of chain drape and the chemistry of metal oxidation. When displaying high-value pieces, heavy gemstone pendants, or layered 18k gold chains, structural integrity and archival material science are paramount. A poorly engineered display will not only look unprofessional but can actively degrade precious metals and stress delicate clasps. This guide provides a technical blueprint for engineering professional-grade DIY necklace displays that rival $500+ commercial vitrines, focusing on material grades, load-bearing metrics, and micro-environment control.
The Physics of Chain Drape and Display Angles
The most common flaw in amateur DIY necklace displays is a strictly vertical (90-degree) presentation. A flat vertical display causes heavy pendants to pull the chain taut, creating an unnatural, rigid line and exerting continuous shear stress on the clasp and jump rings. To achieve a natural, elegant drape, you must engineer the display around the catenary curve—the mathematical shape a hanging chain assumes under its own weight.
For rigid bust displays, the optimal angle of repose is a 15 to 22-degree backward tilt. This slight recline allows gravity to pull the chain gently into the clavicle recess, creating a soft drape. Furthermore, the clavicle protrusion on your display must be carved or built up to a minimum depth of 1.5 inches (38mm). This physical barrier pushes the chain outward, preventing the pendant from resting flat against the sternum and ensuring the gemstone catches ambient light rather than hiding in the fabric folds.
Material Science: Selecting the Right Substrates
Wood Density and Off-Gassing Metrics
The substrate forms the skeleton of your display. Avoid Medium-Density Fiberboard (MDF) and standard particle boards at all costs. These engineered woods rely on urea-formaldehyde resins that continuously off-gas volatile organic compounds (VOCs). According to guidelines from the Canadian Conservation Institute, formaldehyde and sulfur-bearing compounds accelerate the tarnishing of silver and copper alloys.
Instead, specify 11-ply, void-free Baltic Birch plywood (minimum 18mm thickness). Baltic Birch possesses a bending stiffness (Modulus of Elasticity) of roughly 1.4 million psi, ensuring the display neck will not bow or warp under the localized weight of heavy statement necklaces. Its cross-banded veneer layers also provide superior screw-holding strength compared to solid woods, which is critical for anchor hardware.
Archival-Grade Fabrics and Adhesives
Never use standard aerosol spray adhesives (like 3M Super 77) to attach display fabrics. The acidic solvents and tackifiers in these glues will eventually bleed through the fabric and chemically degrade precious metals. For archival safety, use a pH-neutral, water-based contact cement, such as 3M Fastbond 30-NF or Lineco Neutral pH Adhesive.
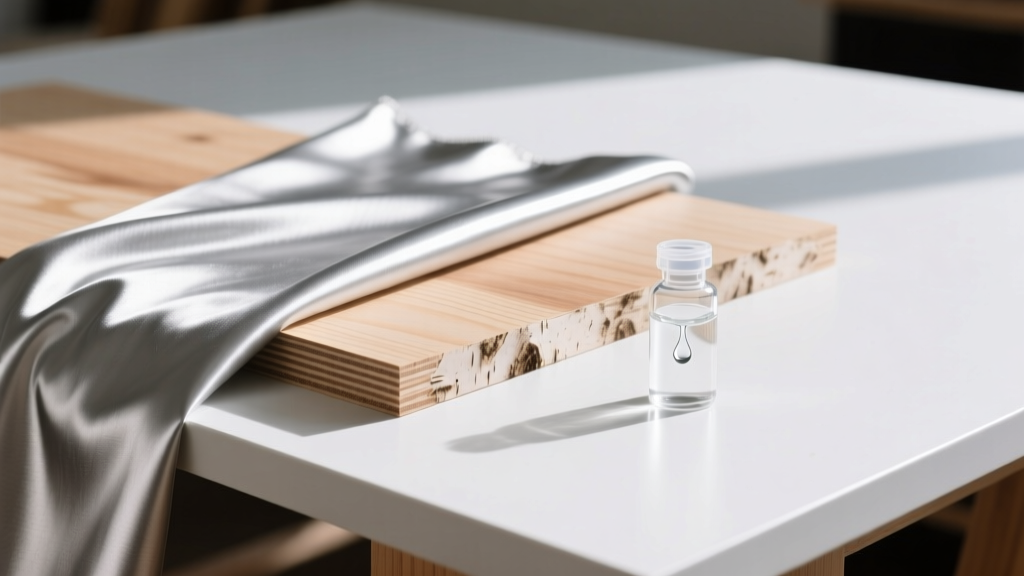
While 100% cotton flannel is the baseline for soft displays, true museum-quality DIY necklace displays require Pacific Silvercloth. As noted by the Gemological Institute of America (GIA), silver tarnishes when exposed to airborne hydrogen sulfide. Pacific Silvercloth is embedded with microscopic silver particles that act as a sacrificial anode, absorbing corrosive gases before they reach your jewelry. When stretching Silvercloth over a curved bust, use a pneumatic micro-stapler with stainless steel staples along the back seams, avoiding adhesive on the primary display surface to maintain the fabric's anti-tarnish efficacy.
Load-Bearing Frameworks for Heavy Pendants
Heavy pendants—such as a 50-gram cabochon pendant on a 2mm wheat chain—exert severe localized stress on the display neck. If you are building a slender, modern T-bar or minimalist neck form, the wood alone may snap under dynamic loads (e.g., if the display is bumped or moved). To prevent catastrophic failure, you must integrate a hidden steel armature.
Drill a 10mm vertical channel through the center of your wooden display neck and insert a 304-grade stainless steel threaded rod, securing it at the base with a steel fender washer and hex nut. This transfers the tensile load directly to the heavy base plate rather than relying on the wood's grain structure.
| Substrate Material | Thickness | Point Load Capacity (Unsupported) | Archival Safety |
|---|---|---|---|
| MDF (Standard) | 18mm | ~15 lbs (Prone to snapping) | Poor (Off-gasses formaldehyde) |
| Solid Pine | 25mm | ~25 lbs (Splits along grain) | Moderate (Contains natural resins) |
| Baltic Birch Plywood | 18mm | ~45 lbs (High shear strength) | Excellent (Low VOC) |
| Baltic Birch + Steel Rod | 18mm / 10mm rod | 100+ lbs (Armature supported) | Excellent |
Hardware and Anchoring: Preventing Failure Modes
The most frequent mechanical failure in DIY necklace displays is the pull-out of the top anchor hook, resulting in the jewelry crashing to the floor. Standard zinc-alloy screw eyes found in hardware stores will snap or bend under dynamic loads exceeding 200 grams.
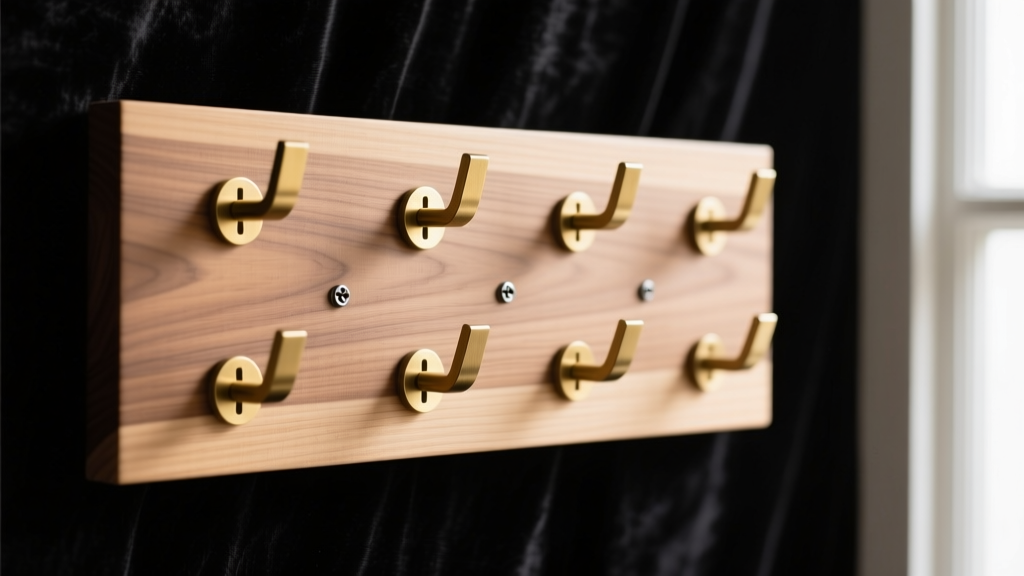
Upgrade to solid brass or 316L marine-grade stainless steel display hooks. When installing the hook into your Baltic Birch substrate, the pilot hole is critical. Drill a pilot hole exactly 75% of the screw's core diameter (excluding the threads). Before driving the hook, inject a single drop of thin cyanoacrylate (CA) glue or a two-part clear epoxy into the hole. As the screw cuts into the wood, the adhesive cross-links with the wood fibers, creating a permanent, high-tensile bond that makes pull-out virtually impossible without destroying the surrounding wood.
Lighting and Micro-Environment Control
As of 2026, LED technology has advanced to the point where museum-grade lighting is accessible for DIY builders, but specific metrics must be met to accurately render gemstones. The Color Rendering Index (CRI) of your integrated LEDs must be >95. More importantly, check the R9 value (the metric for rendering deep reds); an R9 >90 is mandatory if you are displaying rubies, garnets, or red spinels, as standard LEDs will make these stones appear muddy or brown.
Color temperature should be matched to the metal: 3000K (warm white) enhances the luster of yellow and rose gold, while 4000K (neutral white) is required to accurately display the brilliance of platinum, white gold, and diamonds. Never use halogen bulbs, as their UV emissions and radiant heat can dry out organic gems like pearls, opals, and amber.
Finally, integrate micro-environment control by routing a shallow 1/4-inch recess into the hidden back or base of your display. Embed 3M Anti-Tarnish Strips or activated charcoal sachets into this cavity. This creates a localized scavenging zone that absorbs airborne pollutants, ensuring your DIY necklace display remains a protective vault as much as a beautiful presentation piece.


