How to Make a Guitar Pick Necklace: A Jeweler's Technical Guide
Learn how to make a guitar pick necklace with professional jewelry techniques. Master bezel setting, metal stamping, and bail soldering for durable pendants.

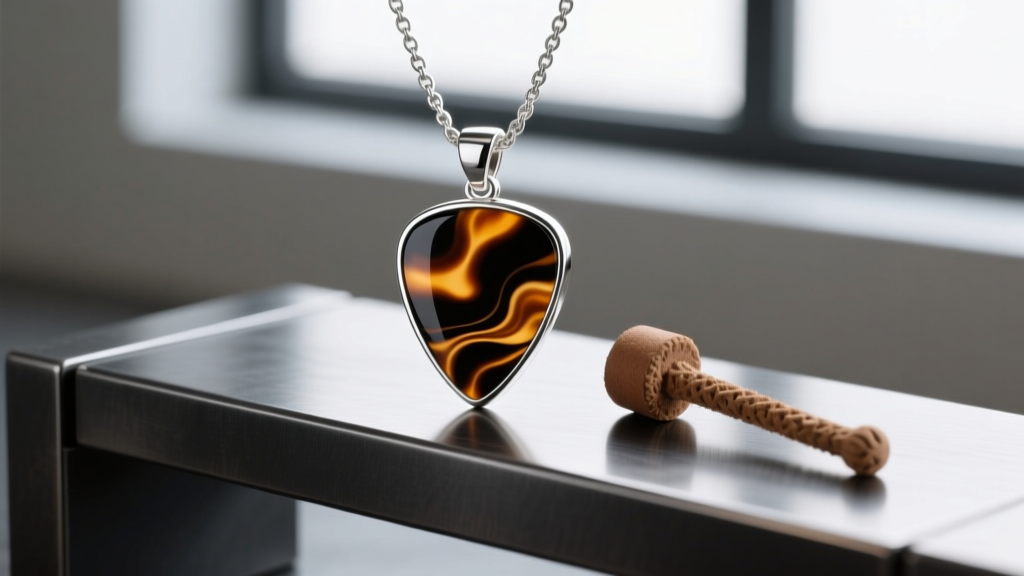
The Anatomy of a Professional Guitar Pick Pendant
When researching how to make a guitar pick necklace, most search results lead to basic craft tutorials involving hot glue, pre-drilled plastic picks, and flimsy jump rings. As a professional jeweler, I approach this popular musical accessory with the same metallurgical rigor and structural integrity as fine jewelry. A truly heirloom-quality guitar pick pendant requires an understanding of material science, precise fabrication techniques, and durable mechanical connections.
In this expert deep dive, we will bypass the craft-store adhesives and explore the technical processes of fabricating a custom metal bezel, cold-connecting bails to heat-sensitive polymers, and selecting the correct chain gauges to support the pendant's weight. Whether you are working with vintage tortoiseshell celluloid, modern acetate, or stamping your own 14-gauge brass blanks, this guide provides the exact specifications required for a professional finish.
Material Science: Polymers and Metal Blanks
The foundation of any pick necklace is the pick itself. Understanding the chemical and physical properties of your chosen material is critical to avoiding catastrophic failure during fabrication.
Polymer Failure Modes
- Celluloid: The vintage standard. It is composed of nitrocellulose and camphor, making it highly flammable. You must never use a torch, solder, or generate high friction heat near celluloid. It will melt, warp, and potentially ignite.
- Acetate: The modern, stable alternative. It can withstand mild heat and is ideal for bezel setting. It machines cleanly with sharp carbide burrs.
- Delrin (POM): Extremely durable and stiff, often used for heavy metal players. It is difficult to polish but highly resistant to impact and solvents.
Metal Blank Specifications
If you are fabricating a solid metal pick or a bezel frame, sheet metal gauge selection is paramount. A standard guitar pick is roughly 0.75mm to 1.0mm thick. For a metal pendant, you need a thicker gauge to prevent the piece from bending against the player's chest. I recommend using 16-gauge (1.29mm) or 14-gauge (1.63mm) sterling silver, brass, or copper. Thinner gauges, like 20-gauge, will warp during the polishing phase and dent easily during wear.
Fabrication Techniques: The Bezel Setting Method
For polymer picks, the most professional approach is creating a custom metal bezel. This involves cutting a backing plate from 18-gauge sheet metal and soldering a bezel wire (typically 22-gauge x 3mm wide) around the perimeter. The polymer pick is then filed to a precise friction-fit and secured using a tiny amount of museum wax or a hidden drop of cyanoacrylate on the backing plate.
According to the technical archives at Ganoksin, when soldering the bezel wire to the backplate, you must use a medium-hard solder to ensure the joint survives the subsequent pickling and tumbling processes without degrading. Always flux the entire piece with a borax-based flux to prevent firescale from forming on the sterling silver or copper backplate.
Bail Attachment: Comparing Mechanical and Soldered Joints
The bail is the critical failure point in any pendant. When learning how to make a guitar pick necklace, choosing the right bail attachment method dictates the lifespan of the piece. Below is a technical comparison of the four primary bail attachment methods used in professional studios.
| Bail Type | Shear Strength | Application Method | Best Use Case |
|---|---|---|---|
| Soldered Loop | Very High | Silver solder + torch | Solid metal picks; no heat-sensitive inlays |
| Riveted Pinch Bail | High | Cold connection (drill & peen) | Celluloid/Acetate picks; avoids heat damage |
| Glue-On Pad Bail | Low to Medium | Two-part epoxy (e.g., Devcon) | Thin polymer picks where drilling is impossible |
| Wire-Wrapped | Medium | 20g or 18g dead-soft wire | Rustic designs; allows for easy replacement |
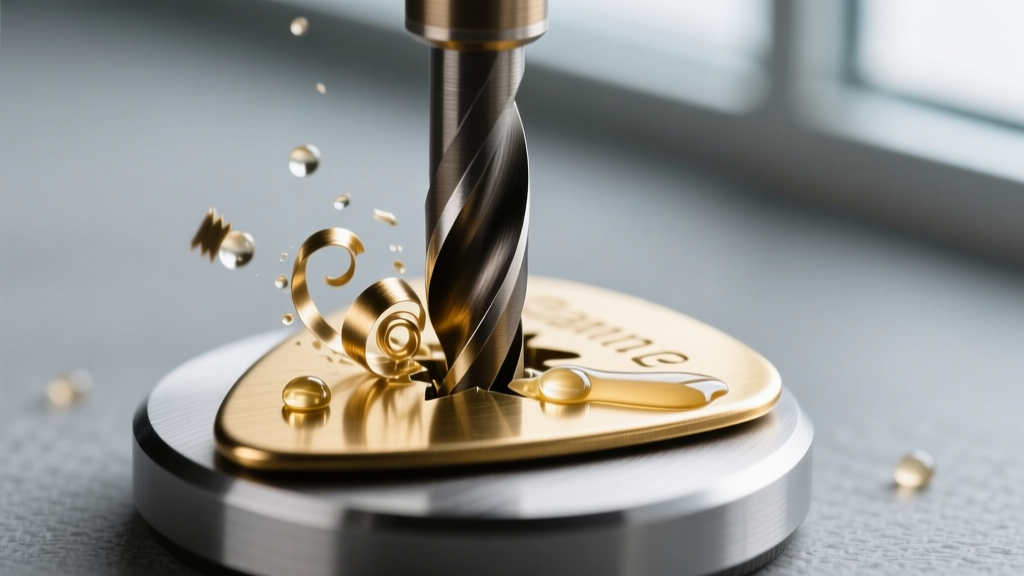
For heat-sensitive materials like vintage celluloid, a riveted pinch bail is the superior choice. By drilling a 1.5mm hole through the top center of the pick and the bail's prongs, you can insert a 14-gauge brass wire and peen the ends with a riveting hammer. This cold connection provides immense structural integrity without risking the thermal destruction of the polymer.
Step-by-Step: Drilling Polymers Without Melting
Drilling into acetate or Delrin requires specific RPM controls. Standard high-speed steel (HSS) drill bits run at high RPMs will generate friction heat, melting the plastic and causing the bit to bind and crack the pick.
- Tool Selection: Use a 1.5mm carbide burr or a specialized slow-speed twist drill.
- RPM Control: Set your flex shaft or drill press to under 3,000 RPM. High torque, low speed is the rule.
- Lubrication: Apply a drop of cutting fluid or even water to the drill site to dissipate heat.
- The Jig: Never hold the pick by hand. Clamp it in a brass or wooden jig to prevent the bit from catching and throwing the piece across the room.
- Deburring: Use a countersink bit at the lowest possible speed to gently chamfer the edges of the hole, ensuring the chain or bail sits flush without cutting into the metal.
Patina and Oxidation for Metal Picks
If you are working with solid brass, copper, or sterling silver blanks, applying a patina adds depth and highlights any hand-stamped textures or engraved logos. Rio Grande recommends using Liver of Sulfur (LOS) for controlled oxidation.
Expert Tip: For a rich, dark grey-black patina on sterling silver, dissolve a small piece of LOS in warm (not hot) distilled water. Dip the pick for 10-second intervals, rinsing in cold water between dips. Once the desired depth is achieved, polish the high points with a radial bristle disc on your flex shaft, leaving the recesses dark. Seal the piece with a microcrystalline wax to prevent the sulfur from continuing to react with ambient air.
Chain Pairing and Gauge Tolerances
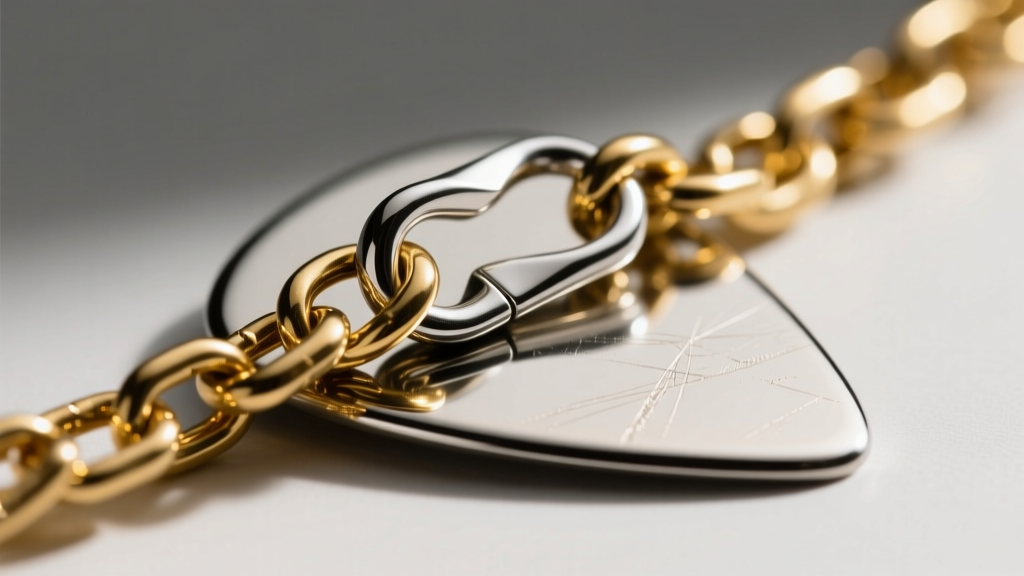
A heavy 14-gauge metal guitar pick requires a chain that can support its mass without the links pulling apart. Avoid delicate cable chains or snake chains, which will kink and snap under the pendulum motion of a pick swinging against a player's chest.
Recommended Chain Styles
- Rolo Chain (2.5mm - 3.5mm): The round, interlocking links offer excellent tensile strength and a classic, masculine aesthetic that pairs well with brass and silver picks.
- Curb Chain (3.0mm - 4.0mm): Flattened links lay flat against the skin and provide a heavy, durable feel. Ensure the links are soldered closed if the pick exceeds 15 grams.
- Leather Cord (3mm - 4mm): For a rustic or vintage vibe, use a braided leather cord. Always finish the ends with glued metal end-caps and a secure lobster clasp, as knotting leather can slip over time when exposed to skin oils and sweat.
Always pair your chain with a high-quality lobster clasp rather than a spring ring. Spring rings are notorious for failing under the dynamic load of a heavy pendant. A 5mm or 7mm cast lobster clasp, soldered to a sturdy 6mm jump ring, ensures the necklace remains securely fastened during active wear.
Final Quality Control and Care
Before delivering or wearing your custom guitar pick necklace, perform a stress test. Pull firmly on the bail and the chain links to ensure no jump rings are left unsoldered or improperly closed. Advise the wearer to remove the necklace before swimming, as chlorine will rapidly degrade both sterling silver and the structural integrity of certain polymer inlays. With proper fabrication techniques, a custom guitar pick pendant transcends a simple piece of band merchandise and becomes a durable, lifelong talisman of musical passion.


