How to Fix Broken Chain Necklace: Expert Soldering & Repair Guide
Learn how to fix broken chain necklace links with our expert guide. Discover micro-soldering techniques, metal-specific fluxes, and weave repair tips.

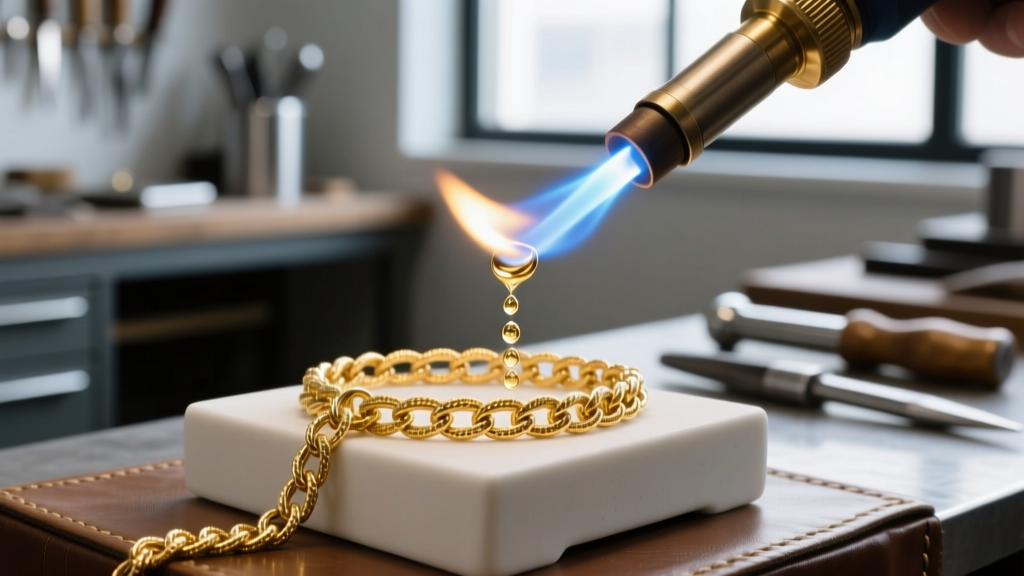
A snapped necklace is more than a minor inconvenience; it is a structural failure of metallurgy and mechanics. Whether you are a bench jeweler refining your craft or an enthusiast seeking to understand the intricacies of jewelry repair, knowing how to fix broken chain necklace links requires far more than simply melting metal together. It demands a precise understanding of alloy compositions, capillary action, and chain weave geometry. In this expert deep dive, we bypass generic DIY hacks and explore the professional micro-soldering and laser welding techniques used to restore structural integrity to fine jewelry.
Diagnosing the Break: Chain Weave & Metal Alloy Analysis
Before applying heat, a master jeweler must diagnose why the failure occurred. Chains typically fail due to tensile stress, torsion fatigue, or abrasive wear at the interlocking joints. The geometry of the chain dictates the repair strategy. According to manufacturing data from Stuller Bench Techniques, attempting to solder a crushed box chain with a traditional torch often results in fusing adjacent walls, rendering the links immobile.
| Chain Weave | Common Failure Point | Repair Complexity | Recommended Method |
|---|---|---|---|
| Cable | Link elongation / clasp ring | Low | Micro-torch (Easy Solder) |
| Box | Crushed corners / link snapping | High | Laser Welding |
| Rope | Unraveling / torsion stress | Medium-High | Micro-torch (Hard Solder) |
| Figaro | Pattern mismatch / jump rings | Medium | Micro-torch / Cold Join |
| Curb | Interlocking friction wear | Medium | Micro-torch (Medium Solder) |
The Metallurgy of Solder: Selecting the Right Filler Metal
When learning how to fix broken chain necklace structures, selecting the correct solder grade is critical. Jewelry solder is not a universal glue; it is a precisely calibrated alloy designed to melt at specific temperatures, allowing for multiple repairs without compromising previous joints. The GIA Metal Alloys Guide emphasizes the importance of matching solder karat and color to the base metal to prevent visible seams and galvanic corrosion.
- Hard Solder (Melting Point ~1450°F / 788°C for 14k Gold): Used for the primary structural links, especially on heavy rope or curb chains that bear significant pendant weight.
- Medium Solder (Melting Point ~1350°F / 732°C for 14k Gold): Ideal for secondary repairs or rebuilding worn jump rings.
- Easy Solder (Melting Point ~1250°F / 677°C for 14k Gold): Reserved for attaching clasps or final jump ring closures where minimal heat penetration is required to protect nearby gemstones.
For sterling silver, cadmium-free silver solders are the industry standard, requiring a specialized white flux like Stay-Silv to prevent fire scale (cuprous oxide) from blooming on the surface during heating.
Essential Tools for Professional-Grade Chain Repair
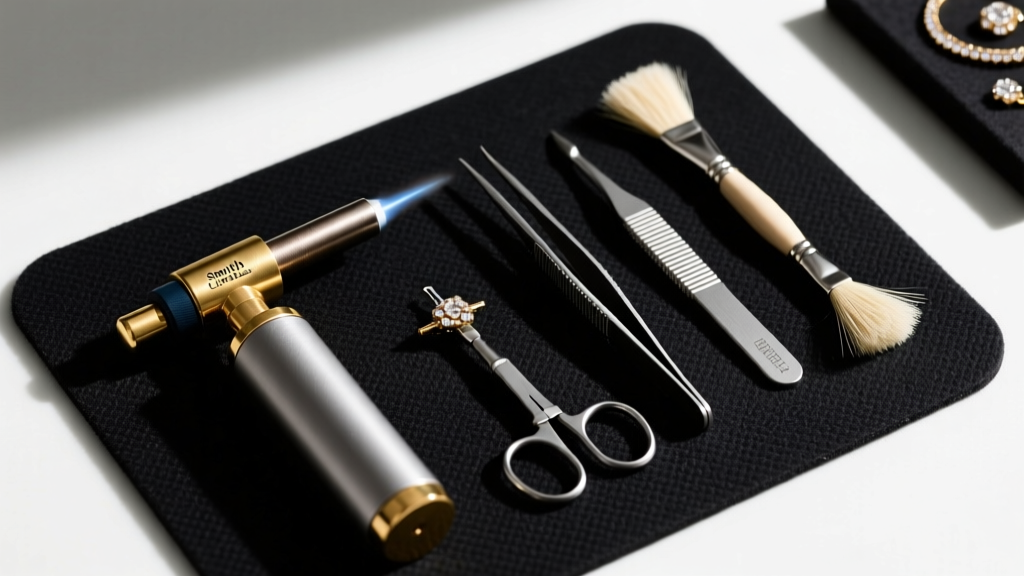
Executing a flawless repair requires precision instrumentation. A standard hardware store soldering iron is useless for fine jewelry. Bench jewelers rely on the following specialized equipment:
- Smith Little Torch with #0 or #1 Tip: Provides a pinpoint, oxygen-rich flame that localizes heat to a single millimeter, preventing adjacent links from annealing or warping.
- Binding Wire & Titanium Tweezers: Titanium is non-magnetic and heat-resistant, allowing the jeweler to hold microscopic links in perfect alignment without the tweezers acting as a heat sink and drawing heat away from the solder joint.
- Cupronil Flux: A high-temperature fluoride flux that forms a protective glassy barrier over gold alloys, preventing oxidation and ensuring the solder flows via capillary action rather than balling up.
- Sparex #2 Pickle: A mildly acidic sodium bisulfate solution heated to 140°F (60°C) used to dissolve oxidation and flux residue immediately after quenching.
Step-by-Step Micro-Soldering: How to Fix Broken Chain Necklace Links
The actual soldering process is a masterclass in thermal management. Here is the professional workflow for repairing a standard 14k yellow gold cable chain:
1. Preparation and Jigging
The broken link is gently filed to create a flush mating surface. The chain is laid flat on a charcoal or ceramic soldering block. Using a piece of iron binding wire, the chain is secured to the block to prevent movement. The broken link is manipulated with a titanium scribe until the gap is perfectly closed. Capillary action requires a gap of no more than 0.05mm for optimal solder flow.
2. Flux Application and Solder Placement
A micro-drop of Cupronil flux is applied to the joint. A microscopic chip of 14k Hard solder (roughly the size of a grain of sand) is placed directly over the seam. For ultra-fine chains, jewelers may use solder chips pre-set in flux paste to prevent the torch from blowing the chip away.
3. Thermal Management and Flow
Using the Smith Little Torch with a #1 tip, the jeweler applies a soft, bushy flame in a circular motion around the joint, never directly on the solder chip. The goal is to bring the entire link to the solder's flow temperature simultaneously. Once the gold reaches the critical temperature, the solder flashes and is instantly drawn into the seam via capillary action.
4. Quenching and Pickling
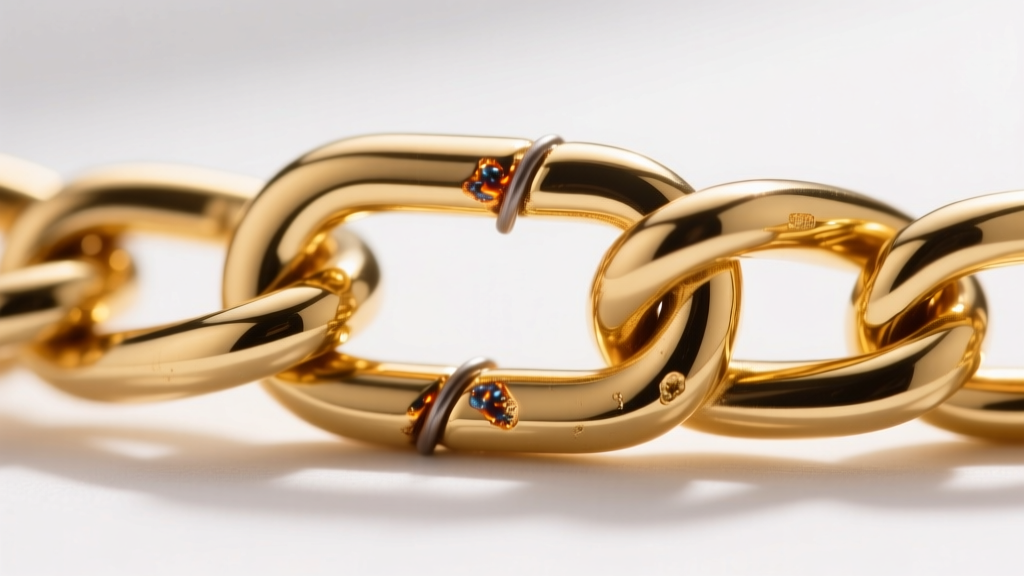
The chain is immediately quenched in water to lock the metal's crystalline structure, then transferred to the warm Sparex #2 pickle pot for five minutes. This strips away all oxidation, revealing a clean, bright joint.
Laser Welding vs. Micro-Torch: When to Adapt Your Strategy
While micro-soldering is the backbone of chain repair, certain scenarios demand laser welding. According to the Rio Grande Solder Chart and advanced bench guidelines, laser welders emit concentrated pulses of light energy that melt metal in milliseconds without raising the ambient temperature of the surrounding chain.
Laser welding is strictly required when:
- Repairing Box Chains or Hollow Tube Chains, where torch heat would cause the internal walls to collapse or fuse together.
- The break occurs within 5mm of a heat-sensitive gemstone (like emerald, opal, or tanzanite) that cannot be safely removed from the setting.
- Working with Platinum, which requires temperatures exceeding 3200°F (1760°C) for traditional soldering, making laser welding a vastly superior and safer alternative for structural integrity.
Cold-Join Alternatives and Their Limitations
For costume jewelry, base metals, or heavily oxidized antique chains that cannot withstand heat, cold-join methods are the only viable option. This involves weaving a heavy-gauge split ring or a seamless jump ring through the broken link. However, from an engineering perspective, cold joins introduce a new point of mechanical failure. A jump ring will eventually pull apart under tensile load unless it is structurally locked. For long-term durability, micro-soldering remains the undisputed gold standard for fine jewelry restoration.
Post-Repair Finishing and Tensile Testing
A repaired chain is not finished until it is polished and stress-tested. The soldered link is lightly filed with a #6 cut escapement file to ensure it is perfectly flush with the original wire gauge. It is then polished with a rouge-charged bristle brush on a flex shaft. Finally, the jeweler performs a manual tensile test, applying gradual pressure to ensure the capillary joint holds up to the expected daily wear. By mastering these metallurgical principles, you elevate chain repair from a temporary patch to a permanent, invisible restoration.


