How to Fix a Broken Gold Necklace: Step-by-Step Repair Guide
Learn how to assess and fix a broken gold necklace. Our step-by-step guide covers at-home triage, soldering grades, and laser welding costs.

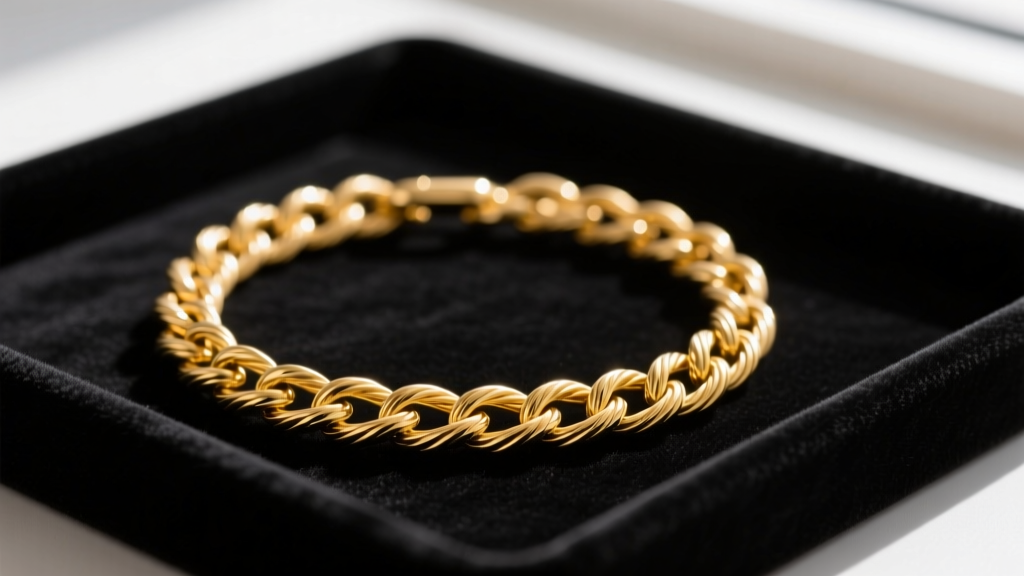
Gold necklaces are prized for their brilliant luster, timeless appeal, and intrinsic value. However, the very physical properties that make gold so desirable for jewelry—its malleability and ductility—also make it susceptible to tensile failure, snagging, and eventual breakage. Whether your heirloom piece snapped from a sudden tug or a delicate link finally succumbed to years of friction, dealing with a broken gold necklace requires a methodical approach. Rushing to glue it or wearing it in its compromised state will almost certainly result in total loss.
In this comprehensive guide, we will explore the metallurgical reasons behind chain failure, provide immediate at-home triage steps to secure your piece, and break down the professional repair methods available today, including exact cost expectations for 2026.
The Metallurgy of Failure: Why Gold Chains Snap
To properly repair a chain, you must first understand why it broke. Pure 24-karat gold is far too soft for daily-wear chain links; it would stretch and deform under the weight of a simple pendant. Therefore, jewelry is alloyed with metals like copper, silver, zinc, and nickel to increase its tensile strength. According to the Gemological Institute of America (GIA), the karat weight fundamentally dictates how a chain will fail:
- 14K Gold (58.5% Gold): Highly durable but more brittle. 14K chains typically experience sudden, clean snaps at weak points, often near the clasp jump ring due to "work hardening" from repetitive opening and closing.
- 18K Gold (75% Gold): Softer and more ductile. An 18K chain will usually stretch, thin out, and distort before finally snapping. You will often see a visible "necking" effect where the metal thinned right before the break.
- Hollow Gold (Electroformed): These chains offer a thick look at a light weight. However, if a hollow link is crushed or bent, the structural integrity is lost. Heat from a traditional torch will cause trapped gases inside the hollow tube to expand, blowing out the gold wall and ruining the link.
Immediate Triage: Securing a Broken Gold Necklace at Home
Before you take your necklace to a professional, you must secure it. The greatest risk with a broken gold necklace is the loss of the micro-links or the pendant sliding off the severed ends.
Step 1: Remove and Isolate the Pendant
If your chain broke while being worn, carefully slide the pendant off the chain. Store the pendant in a separate soft pouch. Pendants can act as a wedge, forcing broken links further apart and warping the surrounding gold.
Step 2: Bind the Severed Ends
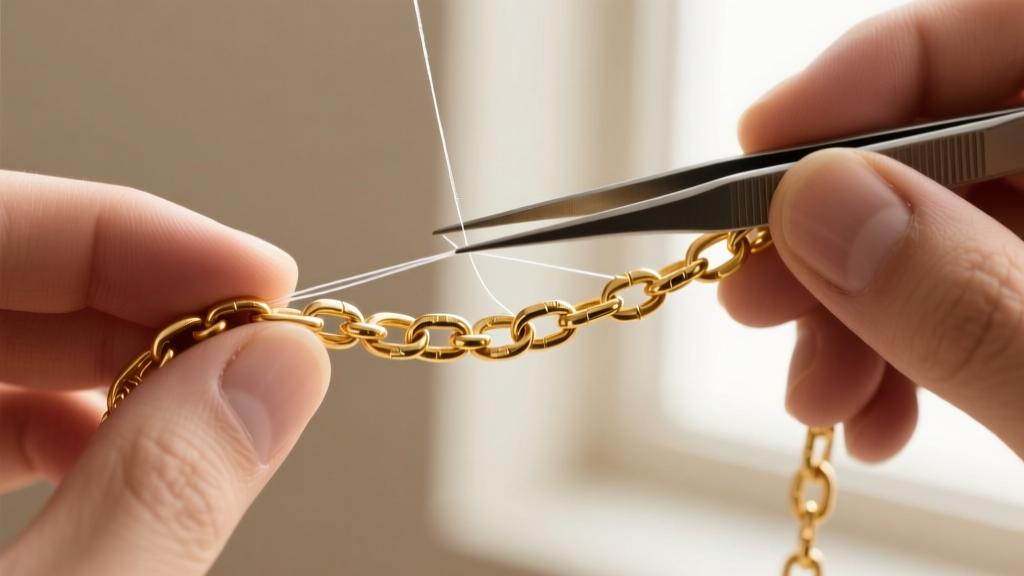
Do not attempt to bend the broken links back into place with your fingers or standard pliers. Gold work-hardens quickly, and bending a snapped link back and forth will cause metal fatigue, snapping the link entirely and requiring a more complex reconstruction. Instead, use a piece of clear fishing line or a soft, waxed jeweler's cord to loosely tie the two broken ends together. This prevents the chain from tangling and keeps the broken links in close proximity for the jeweler.
Step 3: The Ziplock Protocol
Place the bound necklace into a small, sealable plastic bag. Squeeze out the air and seal it. This prevents the delicate, broken micro-links from catching on fabrics in your purse or pocket, which can pull the chain apart further and stretch the adjacent links.
Professional Repair Methods: Torch Soldering vs. Laser Welding
When you bring your necklace to a bench jeweler, they will assess the chain style and karat weight to determine the repair method. The two primary techniques are traditional torch soldering and modern laser welding.
| Feature | Traditional Torch Soldering | Nd:YAG Laser Welding |
|---|---|---|
| Best For | Solid cable, curb, and figaro chains (14K/18K) | Rope chains, hollow chains, platinum, and 22K/24K gold |
| Heat Application | Broad, ambient heat via butane/oxygen torch | Pinpoint, localized light energy (less than 1mm) |
| Filler Material | Gold solder chips (graded by melting point) | Usually no filler; fuses parent metal directly |
| Risk Factor | High risk of melting adjacent links on rope/hollow chains | Extremely low thermal spread; safe for delicate weaves |
| Average Cost | $35 - $75 | $85 - $200+ |
The Problem with Rope Chains
Rope chains are notoriously difficult to repair. Because the links are tightly twisted and interlocked, applying a traditional torch flame will inevitably melt the solder into the adjacent links, fusing the chain into a stiff, immovable knot. Laser welding is strictly mandatory for broken gold rope chains, as the laser pulse lasts only milliseconds, fusing the broken wire without transferring heat to the neighboring twists.
Step-by-Step Guide to DIY Torch Soldering (For Advanced Makers)
Disclaimer: This section is for advanced hobbyists with proper ventilation, fire safety equipment, and bench experience. Attempting this on hollow, woven, or high-karat chains will destroy the piece.
If you are repairing a basic, solid 14K yellow gold cable chain, you can perform a traditional solder repair using a butane micro-torch. The key to invisible jewelry soldering is using the correct temperature grade of gold solder to prevent "ghost joints" or melted links.

Step 1: Prepare the Joint and Apply Flux
Using a fine jeweler's saw, cut away the damaged or stretched link entirely, leaving two clean, flush ends. Paint the entire chain with a borax-based flux (such as Handy Flux). The flux prevents oxidation and acts as a chemical magnet, pulling the molten solder precisely into the seam.
Step 2: Select the Correct Solder Grade
Gold solder is alloyed to match the color of your chain and is graded by melting point:
- Hard Solder (Melts at ~1450°F / 788°C): Used for the initial manufacturing of chains. Rarely used for repairs unless rebuilding a completely new link.
- Medium Solder (Melts at ~1365°F / 740°C): The standard for most structural chain repairs.
- Easy Solder (Melts at ~1305°F / 707°C): Used for final clasp attachments or low-heat touch-ups.
For a standard chain break, clip a tiny chip of Medium 14K Yellow Gold Solder and place it directly over the flush joint.
Step 3: Heat and Quench
Ignite your micro-torch and use a broad, sweeping flame to heat the entire chain section evenly. Do not aim the flame directly at the solder chip; instead, heat the gold links on either side of the break. Gold is an excellent thermal conductor. Once the metal reaches the solder's flow point, the solder will flash and wick into the seam via capillary action. Immediately remove the heat, let it air cool for 30 seconds, and quench in distilled water.
Step 4: Pickle and Polish
Submerge the chain in a warm sodium bisulfate pickle solution for 5 minutes to dissolve the glassy flux residue and surface oxidation. Rinse, dry, and use a polishing cloth to restore the luster to the soldered joint.
Preventative Maintenance: Extending Chain Lifespan
According to repair data aggregated by Jewelers of America, over 60% of chain breaks occur at the jump ring connecting the clasp. To prevent future breaks:
- Upgrade the Jump Ring: Ask your jeweler to replace the standard open jump ring with a soldered, closed jump ring or a heavier-gauge split ring.
- Rotate Your Chains: Wearing the exact same chain 24/7 exposes it to constant friction, sleep-tossing tension, and chemical degradation from lotions. Rotate between 2-3 chains to allow the metal to "rest" and reduce work-hardening fatigue.
- Check for "Stretch": Once a month, run the chain through your fingers. If you feel a section that is noticeably more flexible or stretched than the rest, take it to a jeweler for link consolidation before it snaps.
By understanding the metallurgy of your gold jewelry and utilizing the correct repair techniques, you can ensure that your favorite necklaces remain intact and beautiful for generations to come.


