How to Fix a Necklace: Step-by-Step Chain & Clasp Repairs
Learn how to fix a necklace at home with our expert guide. Step-by-step instructions for repairing broken chains, clasps, and jump rings safely.

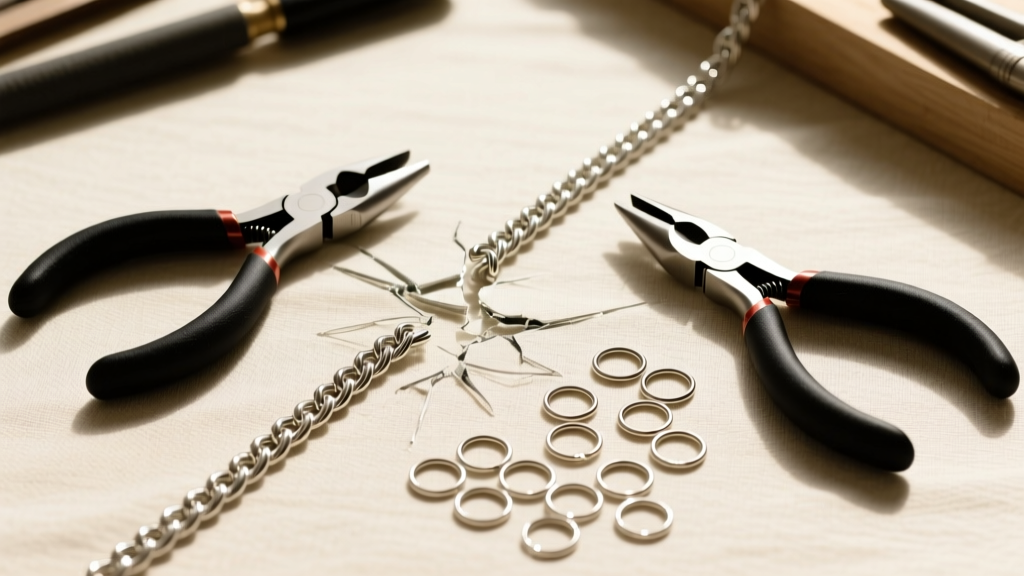
There are few things more frustrating than reaching for your favorite pendant necklace, only to find the chain has snapped or the clasp has failed. While a broken chain might seem like a trip to the jeweler is inevitable, many common necklace failures can be resolved at home with the right tools and techniques. Understanding the metallurgy of your jewelry and the mechanics of chain links is the first step toward successful DIY repair. In this comprehensive guide, we will teach you exactly how to fix a necklace, covering everything from replacing a faulty lobster clasp to re-linking a broken cable chain, while highlighting the specific repairs you should always leave to a professional bench jeweler.
Assessing the Damage: What Can You Actually Fix at Home?
Before you pick up a pair of pliers, you must accurately diagnose the point of failure. Necklaces typically break at stress points: the jump rings connecting the clasp, the clasp mechanism itself, or a weakened link in the chain. Not all chains are created equal, and the structural integrity of the metal dictates whether a DIY repair is viable. According to guidelines from Jewelers of America, attempting to repair complex woven chains at home often results in irreversible damage and devaluation of the piece.
| Damage Type | Chain Style | DIY Difficulty | Required Tool | Success Rate |
|---|---|---|---|---|
| Open/Broken Jump Ring | Any | Very Easy | Two pairs of chain-nose pliers | 95% |
| Broken Lobster Clasp | Any | Easy | Pliers, replacement clasp | 90% |
| Snapped Cable/Curb Link | Cable, Curb, Figaro | Moderate | Flush cutters, jump rings | 75% |
| Severed Rope Chain | Rope | Expert (Avoid DIY) | Laser welder (Professional) | 10% (DIY) |
| Kinked Herringbone | Herringbone, Omega | Impossible | Professional roller/burnisher | 0% (DIY) |
Essential Jewelry Repair Toolkit for Beginners
To properly execute a repair without scarring or marring your precious metals, you need precision tools. Standard household pliers feature serrated teeth that will permanently gouge soft metals like 18k gold, 24k gold, or high-purity sterling silver. Invest in jewelry-specific tools to ensure a clean, professional-grade repair.
- Chain-Nose Pliers (Smooth Jaw): You need two pairs. The tapered, smooth jaws allow you to grip small jump rings and clasp loops without scratching the metal. Brands like Lindstrom or Wubbers offer ergonomic options that reduce hand fatigue.
- Flush Cutters: A high-quality flush cutter with a 0.2mm flush edge is essential for trimming wire or cutting damaged links cleanly. A standard bevel cutter will leave sharp, protruding edges that can snag on clothing or skin.
- Replacement Jump Rings: Keep an assortment of 20-gauge (0.81mm) and 18-gauge (1.02mm) jump rings in sterling silver and gold-filled options. For standard pendant chains, a 4mm outer diameter (OD) jump ring is the most versatile size.
- Nylon-Jaw Pliers: These are invaluable for straightening bent wire or closing jump rings tightly without leaving tool marks on the metal surface.
- Bead Mat or Felt Pad: Working over a soft, textured surface prevents small components from bouncing off the table and rolling into the carpet.
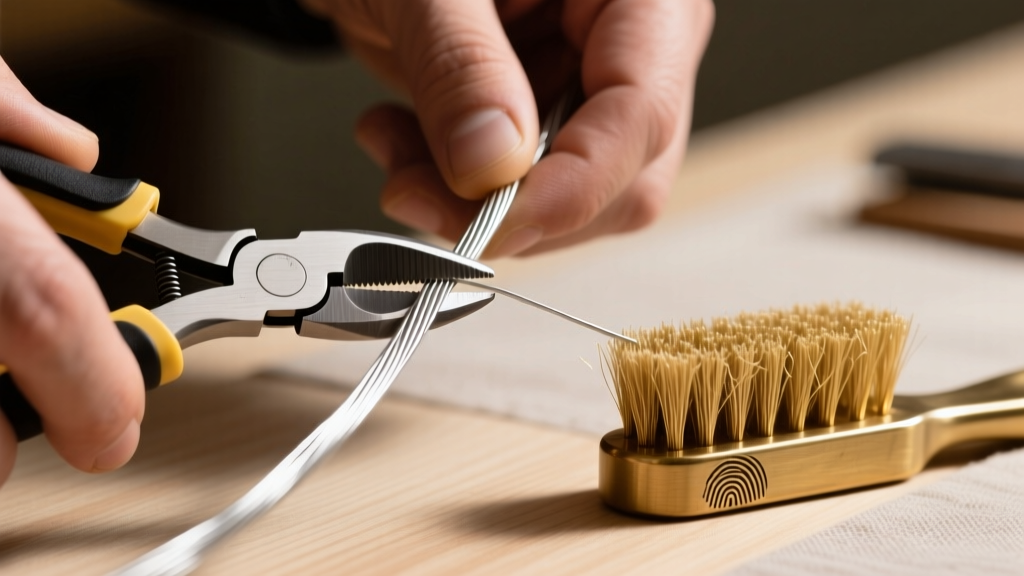
How to Fix a Necklace with a Broken Jump Ring or Clasp
The most common failure point on any necklace is the unsoldered jump ring that connects the chain to the lobster clasp or spring ring. Over time, the tension of putting the necklace on and taking it off causes the jump ring to pull apart. The critical mistake most beginners make is pulling the ring open laterally (like a hinge). This ovalizes the ring, weakens the crystalline structure of the metal through work hardening, and makes it nearly impossible to close flush.
Step 1: The Proper Twist Technique
Grip the jump ring with two pairs of chain-nose pliers, positioning the jaws on opposite sides of the split (the cut in the wire). Instead of pulling the ends apart, gently twist one hand toward you and the other hand away from you. This lateral twisting motion preserves the perfect circular shape of the ring.
Step 2: Remove and Replace the Clasp
Once the jump ring is twisted open, slide off the broken clasp. If the clasp is a standard lobster claw, ensure the small internal spring is intact; if it is broken, discard it. Slide your replacement clasp onto the jump ring, followed by the end tag of the necklace chain.
Step 3: Closing the Ring Flush
Reverse the twisting motion to bring the two ends of the jump ring back together. You should feel a slight "click" or friction as the ends pass each other, indicating a tight, flush closure. Run your fingernail over the seam; if it catches, the ring is not fully closed. Use your nylon-jaw pliers to gently squeeze the ring into a perfect circle, ensuring the seam is completely invisible and secure.
Repairing a Broken Cable or Curb Chain Link
If the chain itself has snapped, the repair process depends on the link style. Cable chains (uniform oval or round links) and curb chains (flattened, interlocking links) are the most forgiving for DIY repairs. According to technical guides from jewelry supplier Rio Grande, bypassing a damaged link with a slightly larger jump ring is often stronger than attempting to bend a broken link back into shape.
Step 1: Excising the Damaged Section
Examine the break. Usually, one link has been pulled open and distorted, and the adjacent link may be warped. Use your flush cutters to snip out the damaged link entirely, as well as any links that have lost their structural symmetry. It is better to remove two links and add a robust jump ring than to rely on a fatigued, weakened piece of wire.
Step 2: Sizing the Replacement Link
Select a replacement jump ring that closely matches the wire gauge and outer diameter of the original chain links. If the original chain was made with soldered links (where each link is individually welded shut), you will need to use an unsoldered jump ring to bridge the gap. Choose a jump ring with a wire gauge one size thicker than the chain itself to compensate for the lack of a soldered seam.
Step 3: Weaving the Repair
Twist the jump ring open. Thread it through the last intact link on the left side of the break, and then through the last intact link on the right side. Close the jump ring using the twist technique described earlier. Because the necklace will now have one unsoldered link, avoid placing heavy pendants directly over this repaired section, as the tension could pull the jump ring apart over time.
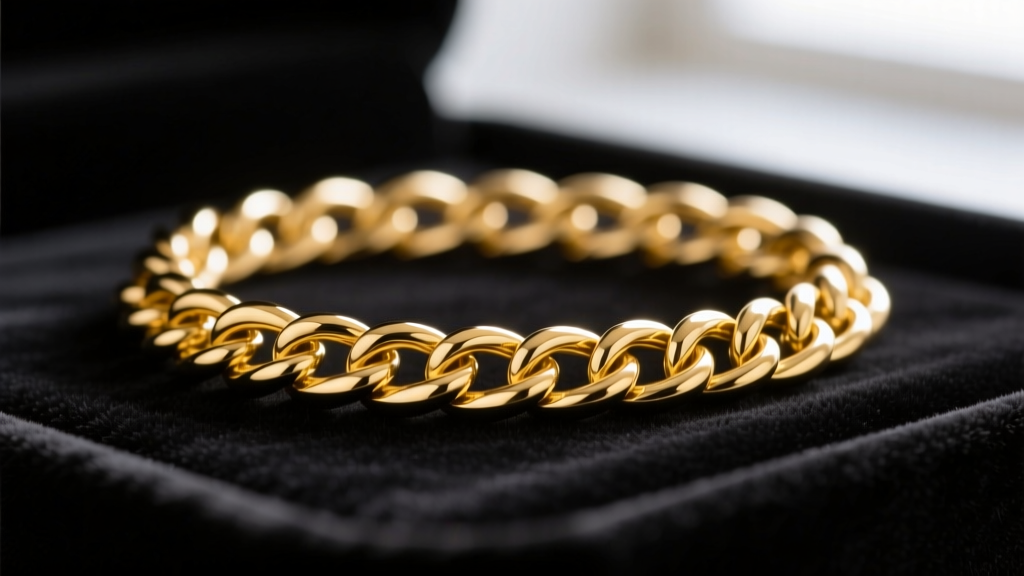
When to Stop: Chain Types You Should Never DIY
Knowing when to put down the pliers is just as important as knowing how to use them. Certain chain styles rely on complex structural memory, precise laser welding, or specialized rolling mills to maintain their form. Attempting to fix these at home will almost certainly ruin the necklace.
Herringbone and Omega Chains
Herringbone chains are constructed from multiple rows of flattened, interlocking links that lay perfectly flat against the skin. They possess virtually no tensile strength. If a herringbone chain kinks or snaps, the metal has undergone severe plastic deformation. You cannot simply "bend it back." The structural memory of the alloy is destroyed, and the kink will remain a weak point that will inevitably snap again. Professional jewelers must use specialized rolling mills and burnishers to attempt a fix, and even then, the repair is rarely permanent.
Rope and Box Chains
Rope chains are twisted strands of links that mimic the appearance of a woven rope. If a rope chain breaks, using a jump ring to reconnect it will leave a visible, bulky seam that disrupts the twist pattern. Furthermore, traditional torch soldering can melt the delicate surrounding links. These chains require a professional bench jeweler to use a laser welder, which applies pinpoint heat to fuse the metal without damaging the adjacent twisted links. Box chains, made of square, interlocking links, suffer from a similar issue; if the internal hinge mechanism fails, the entire structural integrity of that segment is compromised.
Pro Tips for Preventing Future Chain Breakages
Once you have successfully learned how to fix a necklace, the goal shifts to prevention. Chain breakage is usually the result of metal fatigue, chemical degradation, or improper storage.
- Upgrade to Soldered Jump Rings: If you frequently wear a heavy pendant, take your necklace to a jeweler and ask them to replace the standard split jump rings at the clasp with soldered jump rings. A soldered seam eliminates the weak point where the wire meets, increasing the tensile strength of the connection by over 300%.
- Mind the Gauge: When purchasing a new necklace intended for daily wear and heavy pendants, check the wire gauge. Avoid anything thinner than 1.0mm (18-gauge) for pendants weighing more than 5 grams. Fine, delicate chains (like 0.5mm snake chains) are strictly for lightweight, decorative wear.
- Rotate Your Jewelry: Wearing the exact same chain 24/7 exposes the metal to constant friction, sweat, and environmental pollutants. The acids in human sweat can slowly degrade the copper alloys in sterling silver and lower-karat golds, leading to microscopic pitting and eventual snapping. Rotate your necklaces and wipe them down with a microfiber cloth after wear.
- Proper Storage: Never toss necklaces into a communal jewelry box. The friction of chains rubbing against harder gemstones or other metal jewelry causes micro-abrasions. Store each necklace individually in a soft pouch or hang them from a multi-tier jewelry stand to prevent tangling and link stress.
By understanding the mechanics of your jewelry and utilizing the correct precision tools, you can confidently maintain your collection, saving time and money on minor bench repairs while knowing exactly when to call in a professional.


