How to Shorten a Necklace Temporarily: 5 No-Damage Methods
Learn how to shorten a necklace temporarily without cutting the chain. Discover 5 no-damage methods using bobby pins, clasps, and elastic.

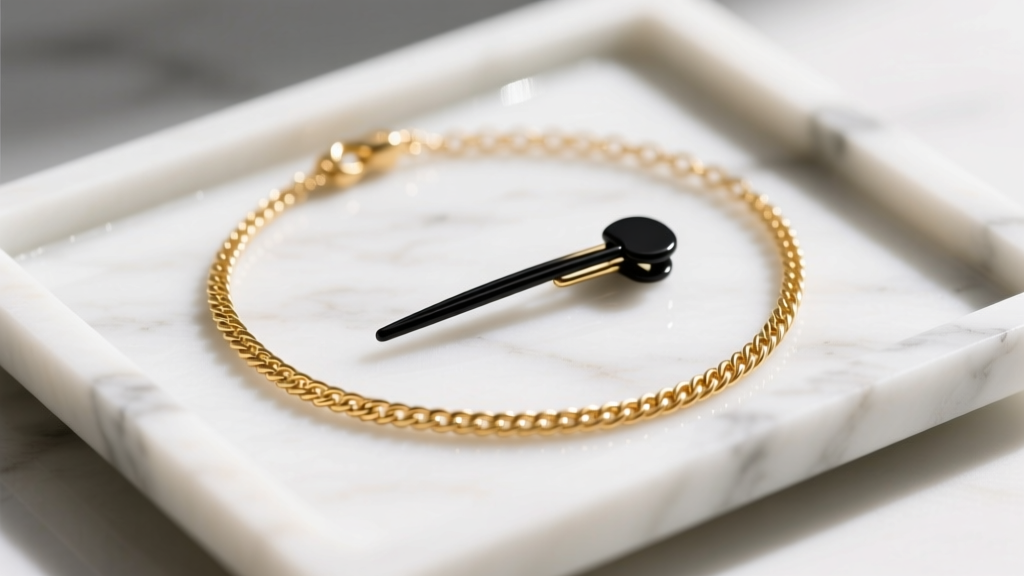
Learning how to shorten a necklace temporarily is a crucial styling skill that saves your jewelry from irreversible damage. Whether you are adapting a 24-inch opera-length strand for a high-neck blouse or adjusting a custom piece before committing to a permanent jeweler's cut, temporary adjustments require an understanding of metal physics and chain architecture. Cutting a chain or aggressively bending links can lead to work hardening, micro-fractures, and eventual snapping. In this comprehensive guide, we break down five professional, non-destructive methods to adjust your necklace length on the fly, tailored to specific chain gauges and materials.
The Science of Chain Flexibility and Metal Fatigue
Before applying any shortening method, it is vital to understand how different metals and link structures react to stress. According to metallurgical guidelines from Rio Grande Jewelry Supply, precious metals like 925 sterling silver and high-karat gold (18k or 22k) are relatively soft. When you repeatedly bend or twist the same link to create a makeshift knot, the metal undergoes 'work hardening.' This process alters the crystal structure of the alloy, making it brittle and prone to snapping under minimal tension.
Furthermore, chain style dictates flexibility. Cable and rolo chains have lateral movement, allowing them to fold safely. Conversely, herringbone, snake, and omega chains are constructed with tightly interlocked, flush links. Bending these chains sharply will cause permanent structural kinks that cannot be repaired without specialized rolling mills. Therefore, the goal of temporary shortening is to gather excess length without introducing sharp focal points of tension.
Method 1: The Coated Bobby Pin Slide (Best for Delicate Chains)
For lightweight chains ranging from 0.5mm to 1.2mm in thickness (such as delicate cable, serpentine, or box chains), the bobby pin slide is the most discreet and effective method. The key here is to use a bobby pin with an intact, smooth rubberized or enamel coating to prevent scratching rhodium plating or gold vermeil.
- Drape the necklace around your neck and pinch the excess chain at the nape of your neck or your desired drop length.
- Fold the excess chain upward, creating a loose, doubled-over loop.
- Slide the open end of the bobby pin through two or three links of the folded chain, then clip it flat against the main strand resting on your skin.
- Tuck the bobby pin under your hair or collar for a completely invisible finish.
Pro Tip: Never use bare, rusted, or chipped bobby pins, as exposed iron can cause galvanic corrosion or leave dark oxidation marks on porous gemstone beads or soft silver alloys.
Method 2: The Secondary Lobster Clasp Loop (Best for Medium Chains)
If you are working with medium-weight chains (1.5mm to 3.0mm), such as Figaro, mariner, or standard rolo chains, a secondary clasp provides a secure, hardware-based shortening method. You will need a spare 7mm or 9mm lobster clasp, which can be purchased from any craft store or jewelry supplier.
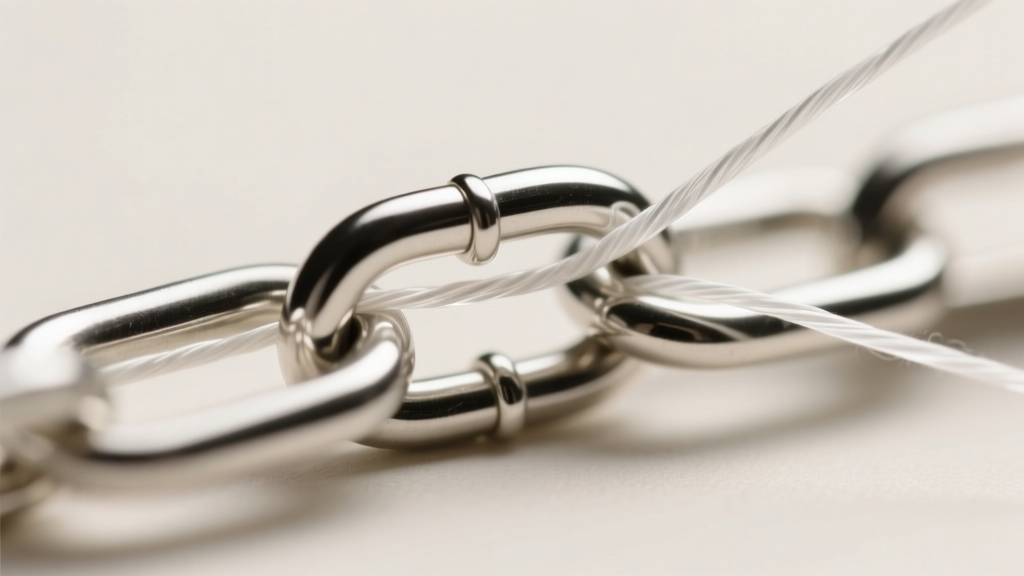
As detailed in the Halstead Bead Chain Guide, medium chains have robust soldered links that can easily bear the weight of an extra clasp. Simply determine your desired length, gather the slack at the back of the neck, and attach the spare lobster clasp through a link on the main chain and a link on the gathered slack. This creates a secure, adjustable fold that will not slip, even if you are wearing the necklace over heavy winter knits or active-wear fabrics.
Method 3: Clear Elastic Cord Binding (Best for Heavy Pendants and Beads)
When shortening bead necklaces, pearl strands, or heavy chains (3.5mm and above) featuring oversized pendants, metal pins and clasps often fail due to the sheer weight and rotational pull of the piece. In these cases, utilizing a 0.5mm or 0.8mm clear stretch cord (such as Stretch Magic or Opalon elastic) is the superior choice.
- Cut a 4-inch piece of clear elastic cord.
- Gather the excess chain or bead strand at the nape of your neck into a tight bundle.
- Wrap the elastic cord tightly around the bundled section three to four times.
- Tie a secure surgeon's knot (a double-overhand knot followed by a standard square knot) and trim the tails flush.
The elastic cord grips the smooth surface of metal links and glass beads without causing abrasion, and its flexibility ensures that the necklace drapes naturally rather than jutting out awkwardly at the nape.
Method 4: The Silk Ribbon Weave (Best for Statement and Pearl Necklaces)
For high-end jewelry, such as Akoya pearl strands or vintage statement pieces, introducing metal hardware or elastic can look cheap and risk damaging the delicate silk thread upon which pearls are traditionally knotted. The Gemological Institute of America (GIA) strongly advises against applying localized pressure to pearl nacre. Instead, use a 2mm wide silk ribbon.
Thread the ribbon through the links or bead gaps at your desired shortening point. Weave the ribbon in a figure-eight pattern through the gathered excess, then tie it off in a small, elegant bow. This method not only protects the jewelry but can also serve as a deliberate, romantic styling choice, adding a pop of color or texture to the back of the necklace.

Method 5: The Paperclip Interlock (Best for Chunky Link Chains)
Chunky, oversized link chains (like 5mm+ Cuban links or paperclip chains) are notoriously difficult to shorten because the links are too large to fold neatly into a bobby pin. A standard, heavy-duty metal paperclip (binder clip) can act as a makeshift carabiner. Clip the binder portion onto the excess gathered links, and hook the wire arms through the main chain. While best reserved for casual, edgy streetwear styling where visible hardware is acceptable, it provides immense tensile strength for heavy stainless steel or brass chains.
Comparison Chart: Chain Gauge vs. Shortening Method
Selecting the wrong method for your chain gauge is the primary cause of jewelry damage. Use the table below to match your necklace profile with the safest temporary adjustment technique.
| Chain Thickness (Gauge) | Common Link Types | Recommended Shortening Method | Risk of Metal Fatigue |
|---|---|---|---|
| 0.5mm - 1.2mm | Cable, Serpentine, Box | Coated Bobby Pin Slide | Low (if folded loosely) |
| 1.5mm - 3.0mm | Rolo, Figaro, Mariner | Secondary Lobster Clasp | Very Low |
| 3.5mm - 5.0mm | Bead, Rope, Curb | Clear Elastic Cord Binding | None |
| 5.0mm+ | Cuban, Paperclip, Chain | Binder Clip / Silk Ribbon | None |
| N/A (Flush Links) | Herringbone, Snake, Omega | DO NOT SHORTEN (Risk of Kinking) | Extreme (Irreversible) |
Critical Mistakes to Avoid
1. Using Adhesive Tape
Wrapping scotch tape or masking tape around gathered chain links is a common amateur mistake. The acrylic adhesives used in household tapes degrade rapidly when exposed to the natural sebum and oils from your skin. This leaves a sticky, hardened residue trapped inside the chain links that is incredibly difficult to remove without ultrasonic cleaners or harsh chemical solvents, which can strip gold plating or damage porous stones like turquoise and opal.
2. Twisting the Chain
Some tutorials suggest twisting the necklace several times before clasping it to reduce the drop length. While this might work for a simple cotton cord, twisting a metal chain introduces severe torsional stress. This forces the links to grind against one another, accelerating wear on the solder joints and permanently distorting the chain's geometry.
3. Using Wire or String with High Friction
Using rough twine, fishing line, or craft wire to bind the necklace can act like a saw. As you move throughout the day, the friction between the binding material and the precious metal will literally slice through soft gold alloys or scrape away rhodium plating, leaving dull, exposed base metals beneath.
Final Thoughts on Temporary Adjustments
Mastering how to shorten a necklace temporarily allows you to maximize the versatility of your jewelry box without compromising the structural integrity of your pieces. By respecting the specific gauge, link architecture, and metallurgical properties of your necklace, you can achieve the perfect neckline drop for any outfit. If you find yourself repeatedly relying on temporary fixes for a specific piece, it is highly recommended to take the necklace to a professional bench jeweler for a permanent, laser-soldered resizing.


