How to Restore and Troubleshoot a Necklace with Coral
Is your necklace with coral fading, cracking, or dull? Learn expert troubleshooting steps to clean, restore, and protect your organic coral jewelry.

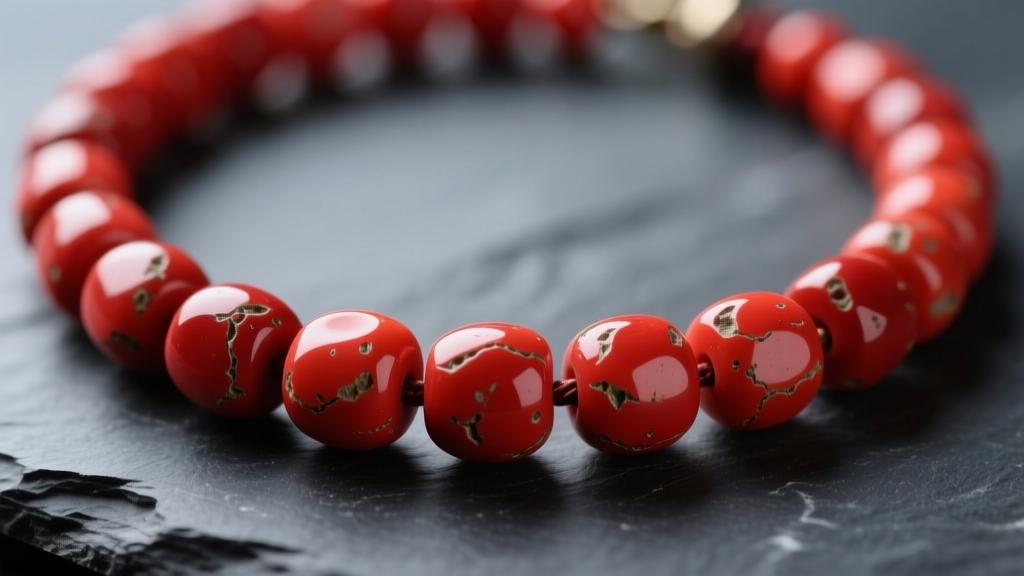
The Unique Vulnerabilities of Organic Coral Jewelry
A necklace with coral is a breathtaking investment in organic artistry, but unlike crystalline gemstones, coral is inherently fragile. Composed primarily of calcium carbonate (CaCO3), precious coral registers at a mere 3.5 to 4.0 on the Mohs hardness scale. This porous, organic structure makes it highly susceptible to environmental degradation, chemical exposure, and physical trauma. When troubleshooting a damaged or dull coral piece, standard jewelry cleaning protocols will often cause irreversible harm. This guide provides a professional, step-by-step framework for diagnosing issues, verifying authenticity, and safely restoring your coral jewelry to its original luster.
Diagnosing Common Coral Necklace Issues
Before attempting any restoration, you must accurately diagnose the failure mode. Coral degradation typically presents in three distinct ways:
- Surface Chalking and Fading: Often mistaken for dirt, a white, chalky film or a loss of vibrant red/pink saturation is usually the result of acid erosion. Human skin has a natural pH ranging from 4.5 to 5.5. Prolonged contact with acidic perspiration dissolves the calcium carbonate surface, stripping the factory polish and leaving a dull, matte finish.
- Micro-Fractures and Cracking: Coral requires a specific moisture balance. When exposed to extreme heat, direct sunlight, or overly dry environments (below 30% humidity), the organic matrix dehydrates, leading to structural micro-fractures that can eventually split the bead.
- Thread Sagging and Bead Abrasion: If the beads are clicking together or the necklace hangs in a rigid 'V' shape rather than draping fluidly, the internal stringing material has stretched or degraded, causing the beads to grind against one another and chip the drill holes.
The Authenticity Test: Real vs. Dyed or Faux Coral
Troubleshooting is impossible if the material is misidentified. Many vintage pieces sold as precious Mediterranean coral (Corallium rubrum) are actually dyed howlite, glass, or plastic. According to the Gemological Institute of America (GIA), identifying treated or imitation coral is a critical first step in conservation.
The Acetone Swab Test
To check for surface dyes, dampen a cotton swab with pure acetone (nail polish remover) and gently rub an inconspicuous area, such as the surface near the drill hole. If the swab picks up red or pink pigment, the coral is dyed. Note: Dyed coral requires extreme care, as aggressive cleaning will strip the color entirely, leaving a pale, mottled stone.
Magnification Inspection
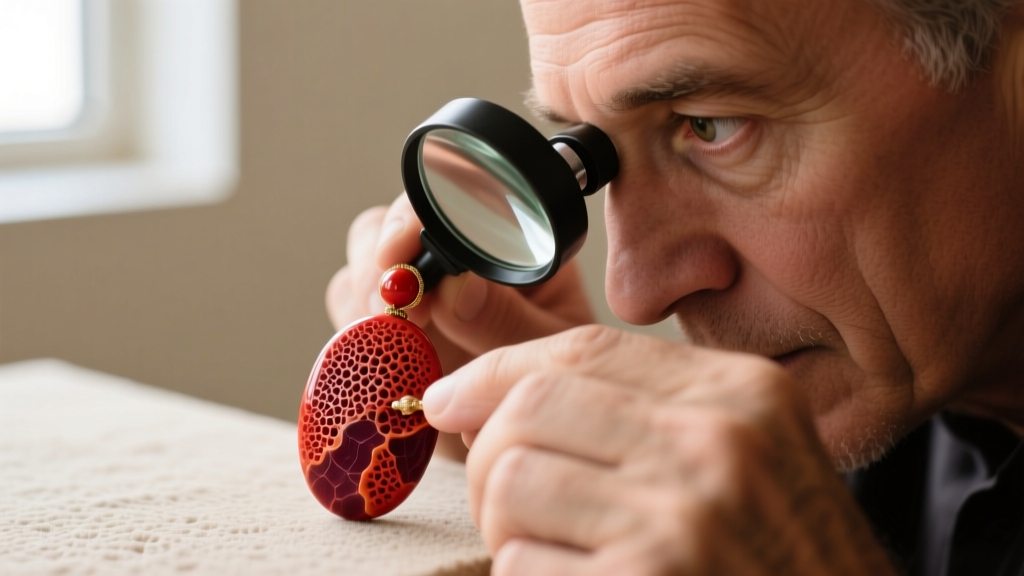
Using a 10x jeweler's loupe, examine the surface texture. Genuine coral exhibits subtle, organic growth bands and a slightly waxy luster. Glass imitations will show conchoidal fractures (shell-like curves) and perhaps mold marks or gas bubbles, while plastic will feel unusually light and may show seam lines.
Step-by-Step Restoration and Cleaning Protocol
Never use ultrasonic cleaners, steamers, or commercial jewelry dips on a necklace with coral. The high-frequency vibrations of an ultrasonic tank will shatter the internal organic structure, and acidic dips will dissolve the stone. Follow this conservation-grade cleaning protocol instead:
- Dry Dusting: Use a clean, ultra-soft makeup brush (like a goat-hair powder brush) to gently sweep away loose particulate matter from the drill holes and surface crevices. This prevents scratching during the wet-cleaning phase.
- The Damp Cloth Method: Dampen a lint-free microfiber cloth with distilled water (tap water contains chlorine and minerals that can stain porous gems). Wring it out until it is barely moist. Gently wipe each bead individually, avoiding the drill holes to prevent water from rotting the internal silk thread.
- Neutralizing Acids: If the coral has been exposed to heavy perspiration, wipe it with a cloth barely dampened with a solution of distilled water and a microscopic pinch of baking soda to neutralize surface acids, followed immediately by a plain distilled water wipe.
- Re-Oiling for Dehydration: If the coral looks dry or slightly chalky but is structurally sound, it needs rehydration. Apply a single drop of pure, food-grade mineral oil to a soft cloth and buff the beads. Mineral oil is inert and will not go rancid. Never use olive, vegetable, or baby oil, as these will oxidize, turn yellow, and emit a foul odor over time.
Restringing and Hardware Troubleshooting
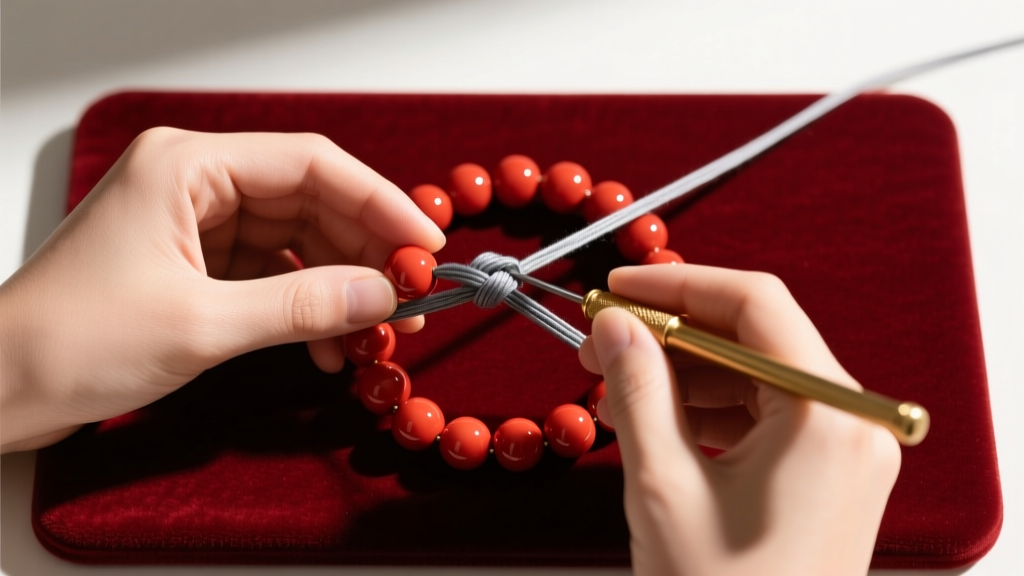
If your necklace stretches or the beads are grinding, it requires immediate restringing. The International Gem Society emphasizes that organic gems must be individually knotted to prevent catastrophic loss if the strand breaks and to protect the delicate drill holes from abrasion.
Choosing the Right Stringing Material
Selecting the correct thread gauge is vital. For standard 4mm to 6mm coral beads, a Size E or F silk thread is optimal. Below is a troubleshooting matrix for restringing materials:
| Material | Pros for Coral | Cons & Failure Modes | Best Use Case |
|---|---|---|---|
| 100% Natural Silk | Traditional drape, gentle on drill holes, knots securely. | Degrades with moisture and skin oils; stretches over time. | High-end vintage restoration, occasional wear. |
| Nylon (e.g., Griffin) | Resists stretching, durable, mimics silk drape. | Knots can be slippery; requires precise melting or double-knotting. | Everyday wear, heavier coral cabochons. |
| Stainless Steel Wire (Beadalon) | Unbreakable, zero stretch, high tensile strength. | Too rigid, will saw through soft coral drill holes over time. | NEVER use with genuine coral beads. |
Clasp and Hardware Upgrades
Vintage coral necklaces often feature outdated spring-ring clasps or fragile box clasps that fail under the weight of the beads. Upgrade to a solid 14k or 18k gold lobster claw clasp. Ensure the jump rings are soldered closed; unsoldered jump rings will eventually pull apart, leading to the loss of the entire strand.
Long-Term Storage and Preventative Care
Once restored, maintaining a necklace with coral requires strict adherence to the "Last On, First Off" rule. Coral must never come into contact with perfumes, hairsprays, or cosmetics, as the alcohols and solvents will instantly strip the polish and dehydrate the stone.
For storage, avoid airtight plastic bags, which can trap humidity and promote mold growth on the silk thread, or overly dry safes that will crack the beads. Store the necklace flat in a fabric-lined jewelry box with a breathable anti-tarnish cloth. If you live in an arid climate, placing a small, dedicated jewelry humidifier or a damp sponge in a separate, sealed container within the safe can help maintain the ideal 40% to 50% ambient humidity required to keep organic gems stable for generations.


