Fixing a Floating Bead Necklace: Troubleshooting Slipping & Kinks
Is your floating bead necklace slipping or kinking? Learn expert troubleshooting techniques, wire gauge fixes, and crimping solutions to restore it.

The Anatomy of a Floating Bead Necklace Failure
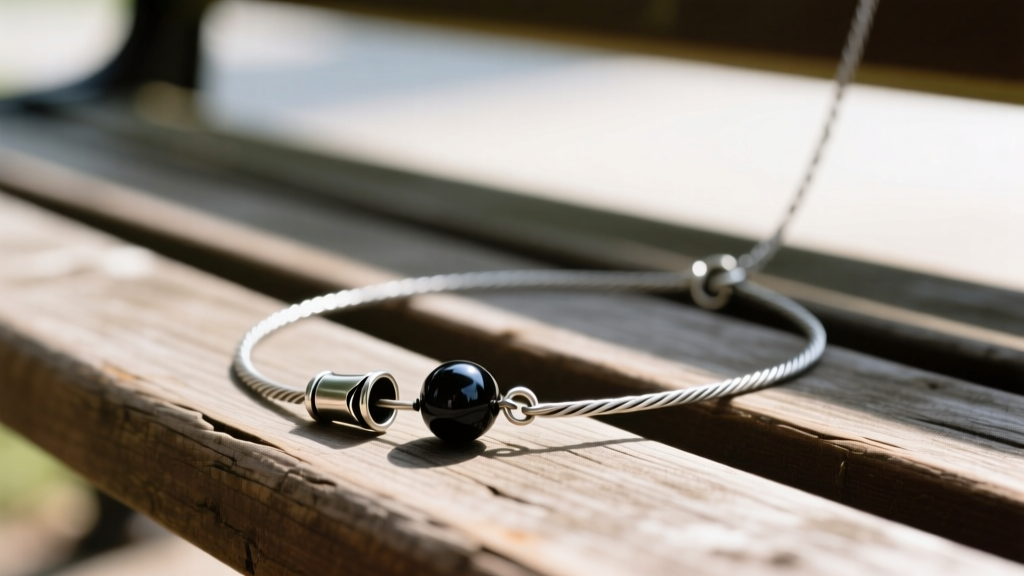
The floating bead necklace, often referred to as an illusion necklace, relies on a delicate balance of tension, friction, and material integrity. Because the beads appear to hover directly on the skin, the stringing material must be virtually invisible or seamlessly integrated into the design. However, this minimalist construction makes it highly susceptible to specific structural failures. When a floating bead necklace fails, it rarely happens at the clasp; instead, the breakdown usually occurs at the crimp connections, within the wire core, or at the bead-to-wire friction points.
Troubleshooting these issues requires a deep understanding of jewelry metallurgy and the physics of nylon-coated wires. A slipped bead isn't just a nuisance; it is a symptom of improper crimp compression or wire degradation. Similarly, a kinked wire cannot simply be bent back into shape without risking a catastrophic snap. In this guide, we will dissect the most common floating bead necklace failures and provide professional-grade, actionable solutions to restore your jewelry to its original drape and security.
Troubleshooting Slipping Beads: Why Crimps Fail
The most frequent complaint with floating bead necklaces is beads sliding out of their designated spacing and clustering near the clasp. This is almost always a crimping failure. Crimp tubes secure the wire by folding the metal around the wire, creating a mechanical lock. If the bead is slipping, the crimp has either loosened over time or was never properly secured.
Upgrading Your Crimp Tube Metallurgy
Many commercial floating bead necklaces use base metal crimp beads (often brass or copper with a thin silver plating). Base metals are notoriously inconsistent in their hardness. Some are too soft and slowly deform under the tension of the wire, while others are too brittle and split when crushed. To permanently fix slipping beads, you must restring the necklace using sterling silver (.925) or 14/20 gold-filled seamless crimp tubes. According to Halstead Bead, seamless sterling silver tubes offer the perfect malleability to fold securely without cracking, ensuring a lifelong grip on the wire.
The Micro-Crimp and Silicone Stopper Method
If you are dealing with micro-beads (2mm to 4mm) that have holes too small for standard 2x2mm crimp tubes to pass through twice, you face a unique challenge. You cannot loop the wire back through the bead. The professional troubleshooting workaround is the silicone stopper method.
Instead of relying solely on a crimp to hold the bead in place, use a tiny 1.5mm silicone O-bead (stopper bead) placed immediately adjacent to the gemstone. The high-friction silicone grips the nylon-coated wire aggressively, preventing the bead from sliding. You then place a standard 2x2mm sterling silver crimp tube on the outside of the silicone stopper to lock the entire assembly in place. This dual-friction system completely eliminates bead migration, even on steep necklines.
Proper Tooling: The U-Notch Technique
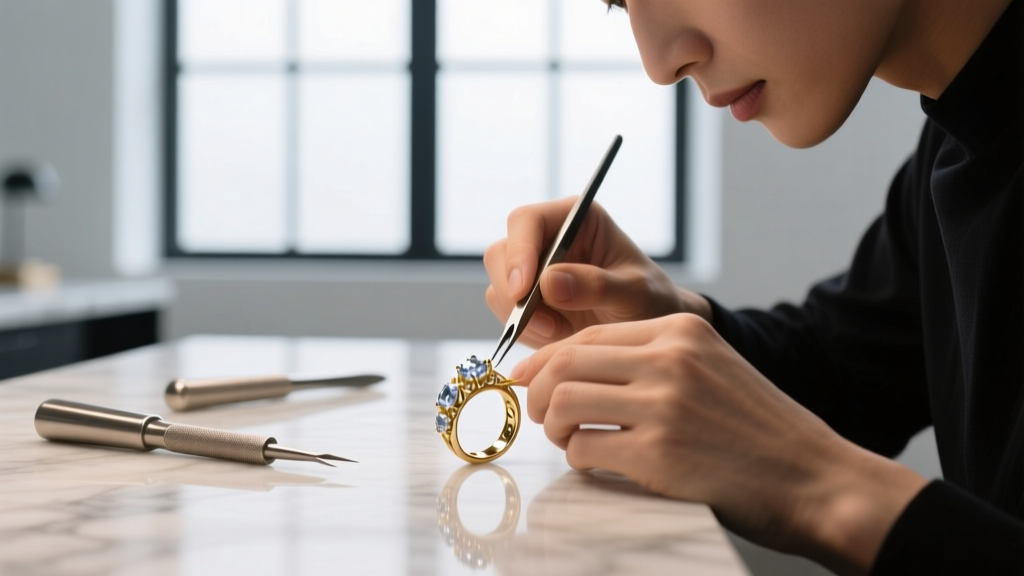
Using chain-nose pliers to flatten a crimp tube is a beginner mistake that guarantees future slippage. Flattening creates a sharp edge that slowly saws through the nylon coating of the wire. You must use dedicated crimping pliers. The correct technique involves placing the tube in the U-shaped notch of the pliers to separate the wires inside the tube, then using the round notch to fold the tube in half, creating a smooth, rounded profile that protects the wire core.
Solving Wire Kinking and Memory Coil Issues
A kink in a floating bead necklace wire is a structural emergency. The stringing material used in these necklaces is typically a bundle of microscopic stainless steel wires encased in a nylon sheath. When the wire bends sharply past its yield point, the individual steel strands inside snap or permanently deform. You cannot iron or pull a kink out of nylon-coated steel wire. Attempting to do so will only weaken the surrounding strands, leading to an inevitable break while wearing.
Choosing the Correct Strand Count
Kinking is usually the result of using the wrong strand count for the necklace's design. Many mass-produced illusion necklaces use 7-strand or 19-strand wire to cut costs. These lower-strand wires are stiff, possess high "memory" (meaning they retain the coils from being packaged), and kink easily when caught on clothing. For a flawless, silk-like drape that resists kinking, you must upgrade to 49-strand nylon-coated stainless steel wire, such as those manufactured by Beadalon.
| Strand Count | Diameter (Inch) | Kink Resistance | Drape Quality | Best Use Case |
|---|---|---|---|---|
| 7-Strand | .015" - .024" | Poor (High Memory) | Stiff, Angular | Heavy, large-hole lampwork beads |
| 19-Strand | .013" - .024" | Moderate | Semi-Flexible | Standard beaded necklaces, medium weight |
| 49-Strand | .010" - .024" | Excellent (Low Memory) | Silk-like, Fluid | Floating bead necklaces, micro-gems |
For most floating bead necklaces featuring gemstones or glass beads under 8mm, a 49-strand wire in a .015" or .018" diameter is the gold standard. It provides the tensile strength needed to support the beads while remaining supple enough to lay flat against the collarbone without coiling.
Fixing Uneven Spacing and Asymmetry
Even if the crimps are secure, a floating bead necklace can look broken if the spacing is asymmetrical. This usually happens when the original bead bumpers (tiny metal or rubber rings placed between the bead and the crimp) degrade or are lost during repair.
To troubleshoot uneven spacing during a restringing project, never eyeball the measurements. Use a flocked bead board with curved channels. Lay your 49-strand wire in the channel and place your beads at exact millimeter intervals. If you find that the beads are rotating and exposing the wire unevenly, the issue is likely the bead hole size. Gemstones with large, irregular drill holes will wobble on a .015" wire. To center the bead and hide the wire gap, insert a sterling silver bead bumper or a micro French wire (bullion) coil inside the bead hole before stringing. This centers the bead perfectly and prevents the sharp edge of the gemstone from sawing into the nylon coating over time.
Skin Irritation and Clasp Tension Troubleshooting
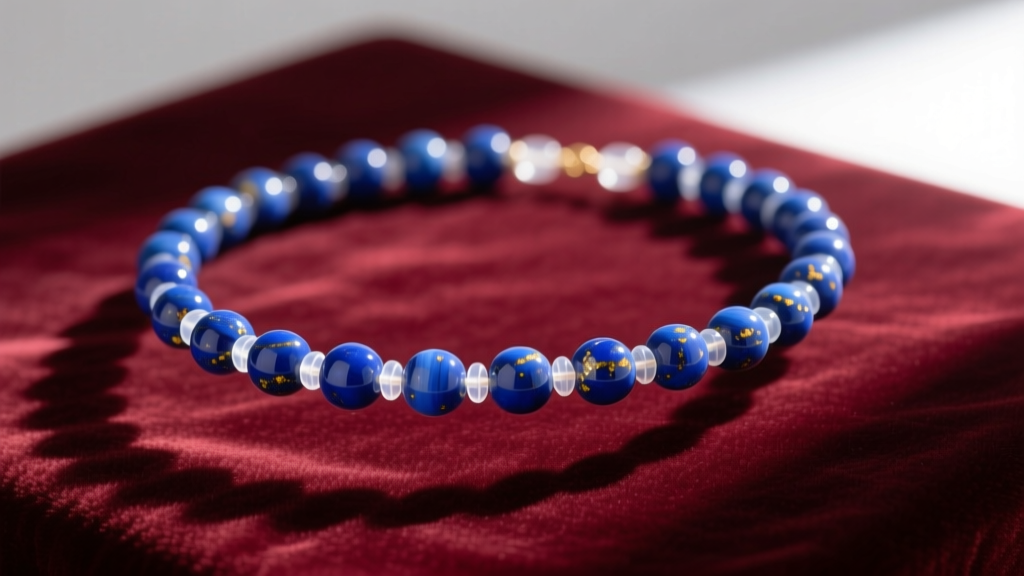
A less discussed but highly prevalent issue with floating bead necklaces is skin irritation and clasp failure. Because the wire rests directly on the skin, any exposed metal at the ends of the necklace can trigger contact dermatitis, particularly if the wire's nylon coating has worn thin near the clasp due to friction.
Furthermore, the tension of a floating bead necklace often pulls directly on the clasp ring, causing it to warp open. To solve both the irritation and the tension issues, you must incorporate a wire guardian (French wire) at the termination points. A wire guardian is a tiny, horseshoe-shaped piece of sterling silver or gold-filled metal. You thread the wire through the guardian, loop it through the jump ring or clasp, and then crimp it. The wire guardian absorbs 100% of the friction and tension, preventing the steel wire from sawing through the clasp ring and ensuring that only hypoallergenic precious metal touches the wearer's neck. As noted by Rio Grande, using wire guardians is a hallmark of professional jewelry finishing and significantly extends the lifespan of tension-bearing necklaces.
Final Restoration Checklist
Before declaring your floating bead necklace fully repaired, run through this professional checklist to ensure structural integrity:
- Wire Inspection: Run your fingers along the entire length of the 49-strand wire. If you feel any sharp ridges or micro-kinks, cut the wire and restring. Do not compromise.
- Crimp Tension Test: Give the wire a firm, sharp tug near the crimp tube. A properly folded 2x2mm sterling silver crimp will not slide, even under heavy tension.
- Clasp Mobility: Ensure the jump ring connecting the clasp to the wire guardian is soldered shut or twisted laterally. Never pull a jump ring open horizontally, as this weakens the metal.
- Drape Test: Hold the necklace by the clasp and let it fall. It should form a perfect, fluid teardrop shape without any rigid memory coils or asymmetrical twisting.
By addressing the root causes of slippage, kinking, and friction, you can transform a damaged, frustrating floating bead necklace into a durable, high-end piece of jewelry that maintains its illusion perfectly for decades.


