Best Necklace Layer Clasp Value & Budget Guide 2026
Discover the true value of a necklace layer clasp. We compare DIY hardware, material grades, and pricing tiers to stop tangling and breakage.

The Hidden Economics of Layered Necklaces
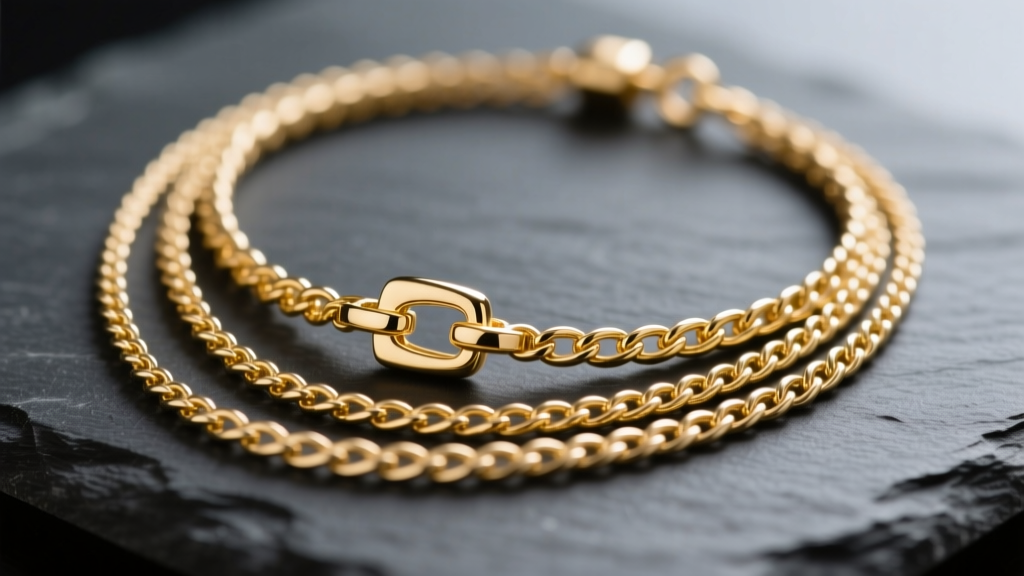
Layering necklaces is a staple of modern styling, but the mechanics of keeping multiple chains untangled and secure often frustrate even the most dedicated jewelry collectors. The secret to a flawless, frustration-free stack isn't just the chains themselves; it is the necklace layer clasp system you use to unite them. In 2026, as consumers become increasingly focused on cost-per-wear and sustainable jewelry practices, evaluating the budget and long-term value of your layering hardware is more important than ever. Cheap clasps lead to lost pendants, broken links, and endless detangling sessions, ultimately costing you more in replacements and repairs than investing in high-quality findings from the start.
The Physics of Tangling and Hardware Stress
Before assessing budget, we must understand the mechanical stress placed on a necklace layer clasp. When you attach two or three separate chains to a single jump ring or clasp mechanism, you exponentially increase the rotational friction at the nape of the neck. According to basic kinetic principles, chains of similar lengths and link geometries will naturally intertwine as they seek the lowest center of gravity. A proper layering clasp—such as a multi-strand tube clasp or a custom-spaced jump ring array—forces the chains to exit the clasp at fixed, separated angles, preventing the links from crossing over one another.
Furthermore, the cumulative weight of multiple chains places higher tension on the clasp's spring mechanism. A standard spring ring clasp is rated for roughly 1.5 pounds of tension before the internal coil degrades. When layering three 18-inch cable chains, the dynamic tension during normal movement can easily exceed this threshold, leading to sudden failure and lost jewelry.
Pre-Made vs. DIY: A Cost-Per-Wear Analysis
When shopping for a necklace layer clasp, you generally have two routes: purchasing a pre-engineered multi-strand clasp or building a custom DIY layering hub using jump rings and spacer bars. Both have distinct value propositions depending on your budget and the baseline value of the chains you are attaching.

| Hardware Type | Upfront Cost | Est. Lifespan | Cost-Per-Wear (Daily) | Best Use Case |
|---|---|---|---|---|
| Pre-Made Gold-Plated Multi-Strand Clasp | $12 - $25 | 6 - 12 Months | $0.04 - $0.06 | Fast fashion, occasional wear |
| Pre-Made 14k Gold-Filled Layering Bar | $35 - $65 | 3 - 5 Years | $0.01 - $0.02 | Everyday wear, mid-tier chains |
| DIY 316L Steel Jump Ring Hub | $5 - $10 (bulk) | 10+ Years | < $0.01 | Heavy chains, budget maximizers |
| Solid 14k Gold Custom Soldered Ring | $150 - $300 | Lifetime | $0.005 | Heirloom chains, fine jewelry |
Material Grades: Where Budget Buys Break Down
The most common failure point in budget-friendly necklace layering hardware is material degradation at the friction point. When multiple chains rub against a single clasp ring, the micro-abrasion wears away surface finishes rapidly.
Gold-Plated Brass (The Budget Trap)
Most layering clasps under $20 are made of brass with a 0.5-micron gold plating. While visually appealing on day one, the friction from layered chains will strip the plating within months, exposing the brass underneath. This leads to rapid oxidation (tarnish) and can cause skin discoloration. The value proposition here is incredibly poor, as the clasp must be replaced frequently.
316L Surgical Stainless Steel (The Budget King)
For pure durability on a strict budget, 316L stainless steel is unmatched. It will not tarnish, it possesses high tensile strength, and it is hypoallergenic. The downside? It is heavier than gold or aluminum, which can drag down delicate chains, and it cannot be easily soldered if a jump ring needs to be permanently closed. Suppliers like Fire Mountain Gems offer bulk stainless steel findings that are ideal for heavy-duty layering hubs.
14k Gold-Filled (The Sweet Spot)
Gold-filled hardware features a thick layer of solid 14k gold mechanically bonded to a brass core, comprising at least 5% of the total weight. This provides the exact look and wear characteristics of solid gold at a fraction of the price. A 14k gold-filled necklace layer clasp will easily withstand years of daily friction without wearing through to the base metal, making it the highest-value choice for mid-range jewelry collectors.
Clasp Mechanisms and Failure Modes
Beyond the material, the actual mechanism of the clasp dictates its reliability when managing the weight of multiple chains.
- Spring Rings: Avoid these for layering. The internal spring is weak, and the small lever is difficult to operate when holding the weight of three chains.
- Lobster Clasps: A step up in security, but the solid lever can snag on delicate chain links if the multi-strand attachment point is too crowded.
- Magnetic Clasps (Neodymium): Excellent for ease of use, but you must verify the magnet grade. Cheap magnetic clasps use N35 grade magnets which slip under the weight of layered chains. Look for N52 grade neodymium magnets, which provide a secure, multi-pound hold. Fine jewelry suppliers like Rio Grande provide detailed metallurgical and magnetic specifications for high-end findings.
- Multi-Strand Tube/Barrel Clasps: These screw together and feature multiple soldered rings on each end. They distribute weight perfectly and eliminate the single-point-of-failure risk, though they are the most expensive pre-made option.
Step-by-Step: Building a High-Value Custom Layering Clasp
If you want to maximize your budget and ensure your necklace layer clasp perfectly matches your specific chain geometries, building a custom hub is the most cost-effective route. Here is the professional methodology:
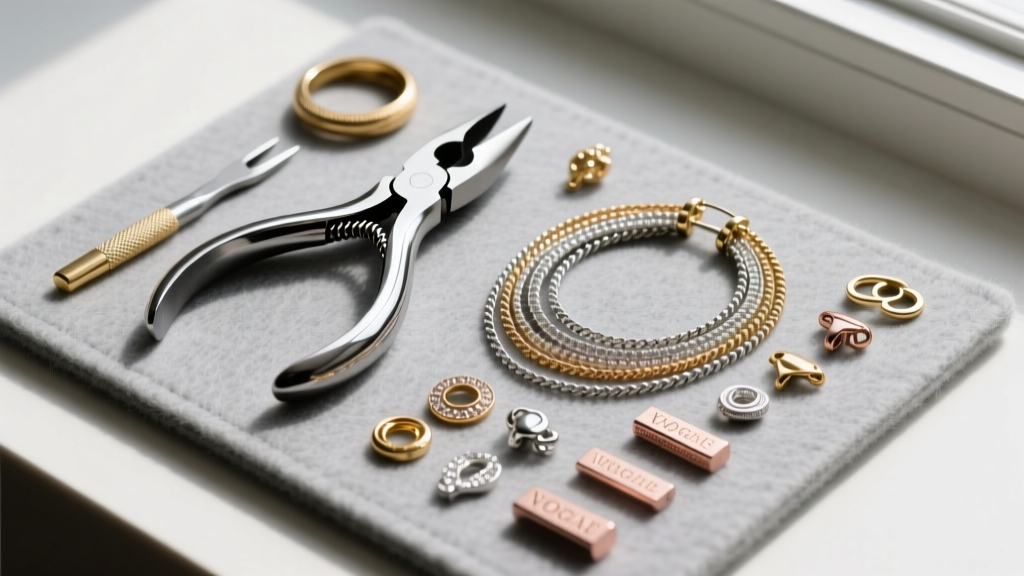
- Source the Right Jump Rings: Do not use standard split rings. Purchase 16-gauge or 14-gauge open jump rings made of your preferred metal. The thicker wire gauge prevents the ring from pulling open under the dynamic tension of multiple chains.
- Use a Spacer Bar: To prevent tangling, thread your chains through a 3-hole or 4-hole sterling silver or gold-filled spacer bar before attaching them to the main clasp ring. This forces the chains to lay parallel rather than twisting at the nape of the neck.
- Close with Precision: Use two pairs of high-quality chain-nose pliers (avoid teeth marks by using nylon-jaw pliers). Twist the jump ring open laterally—never pull it apart outward, which weakens the metal's structural memory. Close it completely until you hear a faint 'click', indicating a flush, seamless closure.
- Add the Master Clasp: Attach a heavy-duty 12mm lobster clasp to the master jump ring. This allows you to easily take the entire layered stack on and off as a single, unified piece.
Final Verdict: Maximizing Your Jewelry Investment
Evaluating the true value of a necklace layer clasp requires looking past the initial price tag and considering material longevity, mechanical reliability, and the protection it offers to your valuable chains. While a $15 gold-plated multi-strand clasp seems like a bargain, its inevitable failure risks the loss of your pendants and chains. By investing in 14k gold-filled findings or constructing a custom 16-gauge stainless steel hub, you secure your jewelry stack, eliminate daily tangling, and achieve a cost-per-wear that justifies the upfront investment. In 2026, smart jewelry styling is as much about the hidden hardware as it is about the visible gold and gemstones.


