How to Fix a Stuck Lobster Clasp Necklace: Expert Repair Guide
Is your lobster clasp necklace stuck or broken? Learn expert troubleshooting steps to clean, realign, or replace your clasp safely at home.

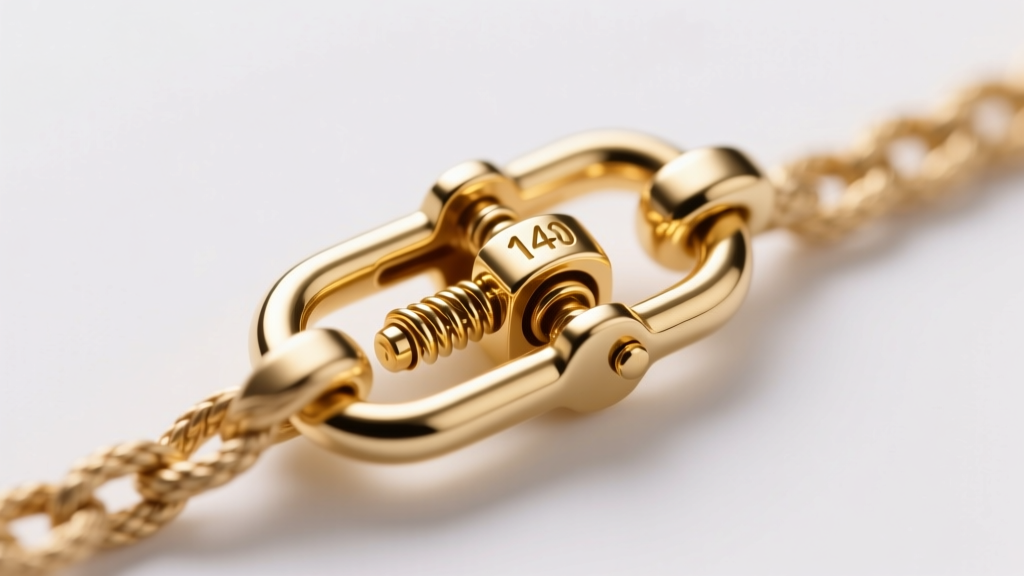
A broken or stuck clasp can instantly render a beautiful piece of jewelry unwearable. The lobster clasp is the industry standard for necklaces due to its secure locking mechanism, but its moving parts make it vulnerable to seizing, bending, and spring failure. As jewelry designs and daily wear habits evolve in 2026, understanding the micro-mechanics of your findings is essential for at-home maintenance. Whether you are dealing with a stiff trigger on a delicate gold chain or a seized mechanism on a heavy stainless steel pendant, this troubleshooting guide will help you diagnose and resolve the issue without causing further damage.
The Metallurgy of Your Clasp: Why Materials Matter
Before attempting any repairs, you must identify the base metal of your lobster clasp. The metallurgy dictates how the clasp will fail and how it should be handled. According to technical guides from Rio Grande, a leading jewelry supplier, findings are typically manufactured in three ways:
- Solid 14k or 18k Gold: These clasps are highly resistant to corrosion and rust. However, high-karat gold is a softer metal. The most common failure mode here is a bent trigger or a warped body due to physical impact.
- Gold-Plated or Rhodium-Plated Brass: Brass provides excellent rigidity and a strong 'snap' back. However, if the plating wears away near the hinge, the exposed brass reacts with skin acids and lotions, creating a green oxidation that seizes the internal spring.
- Surgical Stainless Steel: Extremely durable and hypoallergenic. The risk here is that the internal micro-spring is sometimes made of a lower-grade carbon steel. If exposed to chlorine or saltwater, the internal spring can rust and fuse to the outer shell.
Understanding this Gemological Institute of America (GIA) principle of metal hardness versus malleability will prevent you from snapping a work-hardened brass trigger while trying to bend it back into place.
Diagnosing the Failure: Step-by-Step Troubleshooting
Grab a 10x or 20x jeweler's loupe and examine the clasp under a bright light. Identify which of the following three scenarios matches your problem.
Scenario 1: Debris and Lotion Buildup
If the trigger feels 'gritty' or requires excessive force to pull back, the issue is almost certainly debris. Dead skin cells, soap scum, and body lotions accumulate in the tiny crevice between the trigger and the clasp body. Over time, this mixture hardens into a cement-like substance.
The Fix: Do not force the trigger. Prepare a warm bath of distilled water and a few drops of ammonia-free dish soap. Submerge the clasp for 15 minutes. Use a baby toothbrush (which has ultra-soft bristles that won't scratch precious metals) to gently agitate the crevice. For stubborn buildup, a home ultrasonic cleaner operating at 40kHz will vibrate the debris loose in seconds. Avoid ultrasonic cleaning if your necklace features porous gemstones like opals, pearls, or emeralds.
Scenario 2: The Trigger is Jammed or Bent
If the trigger sits at an odd angle or rubs against the outer casing, it has been bent. This frequently happens when a necklace is caught on a sweater or worn while sleeping.
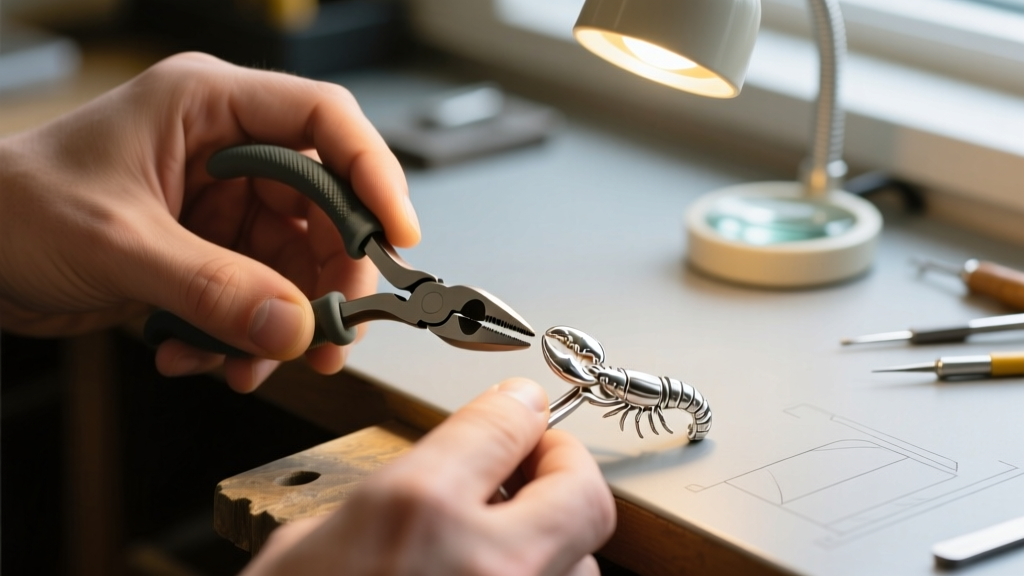
The Fix: You will need nylon-jaw pliers. Never use standard steel flat-nose pliers, as they will mar the finish and crush the delicate hinge pin. Grip the bent trigger gently with the nylon pliers and apply very slight, incremental pressure to coax it back to center. If the clasp is gold-plated brass, be warned: brass suffers from 'work hardening.' If you bend it back and forth more than once or twice, the metal will fatigue and snap off entirely. Solid gold and silver are more forgiving.
Scenario 3: Internal Spring Tension Failure
Pull the trigger back. Does it move smoothly but fail to snap shut when you release it? Or does it feel completely loose with zero resistance? If so, the internal coil spring has either unhooked or snapped.
The Fix: Unfortunately, micro-springs inside lobster clasps are factory-set and virtually impossible to replace at home. The internal cavity is often laser-welded or swaged shut. If the spring is dead, the entire clasp must be replaced. Do not attempt to pry the clasp body open, as it will destroy the structural integrity of the finding.
The Sizing Matrix: Matching Clasp to Chain Weight
When replacing a broken clasp, sizing is critical. A clasp that is too small for the chain weight will suffer from premature spring fatigue, while a massive clasp on a delicate chain will slide to the front of the neck, ruining the drape of the necklace.
| Clasp Size (mm) | Max Chain Weight | Recommended Chain Styles | Jump Ring Gauge Needed |
|---|---|---|---|
| 9mm - 10mm | Under 10g | Cable, Delicate Curb, Box | 22g - 20g |
| 12mm | 10g - 25g | Rope, Figaro, Bead Chain | 20g - 18g |
| 15mm | 25g - 50g | Standard Cuban Link, Wheat | 18g - 16g |
| 18mm+ | Over 50g | Miami Cuban, Heavy Figaro | 14g - 12g |
Always ensure the interior diameter of the loop on the lobster clasp is large enough to accommodate the jump ring and the terminal link of your chain without binding.
The Jump Ring Replacement Protocol
If you need to install a new lobster clasp, you must properly manipulate the jump ring. The most common mistake amateurs make is pulling the jump ring apart horizontally (like a 'C' shape). This permanently distorts the circle, weakens the metal at the stress point, and ensures the ring will eventually pull open and drop your necklace.
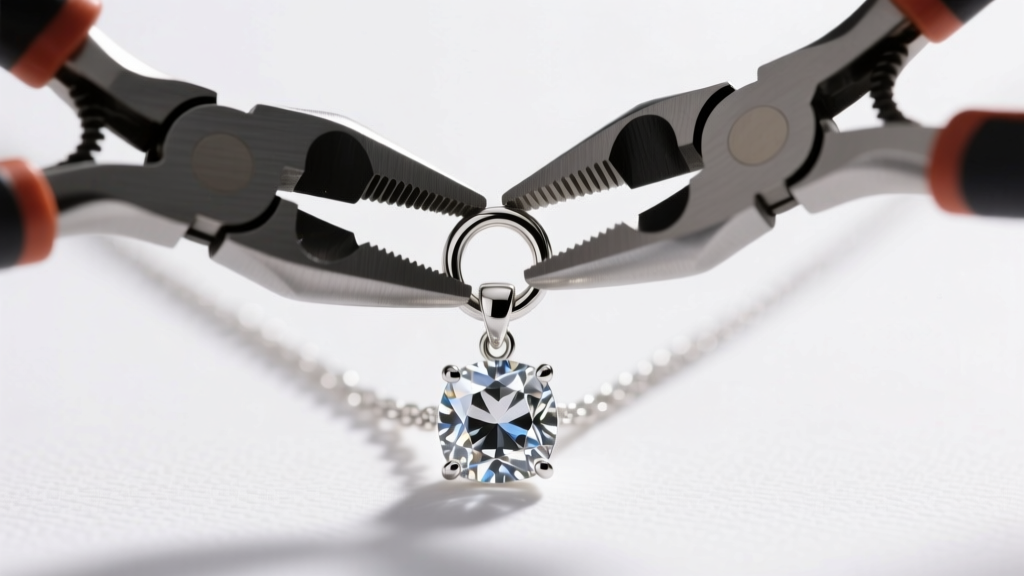
The Correct Technique:
- Use two pairs of flat-nose pliers (or one flat-nose and one chain-nose).
- Grip the jump ring on either side of the split seam.
- Twist one hand toward you and the other away from you, opening the ring laterally.
- Slide off the old clasp and slide on the new lobster clasp.
- Twist the ends back together until you feel a slight friction 'click' as the metal ends pass each other.
- For heavy pendants over 30g, always use a soldered jump ring or have a jeweler laser-weld the seam shut for ultimate security.
The Lubrication Myth: What to Avoid
A pervasive myth in jewelry care is using household lubricants like WD-40 or sewing machine oil to fix a stiff clasp. Never do this. Petroleum-based oils attract microscopic dust and lint, which will eventually turn into a thick sludge that permanently seizes the mechanism. Furthermore, if the oil migrates down the chain, it can penetrate the settings of your gemstones, dulling diamonds and permanently staining porous stones like turquoise or lapis lazuli.
If a clasp is clean but still slightly stiff, use a dry PTFE (Teflon) spray or a microscopic amount of powdered graphite applied with a sewing needle. These dry lubricants will not attract dirt and will safely reduce friction on the hinge pin.
When to Seek Professional Help
While replacing a clasp and cleaning debris are safe at-home procedures, certain situations require a professional bench jeweler. If the small loop attached directly to the lobster clasp (the 'little ring') is worn thin from years of friction against the jump ring, it is a major drop-risk. A jeweler can laser-weld a new reinforcing wire onto the finding in seconds. Additionally, if you are working with a hollow-tube chain (like certain styles of herringbone or tubular rope), the terminal crimp ends are incredibly fragile. Attempting to twist a jump ring attached to a hollow tube can crush the chain's end-cap, necessitating a complex soldering repair.
Pro Tip: To extend the life of your lobster clasp, always store your necklaces flat or hanging. Tossing them into a jewelry box allows heavier pendants to crush the delicate trigger mechanisms of the clasps they tangle with.
By understanding the mechanics, metallurgy, and proper maintenance of your findings, you can ensure your favorite necklaces remain secure and functional for decades. Regular inspection with a simple loupe is the best preventative medicine against sudden jewelry loss.


