How to Fix a Stuck or Broken Spring Ring Necklace Clasp
Learn how to troubleshoot, repair, and replace a stuck or broken spring ring necklace clasp with expert jeweler tips and upgrade advice.

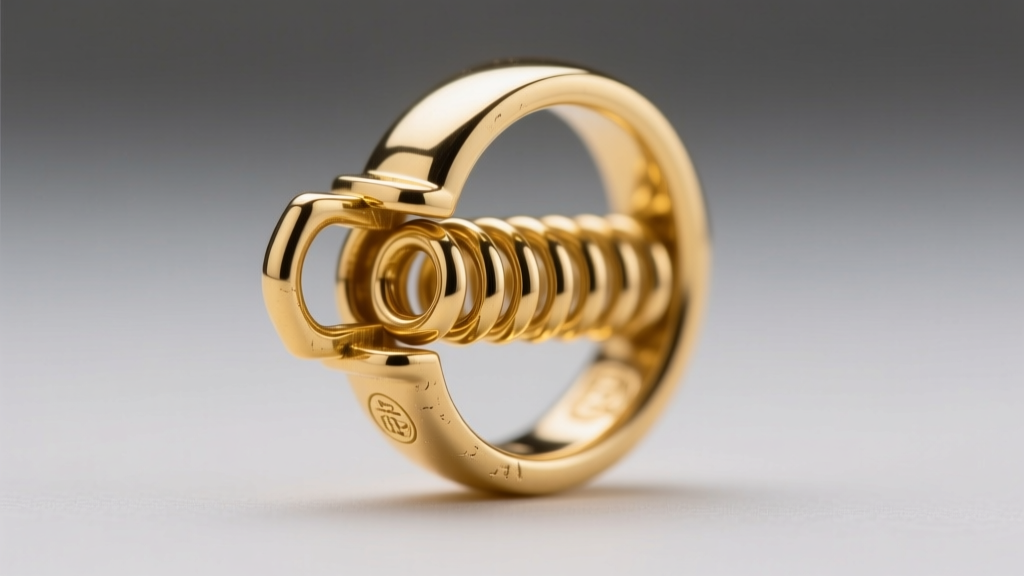
There are few things more frustrating in jewelry wear than fumbling with a stubborn clasp at the back of your neck. The spring ring necklace clasp is one of the most ubiquitous findings in the jewelry industry, favored for its lightweight profile and low cost. However, its delicate internal mechanics make it highly susceptible to jamming, slipping, and outright failure. Whether you are dealing with a vintage heirloom or a modern everyday chain, understanding the mechanics of this tiny hardware is the first step toward a lasting repair.
The Anatomy of a Spring Ring Clasp
Before attempting any repair, it is crucial to understand what is happening inside the hollow metal tube. A standard spring ring consists of three main components:
- The Outer Shell: Usually stamped from a single sheet of metal (such as 14k gold, sterling silver, or brass) and formed into a hollow circle. The outer shell dictates the clasp's size, typically ranging from 5mm to 12mm in diameter.
- The Internal Coil Spring: This is the engine of the clasp. Interestingly, even if the outer shell is solid 18k gold or platinum, the internal spring is almost always made of stainless steel or phosphor bronze. Precious metals are generally too soft to maintain the necessary tension over thousands of compression cycles without suffering from metal fatigue.
- The Trigger Lever: The small tab you pull back with your fingernail. It is attached to the internal spring and slides through a precision-milled gap in the outer shell.
According to Rio Grande, a leading jewelry supply manufacturer, the majority of spring ring failures are not due to the precious metal shell, but rather the degradation of the internal base-metal spring or the accumulation of debris in the trigger track.
Troubleshooting Common Spring Ring Clasp Problems
Diagnosing the exact failure mode will dictate whether your clasp can be salvaged or if it needs to be snipped off and replaced.
Problem 1: The Clasp is Stuck or Won't Snap Shut
If the trigger lever feels gritty, refuses to pull back, or won't snap forward to close the gap, you are likely dealing with debris accumulation. The tiny gap where the trigger enters the shell is a magnet for sebum (skin oils), lotions, dead skin cells, and microscopic dust. Over time, this gunk hardens into a cement-like barrier that prevents the internal coil from compressing. Another culprit is a microscopic dent in the outer shell, often caused by dropping the necklace or sleeping in it, which physically pinches the trigger track.
Problem 2: The Spring Ring Won't Stay Closed (Slipping)
If the clasp closes but easily pulls open under slight tension, the issue is mechanical wear. The internal coil spring may have lost its temper (tension) due to age and repeated use. Alternatively, the closing lip—the small ledge inside the shell that the trigger rests against when closed—may be worn down from friction. This is a critical failure mode, as it will inevitably lead to the loss of your necklace and pendant.
Problem 3: The Trigger Lever is Missing or Broken
If the trigger has snapped off entirely, or if it pulls back but offers zero resistance, the internal steel coil has snapped or disconnected from the lever arm. Because the outer shell is crimped shut during manufacturing, it is impossible to open the clasp, replace the microscopic spring, and re-crimp the shell without specialized factory machinery.
Step-by-Step Guide to Unsticking and Cleaning Your Clasp
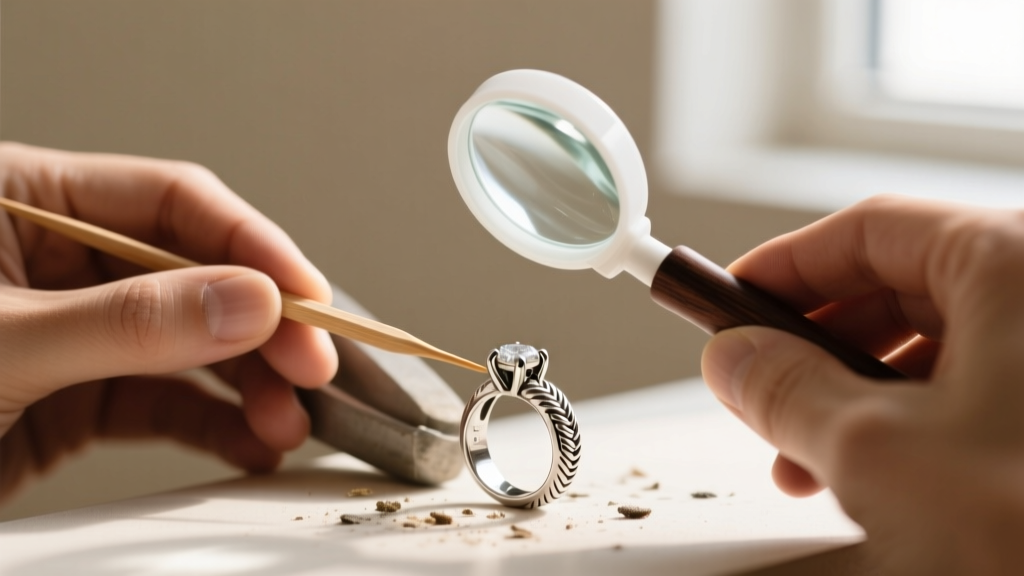
If your clasp is stuck or gritty, do not immediately reach for metal tools, as you will scratch the precious metal finish. Follow this professional cleaning protocol recommended by the Gemological Institute of America (GIA) for delicate jewelry findings:
- Visual Inspection: Use a 10x jeweler's loupe to look inside the trigger gap. Check for visible lint, hair, or hardened lotion.
- Dry Agitation: Take a wooden toothpick or a soft-bristled baby toothbrush and gently flick the debris out of the trigger track. Never use a steel sewing needle, as it will gouge the gold or silver.
- Warm Soak: Mix a few drops of mild dish soap (like Dawn) into a bowl of warm water. Let the clasp soak for 15 minutes to soften any hardened sebum.
- Ultrasonic Cleaning (Optional): If you have access to an ultrasonic jewelry cleaner, a 3-minute cycle will vibrate the microscopic debris out of the hollow tube. Ensure your gemstone pendants are safe for ultrasonic waves before submerging the entire chain.
- Manual Cycling: While the clasp is still submerged in the soapy water, repeatedly pull and release the trigger lever. This flushes the internal spring with the cleaning solution.
- Drying: Rinse with distilled water and blast the trigger gap with compressed air or a hair dryer on a cool setting to prevent water spots.
Sizing Guide: Matching the Clasp to Your Chain Weight
Many clasp failures occur simply because the spring ring is undersized for the weight of the chain or pendant. Using an undersized clasp puts excessive lateral stress on the internal spring. Here is a professional sizing matrix:
| Clasp Size | Recommended Chain Width | Maximum Pendant Weight | Best Use Case |
|---|---|---|---|
| 5mm | 0.8mm - 1.2mm | Under 5 grams | Delicate cable chains, lightweight solitaires |
| 7mm | 1.2mm - 2.5mm | 5 to 15 grams | Standard box chains, medium lockets |
| 9mm | 2.5mm - 4.0mm | 15 to 25 grams | Heavier rope chains (though lobster is preferred) |
When to Repair vs. Replace: A Decision Matrix
Because spring rings are relatively inexpensive findings (often costing less than $5 to $15 in raw materials), replacement is usually more cost-effective than complex repairs. Consult this matrix to make your decision:
- Condition: Gritty/Stuck | Diagnosis: Debris buildup | Action: Clean and lubricate | Estimated Cost: DIY (Free)
- Condition: Dent in outer shell | Diagnosis: Impact damage | Action: Replace clasp | Estimated Cost: $15 - $40
- Condition: Slipping/Won't lock | Diagnosis: Worn internal lip | Action: Replace clasp | Estimated Cost: $15 - $40
- Condition: Broken trigger | Diagnosis: Spring snap | Action: Replace clasp | Estimated Cost: $15 - $40
The Soldering Risk: Why You Must Use a Heat Sink
If you decide to replace the spring ring necklace clasp yourself, you will need to solder a new jump ring to the chain. This is where most amateur jewelers ruin the new clasp. The internal steel spring is highly sensitive to heat. If you apply a jeweler's torch directly to the clasp to solder the jump ring, the heat will travel through the gold shell and anneal the internal steel spring. Annealing removes the temper of the metal, turning a rigid, springy coil into a soft, useless wire. Once annealed, the clasp will never snap shut again.
The Expert Solution: Always use a soldering pick or a copper heat sink to hold the body of the spring ring away from the flame. Better yet, purchase pre-soldered spring ring assemblies that already have the jump ring attached, allowing you to solder the chain link to the jump ring without transferring lethal heat to the clasp body.
Upgrading Your Clasp: Lobster vs. Spring Ring
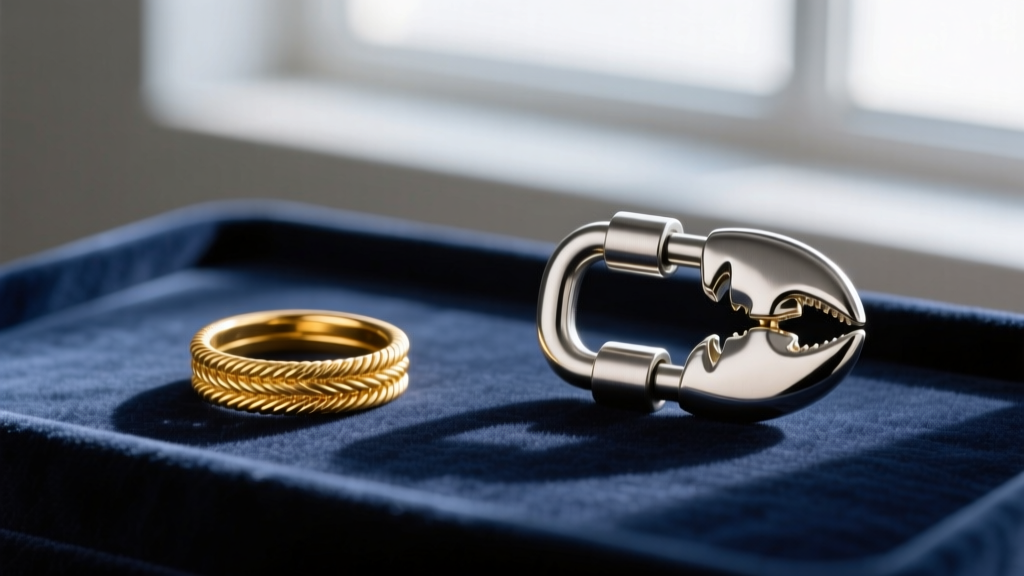
If you are constantly struggling with the tiny trigger of a spring ring, or if you are attaching a heavy pendant (over 15 grams), it is time to upgrade to a lobster claw clasp. According to Jewelers of America, lobster clasps offer a significantly larger surface area for the internal spring mechanism, making them far more resistant to metal fatigue and lateral stress. Furthermore, the ergonomic lever on a lobster clasp is much easier to manipulate for individuals with limited dexterity or long fingernails. While a lobster clasp may add a few grams of weight and a slightly higher profile to the back of the neck, the security and ease of use far outweigh the aesthetic drawbacks for heavy or valuable jewelry.
Expert Maintenance Tips to Extend Clasp Lifespan
To maximize the lifespan of your spring ring necklace clasp, adopt these three professional maintenance habits:
- Avoid Over-Pulling: When opening the clasp, only pull the trigger lever back exactly as far as it needs to go to clear the jump ring. Pulling it back to the absolute maximum limit stretches the internal coil and accelerates metal fatigue.
- Remove Before Swimming: Chlorine in swimming pools and hot tubs is highly corrosive to the base-metal internal springs and the solder joints holding the clasp together. Always remove your necklace before entering the water.
- Annual Professional Checkup: When you take your jewelry to a professional for an annual cleaning and prong-tightening, specifically ask the jeweler to inspect the clasp's closing lip and jump ring for wear. A $20 clasp replacement is vastly preferable to losing a $2,000 diamond pendant.


