How to Fix a Tangled Necklace 3 Layers: Expert Detangling
Learn how to safely untangle a necklace 3 layers deep without breaking delicate chains. Expert tips on lubricants, tools, and prevention techniques.

The Physics of a Multi-Strand Knot
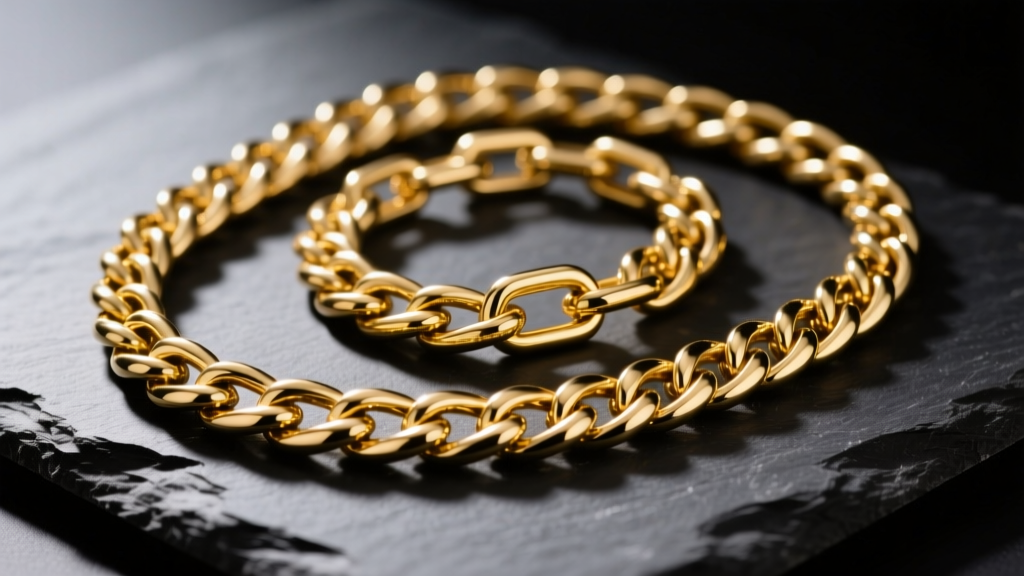
In 2026, the layered stack remains a dominant force in jewelry styling, but the aesthetic comes with a notorious mechanical flaw. When you wear a necklace 3 layers deep, you are combining varying lengths, metal weights, and link geometries into a single kinetic environment. As you move, static electricity from clothing and the natural friction of metal-on-metal contact cause the chains to migrate. The shortest layer (usually a 14-inch choker) acts as an anchor, while the longer 18-inch or 20-inch pendulums swing and wrap around it.
Understanding the physics of this tangle is the first step to solving it. A knot in a multi-layered stack is rarely a simple overhand loop; it is typically a complex 'deadlock' where the clasp of one chain has threaded through the links of another, tightened by the weight of a pendant. Pulling on the ends of a deadlocked necklace 3 layers deep will only reduce the knot's diameter, increasing the friction coefficient and potentially warping softer alloys like 22k gold or kinking flat-link chains.
Chain Link Profiles and Tangle Susceptibility
Not all chains tangle equally. The geometry of the link dictates how easily it can thread through another chain and how much friction it generates when pulled tight. According to Blue Nile's chain education guides, understanding your chain type is critical before applying any physical force.
| Chain Type | Link Structure | Tangle Risk | Friction Profile & Vulnerability |
|---|---|---|---|
| Cable | Uniform oval/round open loops | Medium | Moderate friction. Open loops can catch clasps, but the round wire resists permanent kinking. |
| Box | Square, closed, interlocking links | Low | Very low friction. The smooth, flat exterior allows other chains to slide off rather than catch. |
| Herringbone | Flat, interlocking V-shaped links | Extreme | High friction. The flat surface acts like a gear, grabbing other chains. Highly prone to permanent kinking if pulled. |
| Snake | Tightly joined wavy rings forming a tube | High | High friction. The microscopic scales of the chain interlock with cable chains. Bends easily and loses structural memory. |
The 5-Step Detangling Protocol
Forget the viral 'hack' of just throwing your jewelry into a bowl of baby oil and shaking it. A systematic approach is required to preserve the structural integrity of your metals and the finish of any rhodium plating. As recommended by the Tiffany & Co. Jewelry Care guidelines, gentle manipulation is always preferred over brute force.
Step 1: Surface Preparation and Unclasping
Never attempt to untangle a necklace 3 layers deep while holding it in the air. Gravity will pull the knots tighter. Lay the mass on a high-friction surface, such as a silicone jewelry mat or a piece of textured corkboard. Unclasp every single chain. If a clasp is trapped inside the knot, use a pair of nylon-tipped tweezers to depress the spring ring or lobster lever, freeing the jump ring without scratching the metal.
Step 2: Choosing the Right Lubricant
Lubrication reduces the metal-on-metal friction coefficient, allowing the links to slide. Choose your agent based on the metal and the presence of gemstones:
- Baby Oil (Mineral Oil): Best for plain gold, silver, and platinum chains. It provides excellent slip but requires a thorough post-detangling wash. Warning: Do not use on porous stones like pearls, opals, or turquoise, as the oil will seep into the stone and cause permanent discoloration.
- Talcum Powder or Cornstarch: Best for delicate chains with porous gemstones. The dry powder reduces friction without leaving a greasy residue, though it can pack into the crevices of intricate link work.
- Graphite Powder: The ultimate dry lubricant used by locksmiths and jewelers. It provides zero moisture and exceptional slip, but it is incredibly messy and can stain porous materials or light-colored clothing.
Step 3: Micro-Manipulation with Needle Tools
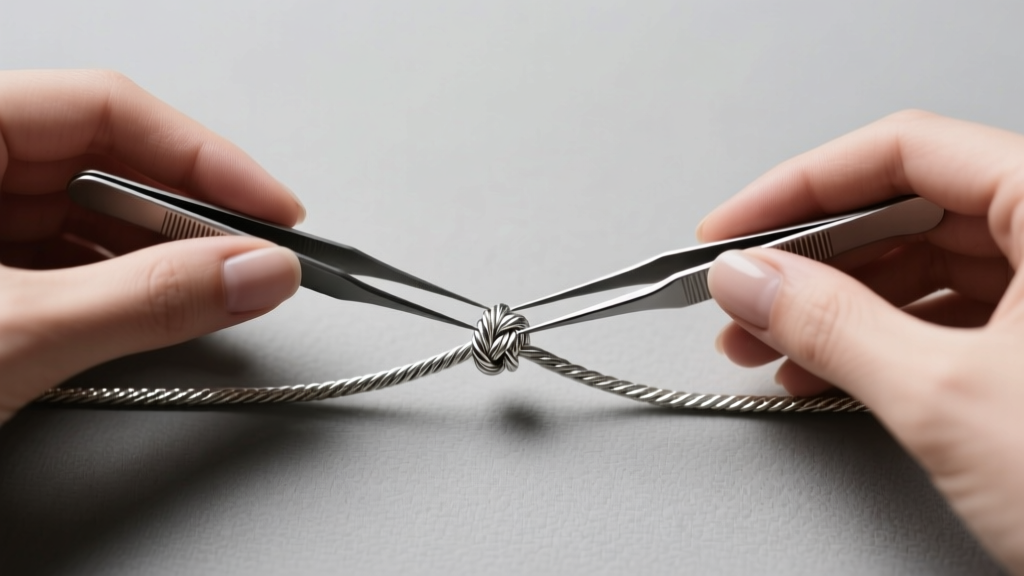
Put down your fingers; the oils from your skin can actually increase friction on a microscopic level. Instead, use two Size 00 beading needles or fine-tipped precision tweezers. Insert the needles into the absolute center of the knot—the 'core' where the tension is highest. Gently wiggle the needles in opposite directions to create a millimeter of slack. Once slack is achieved, push the outer loops inward toward the center rather than pulling them outward.
Step 4: The 'Roll and Press' Technique for Flat Chains
If your necklace 3 layers setup includes a herringbone or snake chain, never pull the ends. Flat chains do not have a 'memory' for sharp bends; pulling will cause the links to fold over on themselves, creating a permanent, irreversible kink. Instead, lay the chain flat on a hard surface and use a smooth, cylindrical object (like a glass dropper bottle or a polished steel burnisher) to gently roll over the knot, pressing the links flat while using your needle to tease the overlapping chain away.
Step 5: Post-Detangling Degreasing
If you used mineral oil, the chains must be degreased before storage, or the oil will attract dust and form an abrasive paste over time. Create a lukewarm bath with a few drops of mild, phosphate-free dish soap (like Dawn). Submerge the metal chains for three minutes, then gently agitate with a soft baby toothbrush. Rinse with distilled water to prevent hard water spotting, and dry immediately with a microfiber cloth. For a deeper clean on durable metals, an ultrasonic cleaner can be used, but only if the piece contains no fracture-filled diamonds or delicate emeralds.
Troubleshooting Severe 'Deadlock' Knots
Sometimes, a necklace 3 layers deep will form a knot so dense it resembles a solid metallic bead. If the needles cannot penetrate the core, you must address the tension from the outside in. According to troubleshooting features in Real Simple, applying a localized drop of isopropyl alcohol (90% or higher) can sometimes break the surface tension of skin oils and lotions that have acted as a glue inside the knot. Allow the alcohol to evaporate slightly, apply your dry powder lubricant, and use a vibrating tool (like an electric toothbrush handle pressed against the table near the knot) to introduce micro-vibrations that help the links settle and loosen.
Preventative Storage for Layered Sets
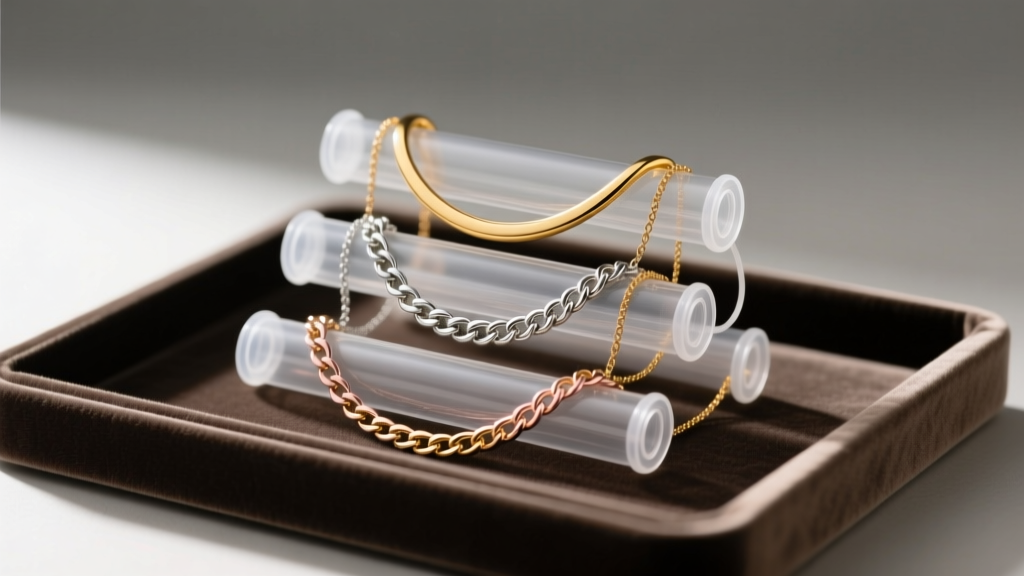
The most effective way to solve a tangle is to prevent the kinetic migration that causes it. Storing a necklace 3 layers deep requires physical separation. Do not simply hang them on a single multi-hook stand, as air currents and vibrations will cause them to wrap around one another over time.
Expert Storage Rule: Never store a herringbone chain hanging vertically. Gravity will pull the flat links downward, causing them to stretch and eventually snap at the clasp soldering point. Always store flat-link chains coiled loosely in a padded tray.
For travel or drawer storage, utilize individual anti-tangle suede rolls. Thread the clasp of each chain through its own felt loop, and place a sheet of anti-tarnish tissue paper between each layer. This not only prevents the chains from physically interacting but also neutralizes the sulfur compounds in the air that cause sterling silver to oxidize and increase in surface friction.