Troubleshooting Your Taylor Swift Necklace Lightning Bolt Pendant
Is your favorite Taylor Swift necklace lightning bolt pendant tarnishing or breaking? Learn expert troubleshooting tips to restore and repair your jewelry.

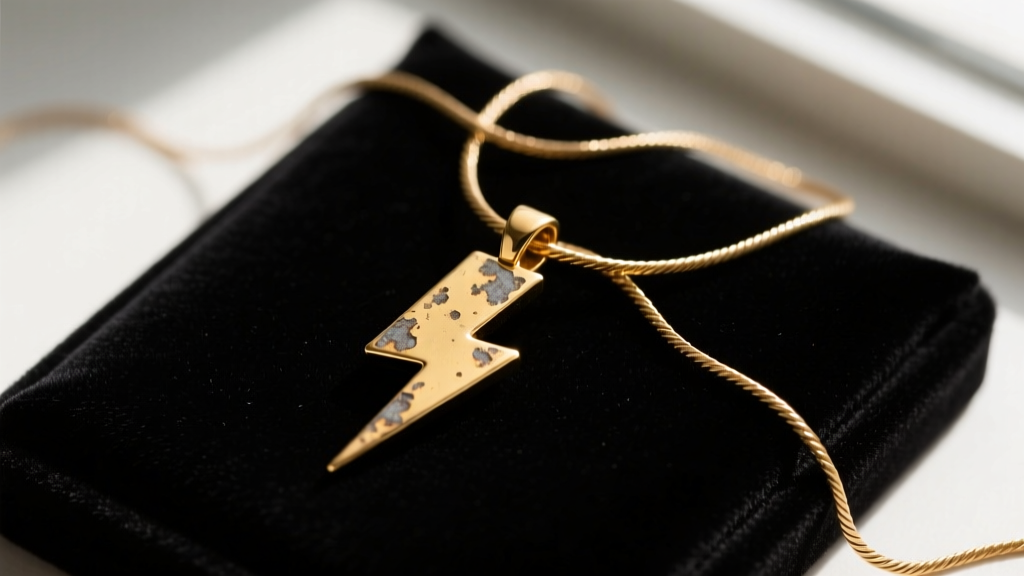
The post-Eras tour era has solidified the lightning bolt as a permanent staple in pop-culture jewelry. However, the massive surge in demand for a vintage-style Taylor Swift necklace lightning bolt replica resulted in a market flooded with mass-produced, fast-fashion accessories. While these pendants hold immense sentimental value, their structural integrity often falls short. Cheap alloys, micro-thin plating, and fragile chains lead to a host of frustrating issues, from severe skin discoloration to snapped jump rings.
As a jewelry specialist, I see these specific pendants cross my repair bench weekly. Whether you are dealing with chipped enamel, a severely tangled micro-cable chain, or a pendant that has turned your neck green, this comprehensive troubleshooting guide will help you diagnose the failure and execute a professional-grade repair.
Diagnosing Material Failure in Fan-Made Pendants
Before attempting any repair, you must identify the base metal and plating thickness of your pendant. According to the FTC Jewelry Guides, manufacturers must disclose metal compositions, but many overseas third-party sellers bypass these regulations. Most lightning bolt pendants sold on fast-fashion sites are cast from Zamak (a zinc alloy) or brass, then flash-plated with less than 0.1 microns of gold or silver.
Understanding your pendant's anatomy is the first step in troubleshooting. Refer to the diagnostic table below to identify your specific material failure:
| Base Material | Plating Type | Common Failure Mode | Repair Viability |
|---|---|---|---|
| Zamak (Zinc Alloy) | Flash Gold (0.1 microns) | Pitting, heavy tarnish, skin irritation | Low (Cannot be replated easily) |
| Brass / Copper | Gold Vermeil (2.5 microns) | Plating wear on high-friction edges | High (Can be professionally replated) |
| 925 Sterling Silver | Rhodium or Bare | Surface oxidation (black tarnish) | Very High (Polishable) |
How to Fix Chipped Enamel on Lightning Bolts
Many iconic lightning bolt designs feature black or red epoxy enamel inlay. Because these pendants rest against the collarbone, they are prone to impact damage, causing the enamel to chip or crack. Standard nail polish will not adhere properly to the metal recesses and will peel within days.
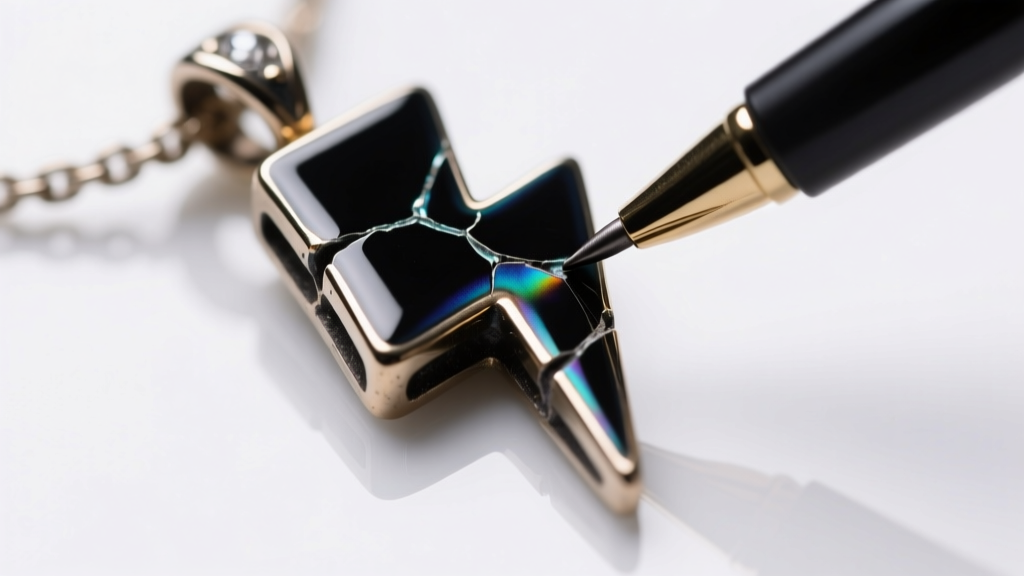
To properly troubleshoot and repair chipped enamel, you need a two-part jewelry epoxy or a specialized vitreous enamel paint like Pebeo Vitrail. Here is the professional protocol:
- Clean the Recess: Use a wooden toothpick dipped in isopropyl alcohol to remove skin oils and debris from the chipped cavity. Do not use metal tools, as they will scratch the surrounding plating.
- Apply the Resin: Using a 0.1mm fine-tip applicator, drop the black resin into the chip. Capillary action will pull it into the corners. Overfill it slightly, as epoxy shrinks by roughly 5% during the curing process.
- Level the Surface: Once the resin becomes tacky (about 15 minutes), gently drag a piece of stretched plastic wrap across the surface to create a perfectly flat, glass-like finish.
- Cure Time: Allow the pendant to rest flat in a dust-free environment for a full 24 hours before wearing.
Stopping the "Green Neck" Reaction
One of the most common complaints I receive is the dreaded green ring around the neck. This is not an allergy; it is a basic chemical reaction. When the copper or brass base of a poorly plated pendant comes into contact with the lactic acid and salts in your sweat, it creates copper chloride, which transfers onto your skin as a green stain.
"The green stain is a harmless copper chloride reaction, but it indicates that the protective plating barrier has completely failed and the base metal is exposed to moisture." — Gemological Institute of America (GIA)
The Temporary Fix: Coat the back of the lightning bolt pendant with a thin layer of clear polyurethane sealant or specialized jewelry shield. Avoid standard clear nail polish, as the solvents can eat through cheap gold flash-plating and cause further discoloration.
The Permanent Fix: Send the pendant to a local jeweler for an ultrasonic cleaning and a fresh electroplating of 2.5 microns of hard gold. This will cost between $35 and $60, but it effectively transforms a cheap brass pendant into a durable, skin-safe piece of jewelry that will last for years.
Untangling and Upgrading Flimsy Micro-Chains
To keep costs low, manufacturers often pair heavy zinc alloy pendants with incredibly thin 1.0mm or 1.2mm brass cable chains. This weight mismatch creates immense tension on the chain links, leading to severe knotting and eventual snapping near the lobster clasp.
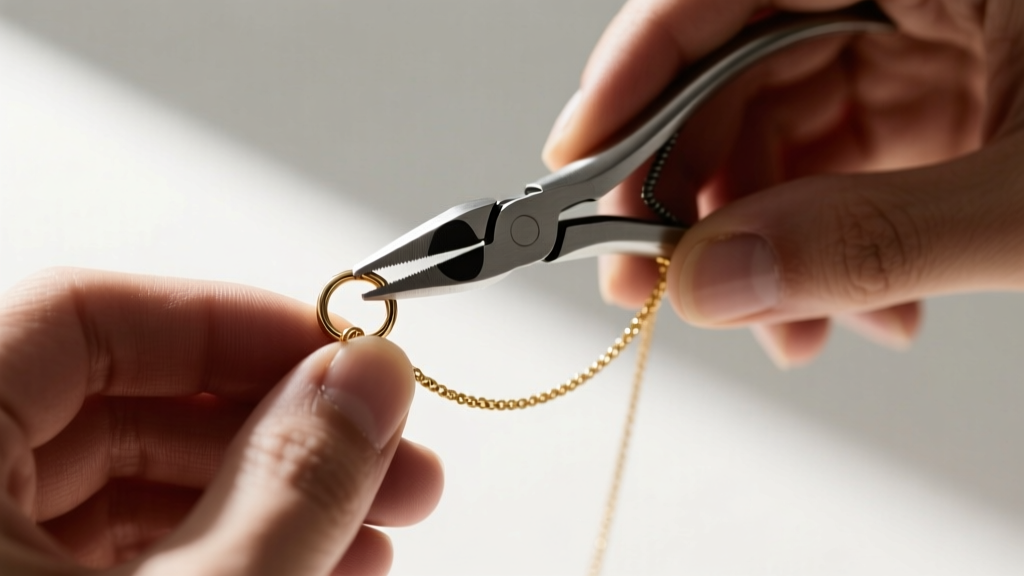
Step-by-Step Knot Removal
Never pull on a knotted micro-chain; you will permanently deform the oval links. Instead, follow this bench-jeweler technique:
- Lay the chain flat on a non-porous surface like a glass cutting board or ceramic tile.
- Apply a single drop of mineral oil or baby oil directly to the center of the knot to eliminate friction.
- Take two sewing needles or beading awls. Insert the tips into the outermost loops of the knot.
- Gently wiggle the needles outward, working from the periphery of the knot toward the center. The oil will allow the 1.2mm links to slide past one another without bending.
- Wipe the chain clean with a microfiber cloth and a drop of mild dish soap once untangled.
Upgrading the Clasp and Jump Rings
The 4mm lobster clasps included with these necklaces are notorious for failing because the internal spring mechanism is made of cheap, brittle pot metal. Furthermore, the 5mm jump rings connecting the clasp to the chain are often left unsoldered, allowing the thin chain to slip through the gap and get lost.
The Upgrade Path: Purchase a 5mm or 6mm solid 925 sterling silver lobster clasp and two 20-gauge, 4mm closed (soldered) jump rings. Using two pairs of flat-nose pliers, carefully remove the old hardware. Slide the closed jump rings onto the chain ends before attaching the new silver clasp. This $8 investment eliminates the risk of losing your pendant to a failed clasp.
Repair vs. Replace: A Cost-Benefit Analysis
Not every damaged pendant is worth saving. When deciding whether to troubleshoot your jewelry or invest in a higher-quality replacement, consider the 2026 market pricing for solid alternatives versus repair costs.
- Enamel Touch-Up: DIY cost is under $15. Highly recommended for sentimental fast-fashion pieces.
- Professional Replating: Costs $40-$70. Only worth it if the base metal is brass or copper, and the pendant has a heavy, high-quality casting with deep recesses.
- Chain Replacement: Swapping a broken 1.2mm brass chain for a durable 1.5mm stainless steel or solid gold-filled cable chain costs roughly $25-$40 and dramatically improves the drape and longevity of the necklace.
By understanding the specific failure points of your jewelry, you can transition your favorite pop-culture accessories from fragile, disposable merch into durable, everyday staples. Proper maintenance, strategic hardware upgrades, and targeted chemical sealing will ensure your lightning bolt pendant continues to strike the perfect chord in your jewelry rotation for years to come.


