How to Tie Knot for Necklace Cords: A Troubleshooting Guide
Learn how to tie knot for necklace cords with our troubleshooting guide. Fix stuck sliding knots, secure silk cords, and master the surgeon's knot.

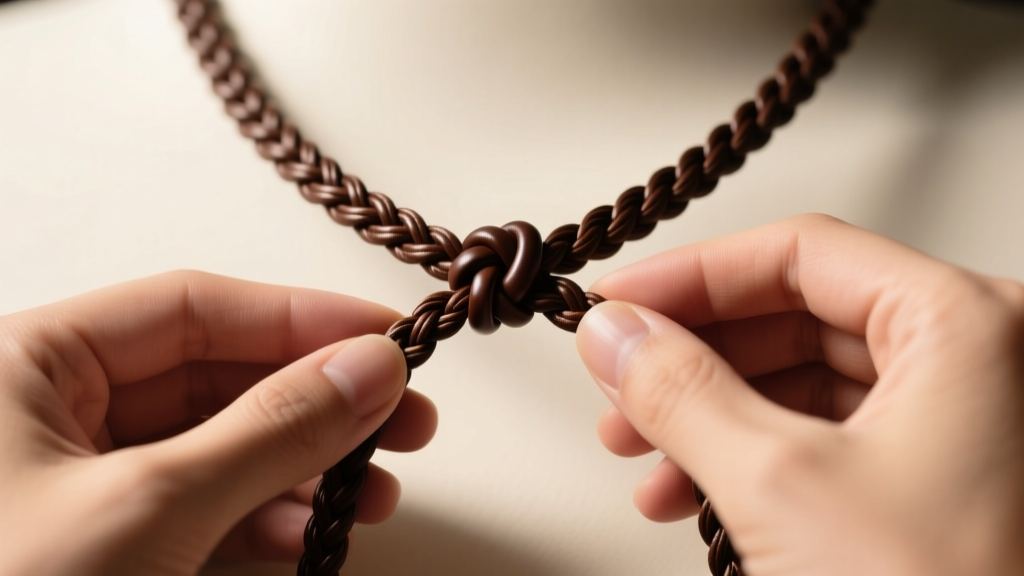
There is nothing more frustrating than spending hours stringing beads and selecting the perfect pendant, only to have the closure fail. When you need to tie knot for necklace closures, the margin for error is razor-thin. A poorly executed knot on a delicate silk cord or a stiff leather lace can lead to jammed adjusters, frayed ends, or catastrophic pendant loss. Whether you are working with 0.8mm Chinese knotting nylon or delicate size-4 Griffin silk, understanding the mechanics of cord friction is essential for jewelry longevity.
This troubleshooting guide bypasses basic crafting fluff and dives deep into the material science and mechanical realities of corded jewelry. We will diagnose why your sliding knots are sticking, how to properly secure fixed pendants, and which adhesives actually work without degrading your materials.
The Physics of Cord Friction and Knot Failure
Before attempting any complex macrame or sliding adjustment, you must understand the coefficient of friction inherent to your chosen cord. Knot failure rarely happens because the knot was tied incorrectly; it happens because the material cannot sustain the mechanical load of the knot's geometry.
- Nylon (Chinese Knotting Cord, 0.8mm - 1.0mm): High tensile strength but low surface friction. Standard overhand knots will slip under the weight of heavy stone pendants. Nylon requires friction-heavy knots like the square knot or the use of thermal sealing.
- Silk (Griffin Natural Silk, 0.5mm - 0.8mm): High surface friction but low tensile strength. Silk grips itself beautifully, making simple surgeon's knots highly secure. However, silk degrades when exposed to cyanoacrylate (Super Glue) and will snap if pulled too tightly during the cinching phase.
- Braided Leather (1.5mm - 2.0mm): Extremely high friction but prone to structural crushing. If you pull a sliding knot too tight on leather, you will permanently compress the braid, creating a stiff, immovable lump rather than a smooth adjuster.
Expert Insight: Never use standard cyanoacrylate (Super Glue) on natural protein fibers like silk or leather. The exothermic curing process and acidic nature of the glue will burn and embrittle the fibers, leading to a delayed snap weeks after finishing the piece.
Essential Tools for Precision Knotting
Ditch the standard craft scissors. To troubleshoot and execute professional-grade necklace knots, your bench requires specific precision tools:
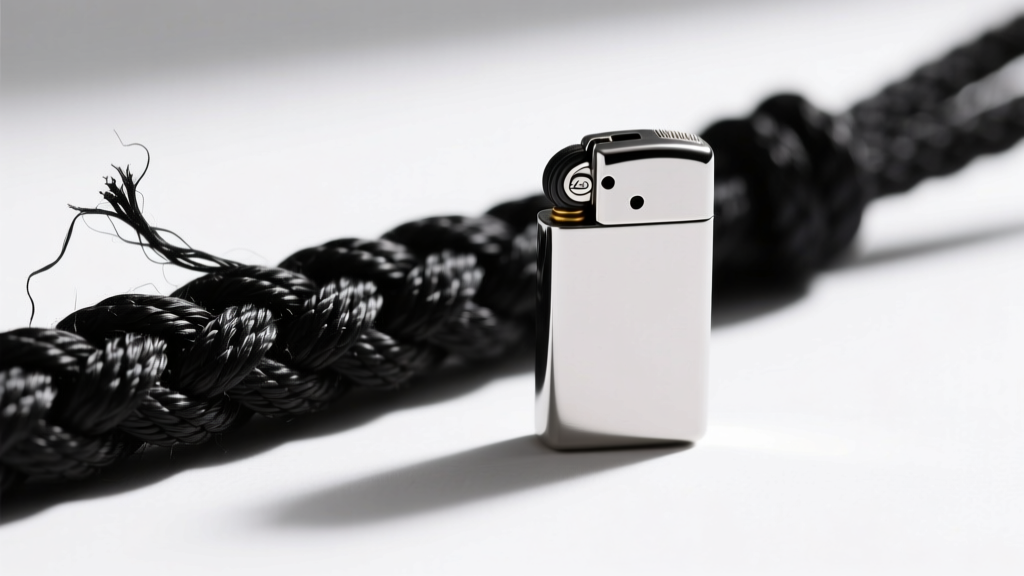
- Thread Burner / Precision Lighter: For melting synthetic cords (nylon, polyester) flush against the knot without leaving a sharp, hardened burr that scratches the skin.
- Flush Cutters (Micro-Shears): Essential for cutting cord ends within 1mm of the knot body before melting or gluing.
- Tapered Bead Reamer or Sewing Needle: The ultimate troubleshooting tool for picking apart jammed sliding knots without fraying the cord.
- Hemostats or Flat-Nose Pliers: Used to hold the base cord taut while pulling the working cords, ensuring even tension.
How to Tie Knot for Necklace Adjustability: The Sliding Square Knot
The sliding square knot (often called a macrame square knot) is the industry standard for adjustable corded necklaces. It relies on two outer working cords wrapping around two inner base cords. When tied correctly, it slides smoothly but locks under the tension of the pendant's weight.
Troubleshooting the Sliding Knot
Problem: The knot is too tight and will not slide.
This occurs when you pull the working cords at an upward angle during the cinching phase, causing them to bite into the base cords. The Fix: Always pull the working cords perfectly parallel to the base cords when tightening. If the knot is already jammed, insert a tapered sewing needle between the working cord and the base cord, and gently wiggle it to break the friction lock.
Problem: The knot is too loose and slips open when worn.
This is a material mismatch. You are likely using a highly lubricated cord (like waxed cotton or polished nylon) with too few wraps. The Fix: A standard sliding square knot uses two half-knots (one left-over-right, one right-over-left). For slippery materials, you must increase the surface area by tying a double square knot (four half-knots total) to generate enough internal friction to hold the adjustment.
Fixed Pendant Knots: Lark’s Head vs. Surgeon’s Knot
When attaching a pendant directly to a cord without a metal bail, you must choose a knot that distributes weight evenly to prevent cord shearing. According to techniques documented by Fire Mountain Gems, the bail hole diameter dictates your knot choice.
| Cord Material & Size | Pendant Bail Hole | Recommended Knot | Adhesive Required? |
|---|---|---|---|
| Silk (0.6mm) | Small (1mm - 2mm) | Double Surgeon's Knot | Yes (G-S Hypo Cement) |
| Nylon (0.8mm) | Medium (2mm - 4mm) | Lark's Head + Overhand | Yes (Thermal Melt) |
| Leather (2.0mm) | Large (4mm+) | Fold-Over Loop & Wrap | Yes (E6000 Jewelry) |
The Surgeon's Knot is superior for thin silk because the extra twist in the first throw creates immediate friction, holding the knot in place while you form the second throw. This prevents the knot from loosening as you pull it tight against the pendant bail.
Troubleshooting Common Knotting Disasters
Even experienced jewelers encounter structural failures. Here is how to salvage the most common corded necklace disasters.
Disaster 1: The Frayed End Refuses to Melt
If you are trying to seal a nylon or polyester cord and the end is blooming into a hard, sharp, blackened mushroom, your heat source is too hot and too slow. You are burning the material rather than melting it. The Fix: Use a dedicated jewelry thread burner with a micro-flame or a heated filament tip. Apply heat for less than one second, then immediately press the molten tip flat against a ceramic tile or glass surface to create a smooth, flush bead that won't catch on clothing.
Disaster 2: The Knot Slips Through the Bail
You tied a secure knot, but the pendant's bail hole is slightly larger than the knot's resting diameter. The Fix: Do not simply tie a larger, bulkier knot, which will look unprofessional. Instead, thread a small 2mm metal or glass crimp cover, or a tiny seed bead, onto the cord before tying the knot. Tie your surgeon's knot directly over the bead. The bead acts as an internal armature, drastically increasing the knot's volume and structural integrity without adding messy bulk.
Disaster 3: Adhesive Bleed-Out on Porous Stones
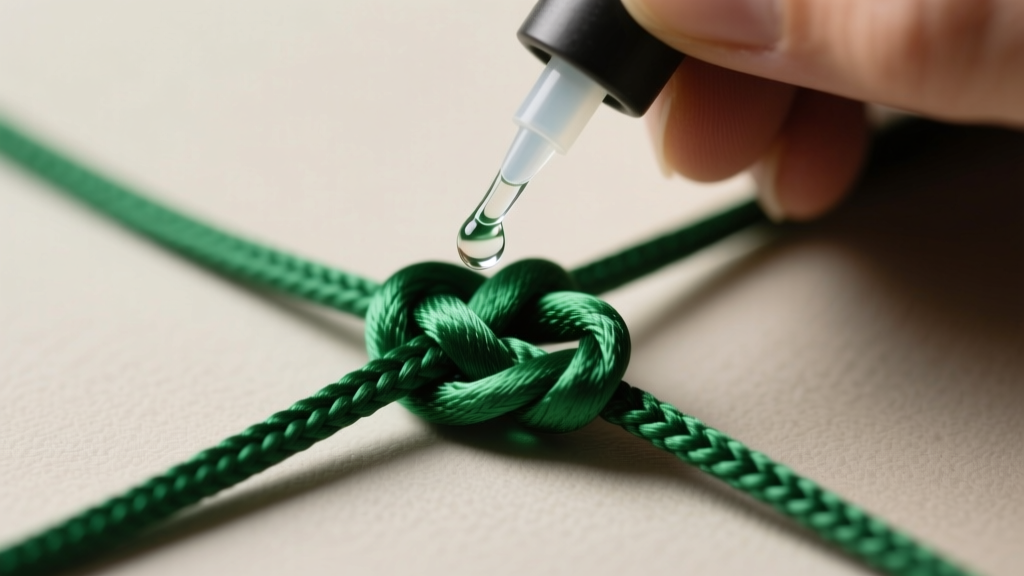
You applied glue to secure the knot, and it wicked up the cord and stained a porous stone pendant (like turquoise, lapis lazuli, or matte glass). The Fix: Never apply liquid adhesive directly to a knot that is resting against a stone. Apply a micro-drop of adhesive to the cord tail, then use a needle to pull the tail down into the center of the knot body. Alternatively, use a UV-curing resin that remains liquid until exposed to ultraviolet light, giving you infinite working time to clean up any excess before curing it instantly with a UV pen.
Sealing and Curing: The Final Step
A knot is only as strong as its seal. The jewelry industry relies on specific adhesives tailored to the flexibility and chemical composition of the cord.
- G-S Hypo Cement: The gold standard for silk, nylon, and fine leather. It features a precision needle tip, dries clear, and remains slightly flexible, which is crucial for necklaces that experience constant bending and stretching. Allow 24 hours for a full cure before applying tension.
- E6000 Jewelry & Bead: Best reserved for thick leather cords and heavy hardware connections. It is highly viscous and will create a messy blob on fine silk cords. It requires aggressive ventilation during application due to high VOC off-gassing.
- Beeswax / Microcrystalline Wax: For historical accuracy or purist natural fiber designs where chemical adhesives are forbidden, heavily waxing the cord before tying increases friction and provides a mild, water-resistant seal that locks the knot fibers together.
Mastering the mechanics of corded jewelry elevates your work from amateur crafting to professional design. By respecting material friction, utilizing precision tools, and applying the correct chemical seals, you ensure that every necklace you create is as durable as it is beautiful.


