A Beginner's Guide to Identifying Vintage Necklace Clasps
Learn how to identify, date, and repair vintage necklace clasps. Discover the history of C-clasps, trombone, and spring rings in this beginner guide.

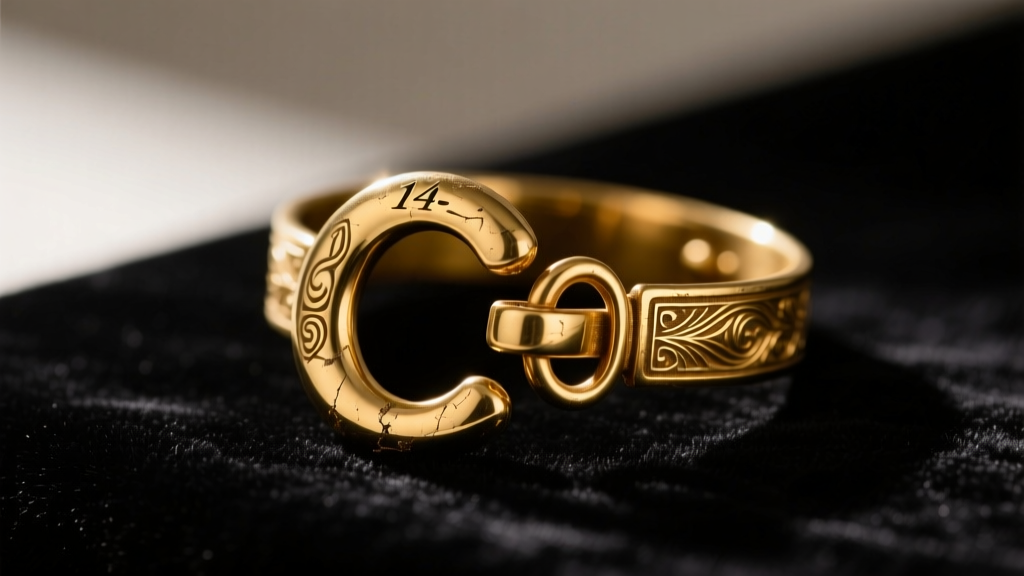
The Telltale Clasp: Why Hardware Matters
When building or evaluating a vintage jewelry collection, most beginners focus entirely on the centerpiece gemstones or the intricacy of the chain links. However, seasoned appraisers and antique dealers know a fundamental secret: the clasp is the ultimate telltale sign of a piece's true age, origin, and authenticity. According to the Gemological Institute of America (GIA), the hardware used to secure a necklace can definitively date a piece, expose modern alterations, or reveal if a chain and pendant are a 'marriage' (two unrelated parts joined together later in life).
Understanding vintage necklace clasps is not just an academic exercise; it is a critical skill for troubleshooting repairs, sourcing accurate replacement parts, and protecting your investment. A Victorian-era 15ct gold chain fitted with a modern 1980s lobster claw clasp loses significant historical value and aesthetic coherence. This guide will walk you through the evolution, mechanics, and maintenance of antique and vintage clasp mechanisms, providing the actionable specifics you need to identify and care for your pieces.
The Evolution of Vintage Necklace Clasps
The technology used to secure jewelry around the neck has evolved dramatically over the last 150 years. Early mechanisms relied on simple tension and gravity, while modern clasps utilize complex internal springs. Below is a structured timeline and comparison chart of the most common vintage necklace clasps you will encounter in the wild.
| Clasp Type | Era of Popularity | Key Identifier | Security Level |
|---|---|---|---|
| C-Clasp | Pre-1900s to 1930s | Open 'C' shape, no locking lever | Low (relies on tension) |
| Trombone | 1890s to 1940s | Push-pull tube mechanism | Medium |
| Spring Ring | 1914 to Present | Circular with a small pull-back lever | High |
| Box Clasp | 1920s to Present | Wedge-shaped tongue clicking into a box | Very High |
| Lobster Claw | 1970s to Present | Oval, spring-loaded lever | High |
C-Clasps and the European Trombone
The C-clasp is one of the oldest and most rudimentary fastening methods. Shaped exactly like the letter 'C', it features no locking mechanism. The open end of the 'C' is typically positioned at the bottom so that gravity and the downward weight of the necklace keep the jump ring seated in the curve. While predominantly found on antique brooches, C-clasps were also used on heavy, large-gauge link chains where the weight of the metal provided enough tension to keep the clasp secure.
Concurrently, European jewelers—particularly in France and Italy—favored the 'trombone' clasp from the 1890s through the 1940s. The trombone clasp operates via a push-pull mechanism: a straight metal pin is pushed into a hollow cylindrical tube, and a small lever on the pin is twisted to lock it into a tiny notch on the tube. As noted by the Victoria and Albert Museum, the trombone clasp is a strong indicator of European craftsmanship. If you find a trombone clasp on a piece marketed as American-made Art Deco, you should scrutinize the piece closely, as the hardware may have been imported or the piece misattributed.
The Spring Ring and the Steel Core Secret
Patented in the early 20th century and widely adopted post-1914, the spring ring (also known as a bolt ring in the UK) revolutionized jewelry security. It features a circular body with a small lever that retracts an internal pin, allowing the jump ring to slide into the gap. When released, the internal spring pushes the pin back into place, creating a closed loop.
Here is a crucial metallurgical secret that trips up many beginners: the internal spring of a vintage spring ring must be made of steel to maintain tension. Gold and silver are too soft to act as a reliable, repeated-tension spring. Therefore, if you are acid-testing a necklace to verify its gold content, never test the spring ring clasp itself. The outer shell may be gold-filled, gold-plated, or solid gold, but the core is steel. An acid test on the clasp will often yield a false negative, leading you to incorrectly assume the entire chain is base metal. Always test the chain links or the jump ring instead.
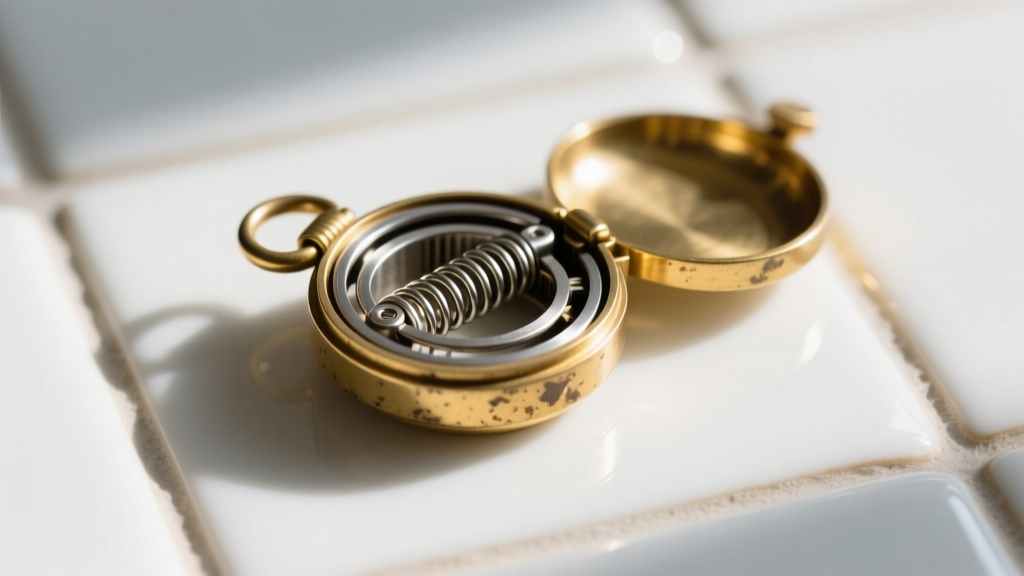
Furthermore, Lang Antiques University points out that early spring rings (1920s-1930s) often feature a tiny, almost imperceptible seam along the outer edge where the gold shell was wrapped around the steel core, whereas modern cast spring rings are seamless.
Box Clasps and Figure-8 Safeties
Box clasps became the gold standard for heavy, multi-strand pearl necklaces and wide gold link bracelets in the 1920s and 1930s. They consist of a V-shaped or wedge-shaped 'tongue' that is compressed and pushed into a square or rectangular 'box'. The metal's natural memory causes the tongue to expand once inside the box, locking it securely in place with an audible click.
Because the friction fit can wear down over decades of use, vintage box clasps are almost always paired with a 'figure-8 safety latch'. This is a secondary wire loop that hinges from one side of the clasp and snaps over a small button on the opposite side. When inspecting a vintage box clasp, check the figure-8 wire for metal fatigue. If the wire is bent or thinned at the hinge point, it is at high risk of snapping and must be reinforced by a jeweler using laser welding.
How to Date Your Piece Using the Clasp
You can use the clasp to establish a 'not-before' date for your jewelry. For example, the lobster claw clasp was not invented until the 1970s. If you are examining a chain that the seller claims is a genuine 1920s Art Deco piece, but it terminates in a lobster claw, you immediately know one of two things: either the original clasp broke and was replaced in the modern era, or the chain itself is a modern reproduction.
Look closely at the jump rings connecting the clasp to the chain. In genuine antique pieces, the jump rings were often hand-sawn and will feature a diagonal cut rather than a straight, machine-stamped cut. Additionally, hallmarks and karat stamps (such as '14K' or '585') were frequently stamped directly onto the tiny plate attached to the spring ring or on the side of the box clasp. The font and wear pattern of these stamps can help corroborate the age of the hardware.
Troubleshooting Stuck Vintage Mechanisms
It is incredibly common for vintage spring rings and box clasps to become stuck due to decades of accumulated skin oils, soap residue, and microscopic dust. Beginners often make the catastrophic mistake of spraying WD-40 or household lubricants onto the clasp. These products leave a sticky residue that attracts more dirt, degrades the natural patina of the metal, and can ruin porous gemstones like pearls or turquoise if the chain is not removed.
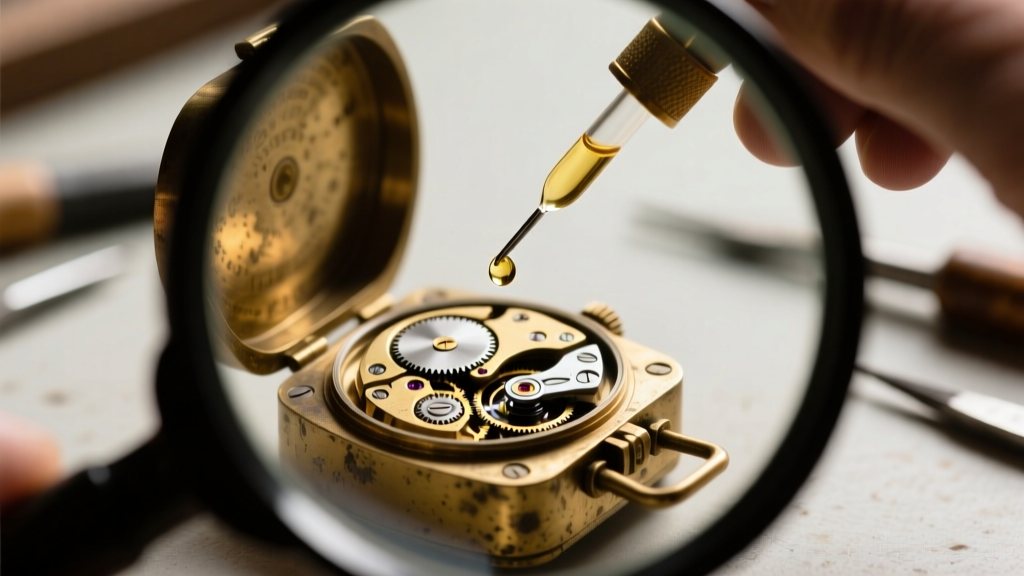
Instead, use a professional approach. Procure a synthetic watch oil, such as Moebius 9010, and a fine 0.1mm oiler pin. Apply a microscopic drop of the oil directly into the seam of the spring ring lever or the hinge of a box clasp tongue. Gently work the mechanism back and forth with a pair of brass tweezers (brass is softer than gold and silver, preventing scratches). If the lever remains completely immobile, the internal steel spring has likely snapped or rusted through. In this case, the clasp cannot be repaired; it must be carefully snipped off and replaced.
Sourcing Replacements: Sizing and Metallurgy
When replacing a broken vintage clasp, your goal should be to maintain the historical integrity of the piece. Avoid slapping a modern, bulky lobster claw onto a delicate, 1.5mm antique cable chain. Instead, source a vintage-style spring ring or bolt ring.
Pay strict attention to millimeter sizing and gauge thickness:
- 5mm and 7mm Spring Rings: Ideal for delicate, lightweight chains (1.0mm to 1.5mm width) and single-strand pearl necklaces.
- 9mm and 12mm Spring Rings: Required for heavier link chains, graduated bead necklaces, and pieces featuring substantial pendants.
- Jump Ring Gauges: Vintage chains typically terminate in 18-gauge (1.0mm) or 20-gauge (0.8mm) jump rings. Ensure the replacement clasp's loop is large enough to accommodate these gauges without forcing them open, which weakens the structural integrity of the chain.
Metallurgy matching is equally important. If your chain is 18k yellow gold, replacing the clasp with a 10k or 14k gold-filled spring ring will create a visible color mismatch and degrade the resale value. For pieces made of lower-karat alloys, such as 9k rose gold (common in British antiques), you may need to have a custom clasp fabricated or sourced from specialized estate jewelry suppliers, as modern off-the-shelf findings rarely match historical rose gold hues.
Final Thoughts
Mastering the identification and mechanics of vintage necklace clasps elevates you from a casual buyer to an informed collector. By paying attention to the subtle differences between a C-clasp, a trombone tube, and a steel-cored spring ring, you can accurately date your pieces, avoid costly 'marriages', and ensure that your antique jewelry remains secure and historically accurate for decades to come. Always inspect the hardware first, and treat the clasp with the same respect and scrutiny as the gemstones it holds.


