How to Choose and Style a Hearing Aid Necklace Safely
Learn to safely choose and style a hearing aid necklace. Discover snag-proof chains, safe clasps, and tips for BTE and RIC devices.


The Intersection of Audiology and Fine Jewelry
Navigating the world of fine jewelry while wearing hearing assistance devices requires a strategic approach. For the millions of adults utilizing Behind-The-Ear (BTE), Receiver-In-Canal (RIC), or Cochlear Implant (CI) systems, a necklace is never just an accessory—it is a physical object that interacts with highly sensitive medical technology. In 2026, modern hearing aids are marvels of miniaturization, featuring exposed micro-charging ports, Bluetooth streaming antennas, and ultra-thin silicone domes. While these advancements improve auditory experiences, they also introduce new vulnerabilities when interacting with traditional jewelry.
Finding the perfect hearing aid necklace means balancing aesthetic elegance with strict functional safety. A poorly chosen chain can snag on delicate receiver wires, while the wrong clasp can cause electromagnetic interference (EMI) with telecoils (T-coils). According to the American Speech-Language-Hearing Association (ASHA), proper device maintenance includes protecting the physical hardware from moisture, debris, and mechanical stress. This comprehensive, step-by-step guide will teach you exactly how to select, style, and wear necklaces that complement your look without compromising your hearing technology.
The Hidden Hazards: Magnets, Tubing, and Microphones
Before purchasing any necklace, it is vital to understand the specific mechanical and electromagnetic hazards that jewelry poses to hearing devices. The most insidious threat comes from magnetic clasps. Many modern jewelry lines feature neodymium magnetic clasps for ease of use. However, if you utilize a hearing aid equipped with a T-coil—a feature that helps users hear clearly in looped public venues—proximity to a strong magnetic clasp will induce a loud, disruptive humming or buzzing sound directly into your ear canal.
For Cochlear Implant users, the stakes are even higher. The U.S. Food and Drug Administration (FDA) warns that external magnets can interact with the internal magnet surgically placed under the scalp. Repeated friction or magnetic pull from a necklace clasp resting near the CI site can cause skin necrosis, pain, or even displacement of the internal magnet over time. Furthermore, physical hazards like thin, rough chain links can easily catch on the acoustic vents of BTE molds or the fragile RIC wires, potentially tearing the silicone dome or severing the internal copper wiring.
Step-by-Step Guide to Selecting the Perfect Hearing Aid Necklace
Step 1: Ditch the Magnetic Clasps
Your first rule of thumb is to completely avoid magnetic closures. Instead, opt for high-quality mechanical clasps. A 5mm to 7mm lobster clasp or a spring-ring clasp crafted from solid gold or surgical-grade stainless steel provides a secure closure without generating any electromagnetic fields. If you have limited dexterity and struggle with small lobster clasps, look for specialized jewelry adapters or oversized toggle clasps that can be easily secured at the front of the neck without requiring you to reach behind your ears and risk dislodging your BTE device.
Step 2: Calculate the Safe Drop Length
The length of your necklace dictates where it interacts with your hearing aid tubing. A standard 16-inch choker sits high on the collarbone and neck, often rubbing directly against the post-auricular fold (the area behind the ear) where the BTE casing and acoustic tubing rest. This constant friction can degrade the PVC tubing over time and cause skin irritation. For a safe and flattering hearing aid necklace, aim for an 18-inch (princess) or 20-inch (matinee) drop. These lengths ensure the chain rests comfortably below the microphone ports and clear of the device's battery compartment or charging contacts.
Step 3: Choose Snag-Proof Chain Gauges and Styles
The physical structure of the chain links is paramount. Chains with intricate, open, or jagged links are notorious for catching on the tiny retention wires of RIC devices. You need a chain with a flush, continuous surface profile.
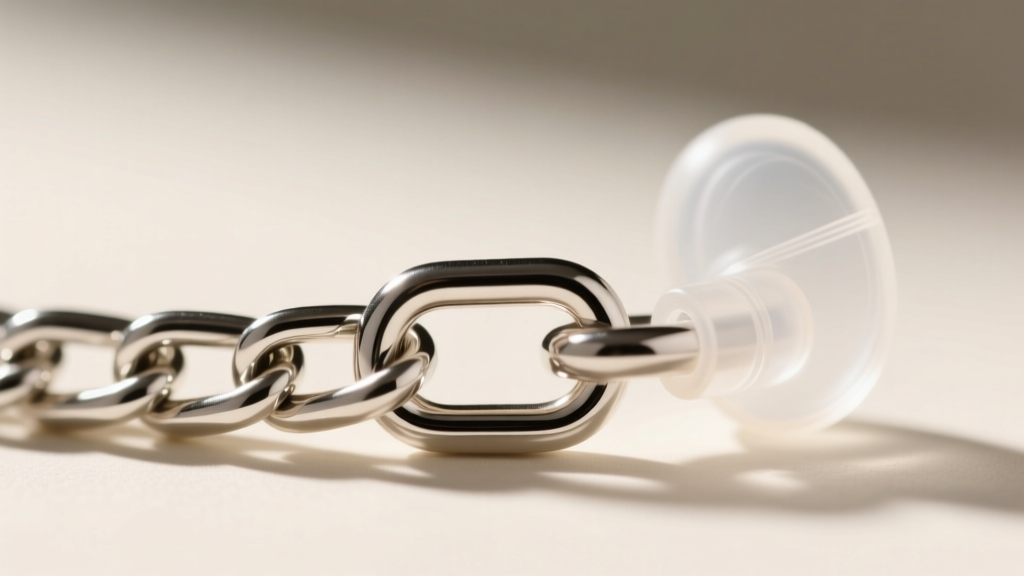
| Chain Style | Recommended Gauge | Snag Risk | BTE/RIC Compatibility |
|---|---|---|---|
| Box Chain | 1.5mm - 2.5mm | Very Low | Excellent (Smooth, geometric edges) |
| Snake Chain | 2.0mm - 4.0mm | Zero | Perfect (Completely flush surface) |
| Rope Chain | 2.0mm - 3.0mm | Moderate | Fair (Twisted links can catch domes) |
| Cable Chain | 1.0mm - 1.5mm | High | Poor (Thin, open links snag easily) |
Material Matters: Preventing Behind-the-Ear Dermatitis
The skin behind the ear is exceptionally thin, sensitive, and prone to trapping moisture and heat. When a necklace chain rests against the post-auricular sulcus alongside a plastic hearing aid casing, the friction can quickly lead to contact dermatitis. This risk is exponentially higher if your jewelry contains nickel, a common allergen found in cheap alloys and gold-plated brass.
To protect your skin, invest in hypoallergenic materials. ASTM F136 compliant Grade 23 Titanium is the gold standard for sensitive skin; it is entirely nickel-free, lightweight, and impervious to sweat corrosion. Solid 14k or 18k gold (both yellow and white, provided the white gold is rhodium-plated and nickel-free) are also excellent choices. Avoid vermeil or gold-plated chains for daily wear, as the friction from the hearing aid casing will rapidly wear away the microscopic gold layer, exposing the reactive base metals underneath.
Pro-Tip: If you live in a humid climate or perspire heavily, wipe down both your BTE casing and the back of your necklace chain with a dry, lint-free microfiber cloth every evening to prevent the buildup of acidic oils that can degrade both your jewelry finish and your hearing aid's plastic housing.
How to Put On and Remove Your Necklace Without Dislodging Your Device
The physical act of putting on a necklace is where most accidental damage to hearing aids occurs. Reaching behind the neck to fumble with a small clasp often results in the back of the hand or the chain itself knocking the BTE device off the ear, or worse, pulling the delicate RIC receiver completely out of the ear canal.
To prevent this, adopt the Front-Fastening Technique. First, unclasp your necklace and drape it around your neck with the clasp ends meeting at the front of your throat, well below your chin. Fasten the lobster clasp securely where you can clearly see it. Once secured, gently rotate the entire chain around your neck until the clasp rests at the nape of your neck or slightly off-center. This method ensures your hands and the metal chain never come into close proximity with your hearing aids during the fastening process.
When removing the necklace, reverse the process. Rotate the clasp back to the front of your neck before unhooking it. Never attempt to pull a necklace over your head while wearing BTE or RIC devices, as the chain will almost certainly catch on the acoustic tubing or the Bluetooth antenna ridge, potentially snapping the custom ear mold or tearing the receiver wire.
Final Thoughts on Accessorizing with Hearing Tech
Wearing a hearing aid necklace safely does not mean sacrificing your personal style. By prioritizing smooth chain profiles like box or snake chains, strictly avoiding magnetic closures, and selecting biocompatible metals like titanium or solid gold, you can accessorize with total confidence. Understanding the physical dimensions of your specific hearing device allows you to choose lengths and pendant weights that enhance your wardrobe while respecting the intricate engineering of your auditory health. Treat your jewelry selection with the same care you apply to your hearing aid maintenance, and your accessories will remain both beautiful and perfectly harmonious with your daily tech.


