How to Choose and Layer Necklace Chain Styles for Any Pendant
Learn how to choose and layer necklace chain styles for any pendant. Discover gauge sizes, durability tips, and a step-by-step layering guide.

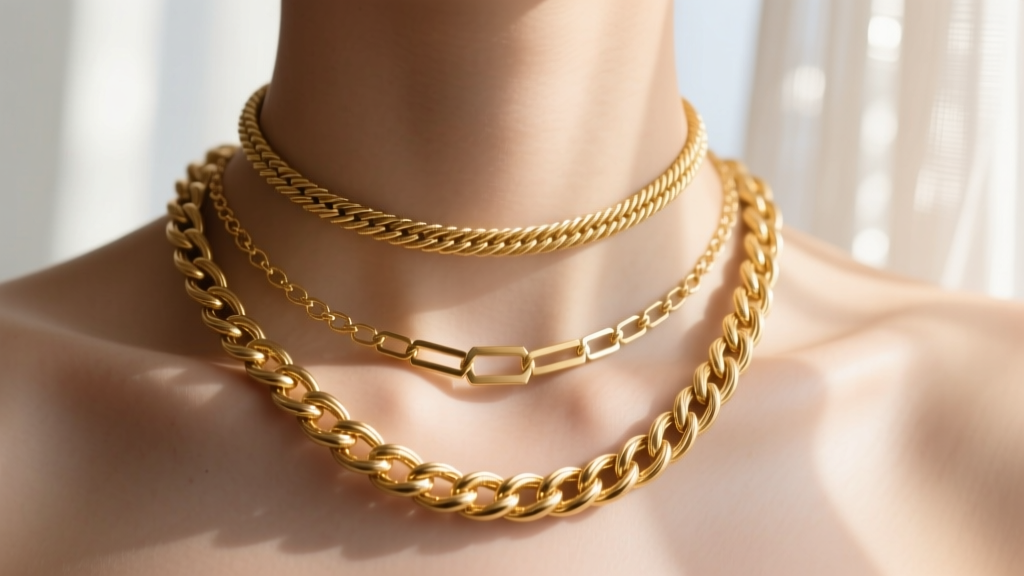
Choosing the right necklace chain styles is a deceptively complex task that goes far beyond simple aesthetics. Whether you are selecting a foundational piece for a heavy gemstone pendant or engineering a multi-strand layered look, understanding the structural mechanics, gauge thickness, and textural interplay of different chains is essential. A beautiful chain that fails under the weight of its pendant or tangles hopelessly in a layered stack is a functional failure, no matter its karat gold purity.
In this comprehensive guide, we break down the exact engineering behind chain durability, provide a step-by-step framework for layering, and offer a definitive compatibility chart to ensure your jewelry choices are both structurally sound and visually striking.
The Anatomy of Chain Durability: Matching Weight to Gauge
The most common mistake consumers make when selecting necklace chain styles is ignoring the wire gauge. The gauge dictates the tensile strength of the chain and determines how much weight it can safely support before the solder points fail or the links permanently deform.
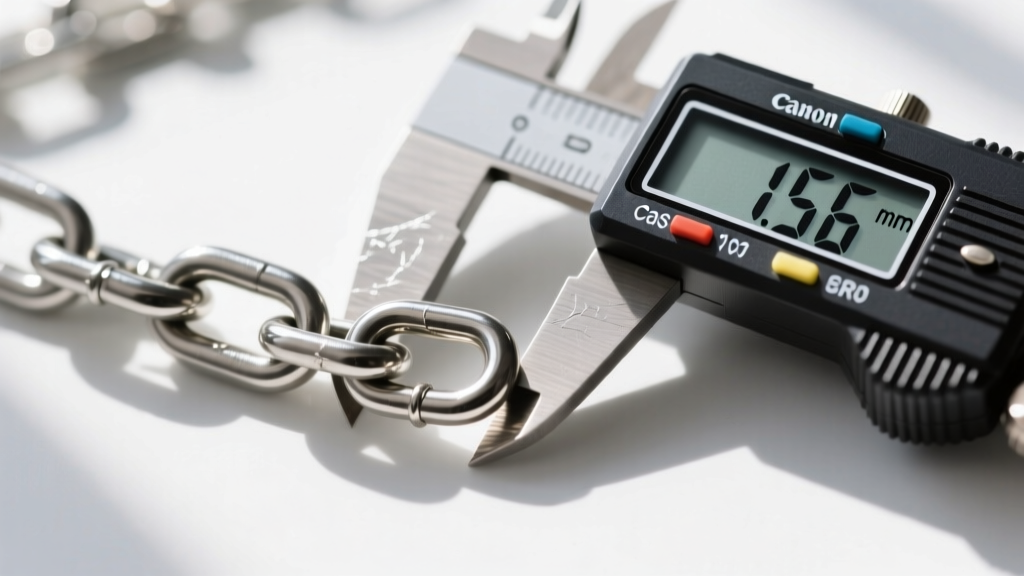
Lightweight Chains (0.8mm - 1.0mm)
Chains in this diameter range, such as delicate cable or fine box chains, are designed to support pendants weighing under 5 grams. They are ideal for small diamond solitaires, lightweight birthstone charms, or bare layering. However, they are highly susceptible to snapping if caught on clothing due to their low tensile threshold.
Medium Chains (1.2mm - 1.5mm)
This is the versatile sweet spot for everyday wear. Medium-weight rope, curb, and Figaro chains can comfortably support pendants ranging from 5 to 15 grams. At 1.5mm, the solder points on individual links are robust enough to withstand the kinetic stress of daily movement without stretching.
Heavy Chains (2.0mm and above)
For substantial statement pendants, heavy lockets, or solid gold medallions exceeding 15 grams, you must opt for chains 2.0mm or thicker. Wheat, thick rope, and heavy Cuban link chains distribute the weight across multiple interlocking planes, preventing localized stress on a single jump ring.
Step-by-Step Guide to Layering Necklace Chain Styles
Layering is an exercise in spatial geometry. If your necklace chain styles are too similar in length, thickness, or texture, they will inevitably tangle and create visual clutter. To achieve a curated, effortless look, follow the 3-Point Layering Rule, which mandates a minimum 2-inch length variance and a distinct textural shift between each layer.
Step 1: Anchor with a Choker or Collar (14-16 Inches)
Begin with a close-fitting chain that sits securely above the collarbone. A 15-inch cable or bead chain (1.0mm to 1.5mm) serves as the perfect anchor. Because it lacks a heavy pendant, it remains lightweight and prevents the lower layers from pulling upward. According to the Gemological Institute of America (GIA), keeping the anchor layer simple ensures that the focal points of the lower layers are not visually competed with.
Step 2: The Mid-Length Pendant Chain (18-20 Inches)
The second layer should drop just below the clavicle, creating a distinct V-shape. This is where you introduce your primary pendant and a contrasting texture. If your first layer was a smooth cable chain, use a 1.2mm box chain or a 1.5mm rope chain for the mid-length layer. The geometric facets of a box chain catch the light differently than a round cable, providing necessary depth.
Step 3: The Long Lariat or Matinee (24-30 Inches)
The final layer elongates the torso and frames the outer silhouette. Opt for a 24-inch or 28-inch chain with a completely different structural profile, such as a herringbone, snake, or long pendant lariat. This layer should remain pendant-free or feature a very lightweight, elongated bar charm to maintain a sleek, vertical line.
Chain Style Compatibility Chart for Pendants
Not all necklace chain styles interact with pendant bails in the same way. The friction, weight distribution, and flexibility of the chain dictate which pendants are safe to hang. Use this compatibility chart to match your hardware correctly.
| Chain Style | Best Pendant Weight | Ideal Bail Type | Primary Failure Risk |
|---|---|---|---|
| Cable | 1g - 10g | Standard loop bail | Link separation at solder point under heavy stress |
| Box | 5g - 20g | Tube or hidden bail | Corner edges can wear down soft gold bails over time |
| Rope | 10g - 30g+ | Large diamond bail | Twisting can cause the spiral structure to permanently kink |
| Wheat | 15g - 40g+ | Reinforced heavy bail | Extremely durable; failure usually occurs at the clasp, not links |
| Herringbone | Bare only (0g) | N/A | Highly prone to permanent stretching and kinking if bent |
Troubleshooting Common Chain Failures
Even the most expensive necklace chain styles will fail if subjected to the wrong mechanical stresses. Understanding how specific chains fail allows you to troubleshoot and prevent catastrophic breakage.
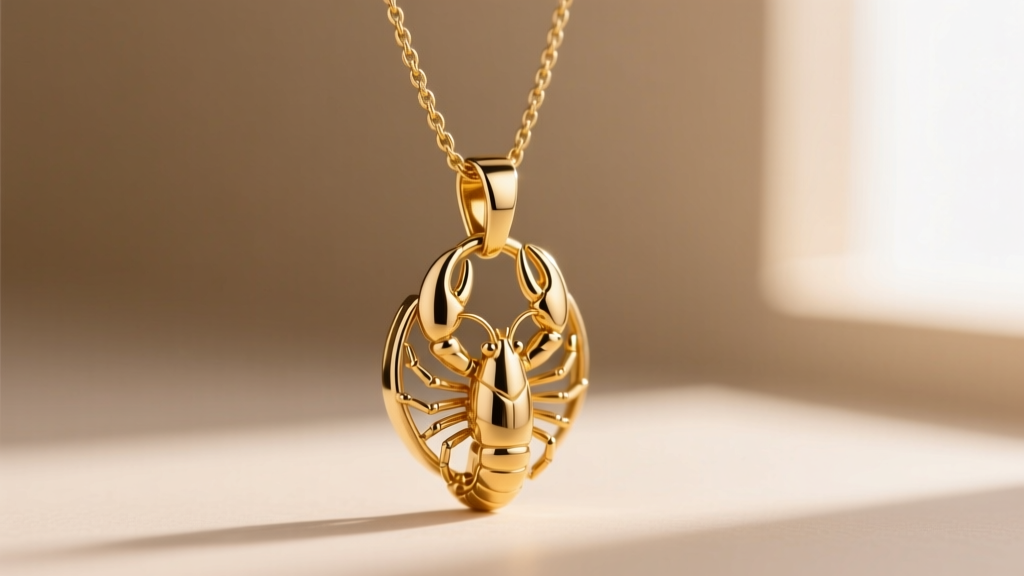
The Center of Mass Clasp Migration
If your necklace clasp constantly slides to the front of your neck, your chain is too lightweight relative to the pendant. The center of mass is pulling the chain through the bail. To fix this, you must either increase the gauge of the chain, add a small counterweight bead near the clasp, or switch to a chain with higher surface friction, like a rope or wheat chain, which resists sliding through the bail.
Kinking in Snake and Herringbone Chains
Snake and herringbone chains are prized for their liquid-like drape, but their structural weakness lies in their lack of interlocking, soldered links. As noted by jewelry industry experts at JCK Magazine, these chains rely on tension and precise alignment. If a snake chain is bent at a sharp angle, the metal folds and creates a permanent weak point that will eventually snap. Always store these styles flat or hanging, never coiled in a tight jewelry box.
Link Pulling in Box Chains
Box chains are incredibly strong against snapping, but they are vulnerable to 'link pulling.' If caught, the square links can be pulled apart, creating a visible gap that is difficult to repair seamlessly. Always inspect box chains for slightly opened squares before wearing them with heavy outerwear.
Final Sizing and Clasp Selection
The clasp is the weakest link in any necklace. When upgrading your necklace chain styles, pay close attention to the termination hardware.
- Lobster Clasps: The gold standard for durability. The internal spring mechanism is robust, and the teardrop shape prevents the jump ring from slipping out. Always ensure the lobster clasp is proportionate to the chain gauge; a massive clasp on a fine chain will cause the clasp to constantly drag the chain backward.
- Spring Ring Clasps: Common on lightweight, budget-friendly chains. They are perfectly adequate for chains under 1.0mm but are prone to spring failure and are difficult to operate with one hand.
- Magnetic Clasps: Excellent for accessibility and layering, but they must feature a secondary safety catch. Neodymium magnets provide strong hold, but a sharp lateral tug can break the magnetic seal, dropping the pendant.
By treating your necklace chain styles as engineered components rather than mere accessories, you ensure that your jewelry not only looks impeccable but performs flawlessly for decades. Match the gauge to the gram, respect the geometry of layering, and always choose hardware that honors the structural integrity of the metal.


