How to Clean a Hammered Necklace Without Ruining the Texture
Learn how to clean a hammered necklace safely. Discover expert tips to remove tarnish from textured silver and gold without flattening the dimpled finish.

The Unique Topography of Hammered Jewelry
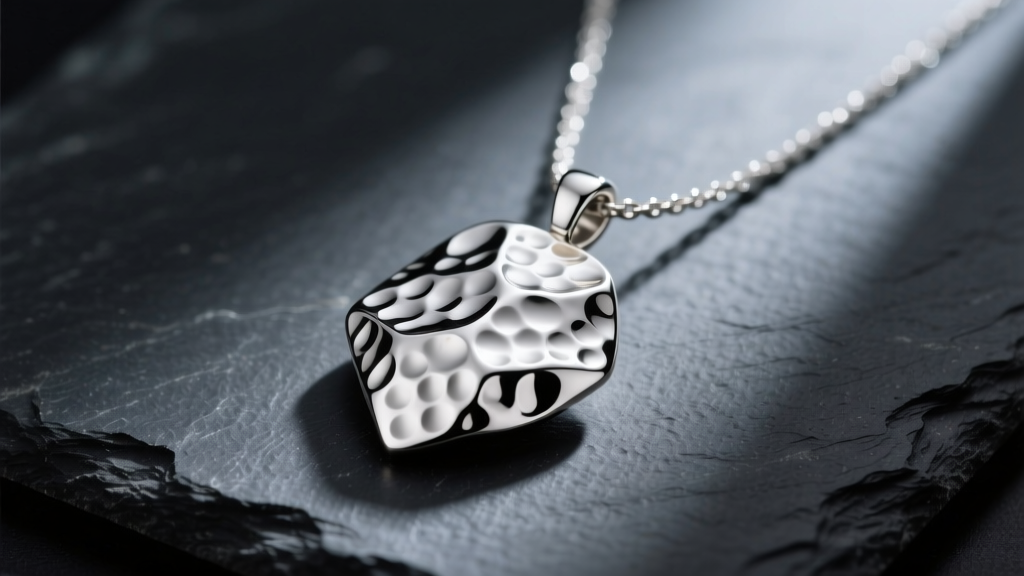
A hammered necklace is a masterpiece of light and shadow. The artisan technique of striking metal with a ball-peen or planishing hammer creates a landscape of micro-peaks and valleys. While this dimpled texture beautifully catches the light and gives the piece an organic, handcrafted appeal, it also creates a structural nightmare for jewelry maintenance. Those tiny crevices—often ranging from 0.5mm to 2mm in depth—act as microscopic traps for sebum (skin oils), dead skin cells, cosmetic powders, and environmental sulfur.
The most common mistake jewelry owners make is treating a hammered piece like a smooth, high-polish chain. Using standard abrasive polishing cloths or aggressive buffing techniques will not only fail to clean the deep dimples but will actively degrade the artisan finish over time. According to the Jewelers of America, understanding the specific metallurgical properties of your jewelry is the first step in proper maintenance. This guide provides a meticulous, material-specific protocol to restore your necklace’s brilliance without compromising its hand-struck integrity.
Material-Specific Cleaning Protocols
Before you mix any cleaning solutions, you must identify the exact metal grade of your hammered necklace. The chemical reactions that cause tarnish and dullness vary wildly across different alloys and platings.
Sterling Silver (925)
Sterling silver is an alloy of 92.5% pure silver and 7.5% copper. The copper is what makes the metal durable enough for a necklace chain or pendant, but it is also the culprit behind silver sulfide (Ag2S) tarnish. When sulfur in the air interacts with the copper, it creates a dark, grayish-black film. On a smooth silver piece, this is easily wiped away. On a hammered silver necklace, the tarnish settles deep into the strike marks, creating a high-contrast, muddy appearance that makes the jewelry look perpetually dirty.
Gold Vermeil and Plated Brass
True gold vermeil consists of a thick layer of gold (minimum 2.5 microns) bonded over a sterling silver base. Raw brass, an alloy of copper and zinc, is often used for bohemian-style hammered pendants. Brass develops a natural, earthy patina as the zinc and copper oxidize. While some collectors love this vintage look, excessive oxidation can turn the metal dark brown or even green. Warning: Never use silver dip solutions or ammonia-based cleaners on gold vermeil or raw brass; the harsh chemicals will instantly strip the micron-layer of gold or cause irreversible pitting in the brass.
Step-by-Step: The Gentle Dip and Agitation Method
To safely clean the intricate topography of a hammered necklace, we must rely on chemical surfactants rather than mechanical friction. Follow this exact protocol for sterling silver, gold vermeil, and solid gold pieces.
- Prepare the Bath: Fill a glass bowl with lukewarm distilled water. Avoid tap water, as the chlorine and dissolved minerals can leave microscopic water spots in the hammer dimples. Add three drops of a mild, lotion-free dishwashing liquid (like original Dawn). The surfactants will break down the lipid bonds of trapped skin oils.
- The Soak: Submerge the necklace for exactly 5 to 7 minutes. Do not exceed 10 minutes, especially for vermeil pieces, to protect the solder joints and plating integrity.
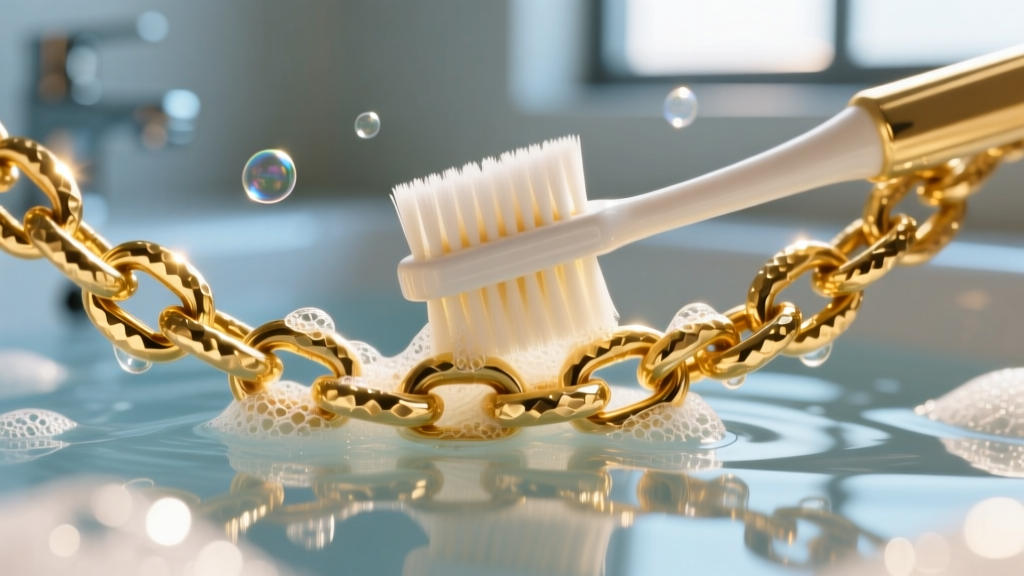
- Targeted Agitation: Remove the necklace and use an extra-soft baby toothbrush (bristle diameter of 0.1mm or less). Hold the brush at a 45-degree angle and use gentle, circular motions over the hammered areas. Never scrub aggressively back-and-forth, as this can cause micro-scratches on the polished peaks of the metal.
- The Rinse: Rinse thoroughly under a gentle stream of lukewarm distilled water.
- Moisture Extraction: Do not rub the piece with a towel, which will leave cotton lint trapped in the crevices. Instead, lay the necklace on a lint-free microfiber cloth and use a hairdryer on the cool, low-air setting to blow the water out of the deep hammer marks.
What to Avoid: Common Hammered Jewelry Mistakes
The internet is full of jewelry cleaning "hacks" that will permanently ruin the artisan finish of a hammered necklace. Below is a breakdown of popular methods and why they fail on textured metals.
| Cleaning Method | Effect on Hammered Texture | Expert Verdict |
|---|---|---|
| Impregnated Polishing Cloths | The jeweler's rouge compound gets trapped in the dimples, turning into a gummy, black residue that is nearly impossible to extract. | Avoid. Only use on the smooth, un-textured bail and chain links. |
| Ultrasonic Cleaners (40kHz) | Cavitation bubbles can erode the soft peaks of hand-hammered gold or silver over time, dulling the sharp artisan strike marks. | Avoid. Too aggressive for delicate, hand-forged textures. |
| Baking Soda & Aluminum Foil | The ion-exchange reaction removes heavy tarnish but can leave a chalky, white residue deep inside the textured valleys. | Use with Caution. Only for solid, heavily tarnished silver; requires intense rinsing. |
| Toothpaste | Contains hydrated silica (an abrasive) that will scratch the polished peaks and leave a white paste in the hammer marks. | Never Use. Highly destructive to both metal and any set gemstones. |
Polishing vs. Patina: Preserving the Artisan Look
Many high-end hammered necklaces, such as those by David Yurman or independent silversmiths, feature intentional oxidation. The jeweler applies a chemical liver of sulfur to darken the entire piece, then polishes only the high points, leaving the valleys black. This creates dramatic contrast and highlights the hammered texture.
"When cleaning an oxidized hammered necklace, your goal is to remove sebum and dirt without stripping the intentional black patina from the recesses. Avoid all chemical silver dips, as they will reduce the silver sulfide back to bright silver, completely erasing the artisan contrast." — Master Silversmith Guidelines, Gemological Institute of America (GIA)
To clean an oxidized hammered piece, use only a damp Q-tip with a tiny drop of mild dish soap to carefully clean the raised peaks, avoiding the darkened crevices entirely. Dry immediately with a blast of cool air.
Proper Storage to Prevent Dimple Flattening and Tarnish
Maintenance doesn't end when the necklace is dry. How you store a hammered necklace directly impacts its structural longevity and surface chemistry.
- Isolate the Pendant: Hammered pendants are often softer and more malleable than standard cast jewelry. If stored loosely in a jewelry box, the friction from heavier chains or gemstone rings can literally flatten the delicate hammer marks over years of micro-abrasion.
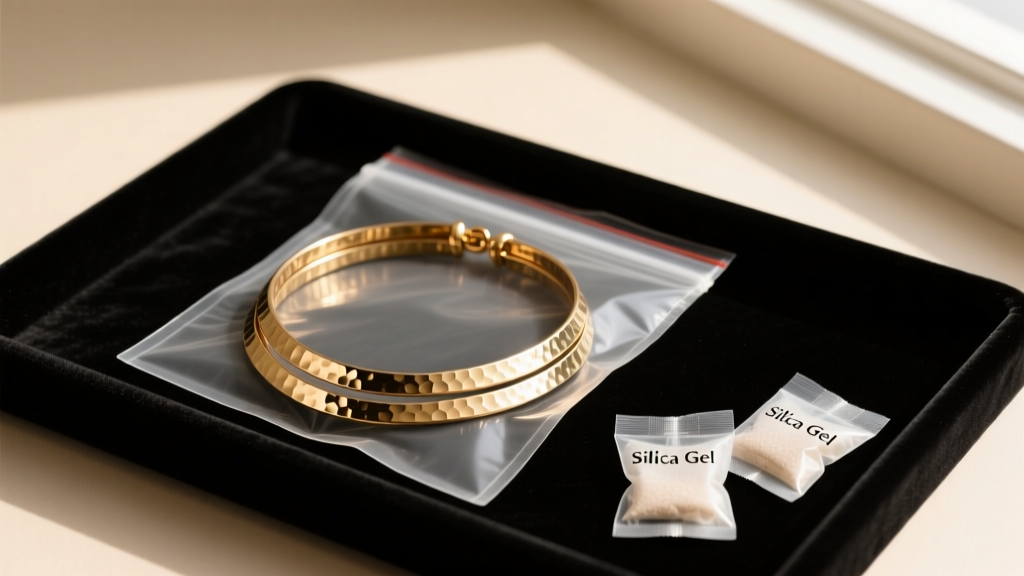
- Anti-Tarnish Polybags: Store the necklace in a sealed, zip-top polyethylene bag equipped with a 3M anti-tarnish strip. These strips absorb ambient sulfur and hydrogen sulfide gases, preventing the chemical reaction that causes tarnish before it starts.
- Climate Control: Keep the jewelry away from high-humidity environments like bathrooms. Moisture acts as a catalyst for both silver tarnishing and brass oxidation. Including a small silica gel packet in the storage bag will absorb excess moisture.
- Lay Flat or Hang: For hammered lariat or heavy chain necklaces, hang them on a padded velvet hook to prevent the links from kinking. Kinked chains put uneven stress on the soldered joints of the hammered components.
Expert Troubleshooting: Stubborn Buildup in Crevices
If your hammered necklace has years of trapped cosmetic foundation or hardened lotion in the deepest strike marks, the gentle dip method may not be enough. Do not resort to metal picks or needles, which will gouge the silver or gold.
Instead, use a wooden orangewood stick (commonly used in manicures) wrapped tightly in a single layer of lint-free cotton. Dip the cotton tip in 90% isopropyl alcohol and gently swab the inside of the stubborn dimple. The alcohol will dissolve the lipid-based cosmetic buildup without reacting with the metal or stripping intentional patinas. Follow up with a quick rinse and a blast of cool air to evaporate the alcohol instantly.
By respecting the unique topography of your hammered necklace and avoiding the mechanical aggression of standard cleaning methods, you ensure that the artisan's original strike marks remain crisp, vibrant, and beautifully textured for decades to come.


