How to Craft a Fused Glass Necklace: Step-by-Step Guide
Learn how to craft a custom fused glass necklace with our step-by-step guide. Master kiln temperatures, COE matching, and bail attachment.

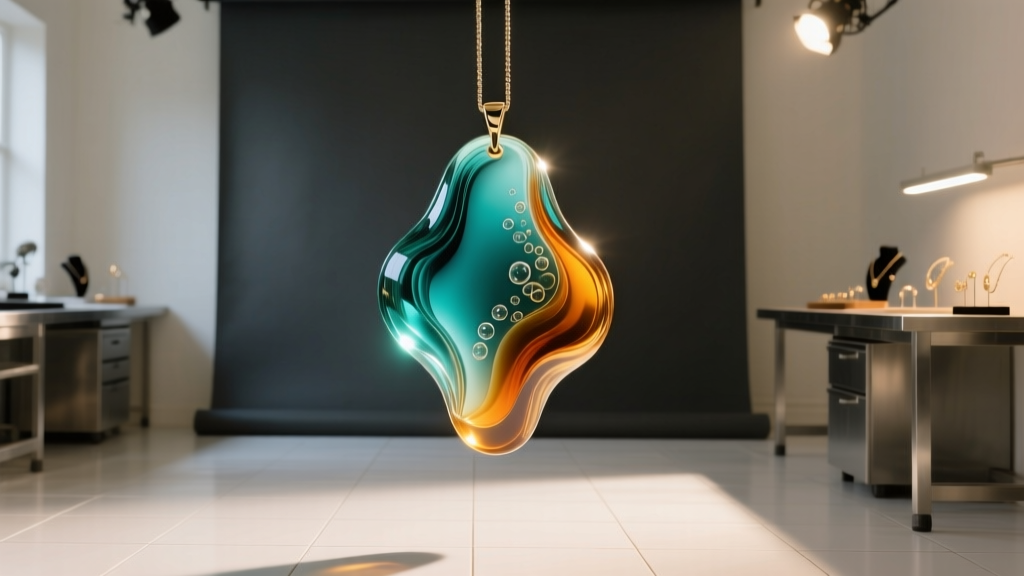
Creating a custom fused glass necklace is a rewarding intersection of thermal science and wearable art. Unlike traditional glassblowing, kiln-forming allows artists to precisely layer colors, manipulate opacity, and engineer specific shapes for jewelry making. However, transforming raw sheets of art glass into a durable, polished pendant requires strict adherence to compatibility rules and precise firing schedules. This comprehensive guide will walk you through the exact steps to design, fuse, cold-work, and assemble a professional-grade fused glass necklace.
Understanding Glass Compatibility: The Golden Rule of COE
Before you cut a single piece of glass, you must understand the Coefficient of Expansion (COE). COE measures how much glass expands when heated and contracts when cooled. In kiln-forming, every piece of glass in your pendant must share the exact same COE. If you mix COE 90 (standard for Bullseye Glass) with COE 96 (standard for Oceanside or Spectrum glass), the differing contraction rates will create immense internal stress, causing your pendant to shatter either inside the kiln or days after wearing.
For jewelry making, COE 90 is often preferred due to its extensive catalog of opalescent, transparent, and dichroic options, as well as its slightly higher viscosity at full-fuse temperatures, which helps pendants retain their shaped edges without slumping into a flat puddle.
Essential Tools and Materials
To achieve a high-quality finish, you need specialized lapidary and jewelry tools. Below is a breakdown of the core requirements for a standard 1.5-inch fused glass pendant.
| Category | Item | Specifications / Notes | Estimated Cost |
|---|---|---|---|
| Glass | Fusible Sheet Glass | COE 90, 2mm or 3mm thickness | $15 - $25 / sq ft |
| Cutting | Pistol-Grip Cutter | Carbide wheel with oil reservoir | $20 - $35 |
| Firing | Digital Kiln | Must reach 1500°F; 120V plug-in | $800 - $1,500 |
| Cold Work | Glass Grinder | Diamond bit with water coolant | $90 - $150 |
| Findings | Sterling Silver Bail | Glue-on pad or bezel cup (10x15mm) | $8 - $15 |
| Adhesive | Two-Part Epoxy | Clear, 5-minute cure (e.g., Devcon) | $6 - $10 |
| Chain | Rolo or Box Chain | 1.5mm - 2.0mm width, 18-inch length | $25 - $45 |
Step 1: Scoring, Breaking, and Layering
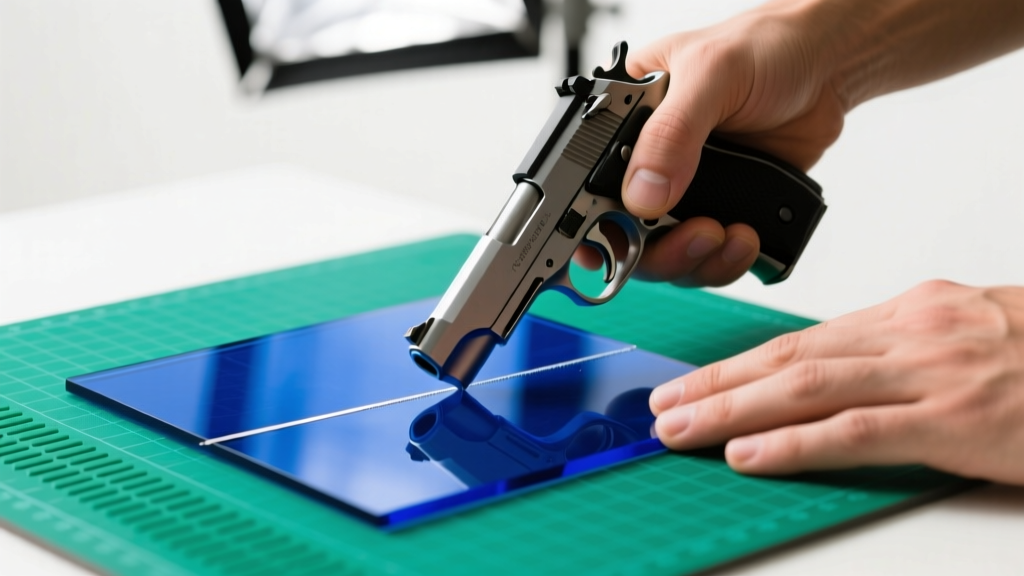
The foundation of any fused glass necklace is the base layer, typically cut from 3mm transparent or opalescent glass. Using a pistol-grip cutter, apply firm, even pressure to score the glass in a single, continuous motion. Never score the same line twice, as this will ruin the cutting wheel and cause jagged breaks. Use running pliers to snap the glass cleanly along the score line.
For the design layer, cut smaller shards of 2mm glass—such as dichroic accents or contrasting transparent colors. When layering, keep the total thickness of the piece uniform where possible. If you stack a 3mm base with a 2mm accent, the total thickness is 5mm. To prevent a lopsided fuse or severe bubbling, try to maintain an even overall mass across the pendant's surface area. Clean all glass pieces with isopropyl alcohol before placing them on the kiln shelf to remove finger oils, which can cause permanent scum marks on the finished surface.
Step 2: Programming the Kiln Firing Schedule
Firing a pendant requires a different approach than firing a large flat plate. Because jewelry pieces are small and thick, they heat through quickly but are prone to thermal shock if rushed. Below is a reliable full-fuse schedule for a 5mm thick COE 90 glass pendant.
Full Fuse Pendant Schedule (COE 90)
- Segment 1 (Pre-Heat): Ramp at 300°F per hour to 1100°F. Hold for 0 minutes. This allows the thick layers to equalize in temperature.
- Segment 2 (Full Fuse): Ramp at 500°F per hour to 1460°F. Hold for 15 minutes. This is the melting point where the layers bond completely and edges round off.
- Segment 3 (Flash Cool): Vent the kiln or drop the temperature as fast as possible to 900°F. This quickly moves the glass past the devitrification danger zone (1350°F - 1150°F).
- Segment 4 (Annealing): Hold at 900°F for 60 minutes. This is the critical annealing soak that relieves internal molecular stress.
- Segment 5 (Cool Down): Ramp at 100°F per hour down to 700°F. Hold for 0 minutes.
- Segment 6 (Room Temp): Turn off the kiln and allow it to cool naturally to room temperature. Do not open the lid until the kiln is below 100°F.
Step 3: Cold Working the Edges
Once the kiln has cooled, your pendant will have smooth, rounded edges, but it may lack the professional polish required for high-end jewelry. Cold working is the process of refining the glass after it has been fired. Use a diamond-bit glass grinder with a continuous water drip to gently smooth any sharp points or uneven curves left from the fusing process.
If you desire a frosted, matte edge to contrast with a glossy dichroic face, use a sandblaster with 220-grit aluminum oxide grit. Mask the top surface of the pendant with contact paper, leaving only the edges exposed to the abrasive stream. This creates a beautiful, light-diffusing halo effect around the perimeter of the necklace.
Step 4: Attaching the Bail and Chain
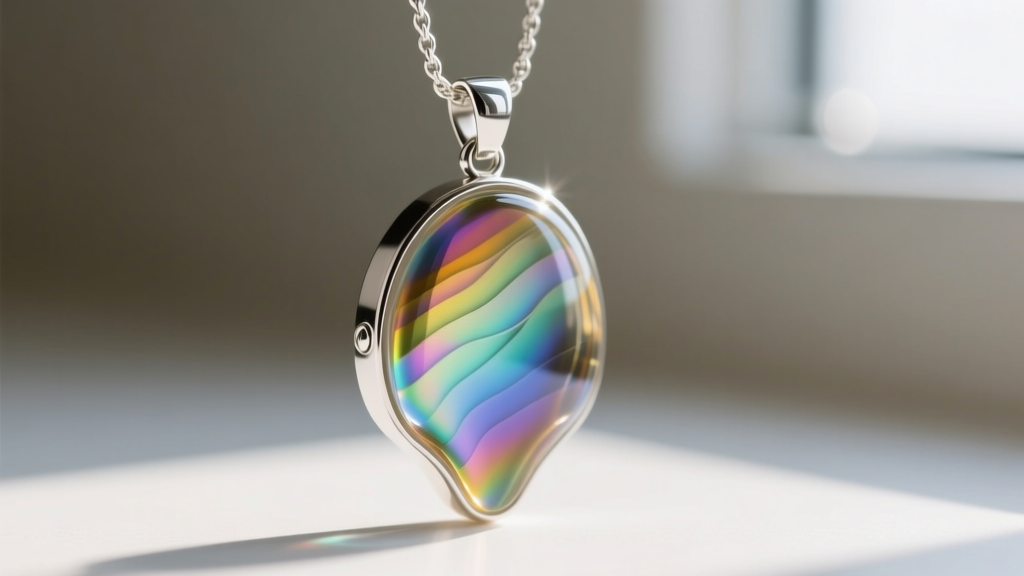
The final step in creating your fused glass necklace is attaching the hardware. Because glass is heavy—a standard 1.5-inch pendant can weigh between 15 and 25 grams—you must use robust jewelry findings and industrial adhesives. Avoid flexible craft glues or standard E6000 for glass-to-metal bonds; they degrade over time when exposed to UV light, body heat, and skin oils, eventually causing the pendant to detach and shatter on the floor.
Instead, use a high-quality two-part clear epoxy, such as Devcon 5-Minute Epoxy. Lightly sand the flat pad of your sterling silver glue-on bail with 400-grit sandpaper to create a mechanical tooth, and wipe both the bail and the back of the glass with acetone. Mix the epoxy thoroughly, apply a thin, even layer to the bail pad, and press it firmly onto the glass. Use a spring clamp or heavy tape to hold the bail in place while the epoxy cures for a full 24 hours. Finally, thread an 18-inch, 1.5mm sterling silver box chain through the bail loop. The box chain provides the necessary tensile strength to support the weight of the glass without kinking.
Troubleshooting Common Fusing Flaws
Even experienced glass artists encounter defects. According to technical resources from the Glass Art Society, understanding failure modes is key to mastering the medium.
Devitrification (Devit)
Devit appears as a cloudy, white, or chalky scum on the surface of the glass. It occurs when glass lingers too long in the 1350°F to 1150°F range, allowing silica crystals to form on the surface. To prevent this, ensure your kiln can flash-cool rapidly through this temperature zone, and always clean your glass with alcohol before firing. If devit occurs, you can sandblast the surface or apply a thin layer of clear powdered frit and re-fire to a lower tack-fuse temperature to melt the crystals back into the glass.
Trapped Bubbles (Squashed Bubbles)
If your pendant has elongated, squashed bubbles trapped between layers, it means air was sealed between the glass sheets before it could escape. To fix this, use a 'bubble squeeze' segment in your firing schedule: hold the kiln at 1265°F for 30 minutes before ramping up to the full-fuse temperature. This allows the glass to become just soft enough to squeeze the air out to the edges without fully melting the layers together prematurely.
Conclusion
Crafting a fused glass necklace requires patience, precision, and a respect for the material's thermal properties. By strictly adhering to COE compatibility, utilizing a controlled kiln schedule, and securing your findings with professional-grade epoxy, you can produce stunning, heirloom-quality glass jewelry that stands the test of time.


