How to Choose and Customize a Necklace with Picture Pendant
Learn how to design, customize, and care for a necklace with picture pendant. Expert tips on image resolution, metal grades, and chain pairing.

The Art and Science of Personalized Photo Jewelry
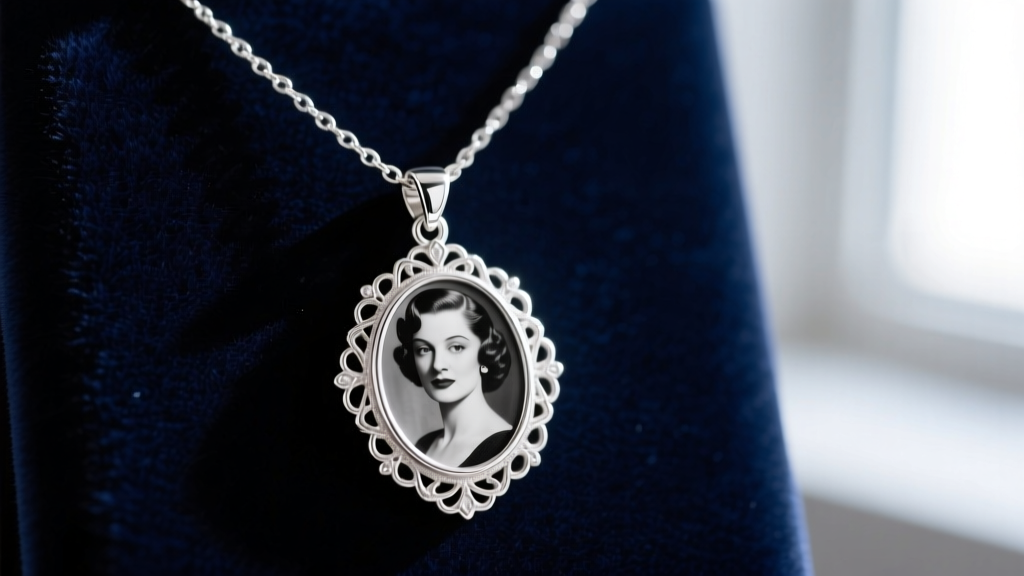
A necklace with picture pendant is more than just an accessory; it is a wearable archive of a cherished memory. However, the gap between a cheap, fading novelty item and a lifelong heirloom comes down to precise material selection, image processing techniques, and structural engineering. As of 2026, advancements in fiber laser engraving and UV-stable optical resins have revolutionized custom photo jewelry, allowing for microscopic detail and archival longevity. Whether you are commissioning a piece from a bespoke jeweler or crafting one yourself, understanding the technical requirements of metal grades, image resolution, and sealant chemistry is critical. This step-by-step guide will walk you through the exact specifications needed to create a durable, high-definition picture pendant that withstands daily wear.
Step 1: Selecting the Right Metal Grade for Longevity
The foundation of any high-quality necklace with picture pendant is the base metal. The metal must not only support the physical weight of the pendant housing but also resist the corrosive effects of human skin oils, sweat, and environmental humidity. According to the Gemological Institute of America (GIA), understanding alloy compositions is vital for predicting tarnish and wear patterns.
Here is a technical breakdown of the three most reliable metals for photo pendants:
| Metal Grade | Composition & Properties | Tarnish Resistance | Estimated Price Range (Pendant Only) |
|---|---|---|---|
| 316L Surgical Stainless Steel | Contains 2-3% molybdenum, which drastically increases resistance to pitting and corrosion from chlorides (sweat). | Exceptional. Requires zero plating and will not turn skin green. | $25 - $60 |
| 925 Sterling Silver | 92.5% pure silver, 7.5% copper. The copper adds hardness but introduces oxidation (tarnish) over time. | Moderate. Requires rhodium plating or regular polishing to maintain a bright white luster. | $65 - $150 |
| 14k Solid Gold | 58.5% pure gold alloyed with silver, copper, or zinc. Offers an ideal balance of scratch resistance and hypoallergenic properties. | High. Will not oxidize, though it can accumulate surface oils that dull the shine. | $250 - $600+ |
Expert Tip: Avoid brass or copper bases for direct-skin contact pendants. The acidic pH of human sweat (typically between 4.5 and 7.0) will rapidly oxidize copper, leaving a green residue on the skin and potentially degrading the adhesive used to seal the photograph.
Step 2: Prepping Your Image for Micro-Engraving or Resin Sealing
The most common failure point in custom photo jewelry is poor image preparation. A photograph that looks stunning on a smartphone screen will often turn into an unrecognizable blur when shrunk to a 20mm canvas. The preparation method depends entirely on the manufacturing technique: laser engraving or resin/glass sealing.
For Direct Laser Engraving (Fiber or YAG Lasers)
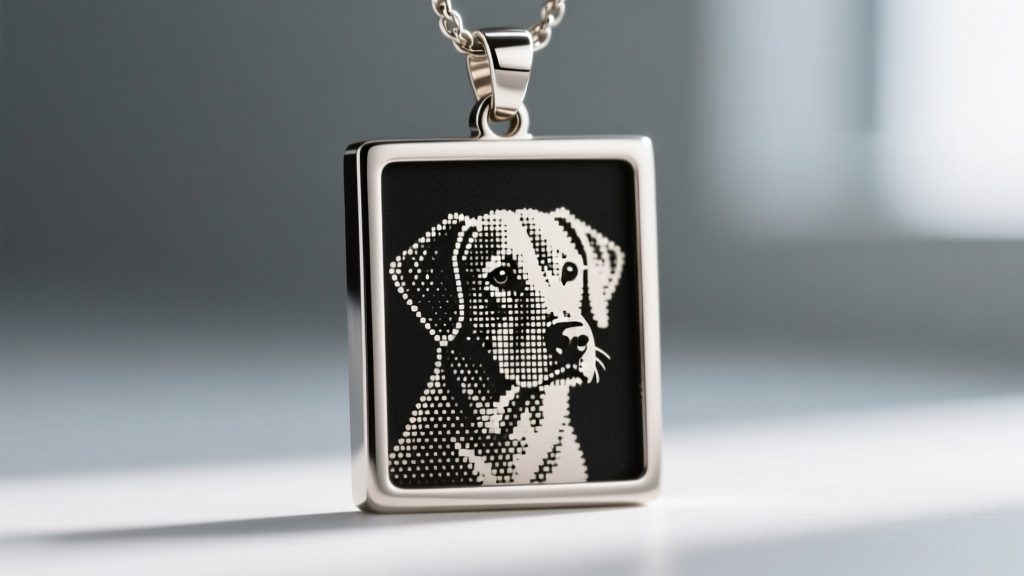
Laser engraving does not print color; it etches microscopic depths into the metal to create contrast. Therefore, your image must be converted into a high-contrast, 1-bit bitmap or a heavily dithered grayscale file. Modern fiber lasers operate at incredibly high DPI (dots per inch), but they require stark lighting differences to register detail.
- Contrast Ratio: Boost the contrast in your editing software by at least 30%. Shadows must be completely black, and highlights must be pure white.
- Halftone Dithering: Apply a halftone or stochastic dithering filter. This converts smooth gradients into tiny, distinct dots that the laser can accurately pulse.
- Background Removal: Always isolate the subject. A busy background shrunk to 1 inch will look like visual noise.
For Resin Sealing or Glass Cabochons
If your necklace with picture pendant utilizes a full-color print sealed under glass or resin, you are dealing with traditional print resolution metrics.
- Resolution: The image must be a minimum of 300 PPI (pixels per inch) at the exact physical size of the pendant bezel. For a standard 25mm (1-inch) round pendant, your source file must be at least 300x300 pixels, though 600x600 pixels is preferred for crisp edge rendering.
- Color Space: Convert your file from RGB (screen display) to CMYK (print) before sending it to the manufacturer. This prevents the neon color shift that occurs when bright digital blues and greens are printed on physical paper.
- Paper Weight: Prints should be done on matte photo paper (minimum 120gsm). Glossy paper traps air bubbles when the resin or glass cabochon is applied, creating permanent, cloudy defects.
Step 3: Choosing the Sealant and Pendant Housing
Once the image is transferred or printed, it must be protected from UV radiation, moisture, and physical abrasion. The Federal Trade Commission (FTC) Jewelry Guides mandate clear disclosures regarding treated or coated jewelry components, but understanding the chemistry of these sealants helps you make a better purchasing decision.
Glass Cabochon in a Bezel Setting (The Archival Standard)
A domed piece of optical glass pressed over the photo and secured by a metal bezel. This is the most durable option. Glass is entirely impervious to UV yellowing and will not scratch easily. The magnification effect of the dome also enhances the depth of the photograph. Ensure the jeweler uses a jewelers-grade, acid-free epoxy to adhere the glass to the bezel, preventing future lifting.
UV-Curing Optical Resin (The Modern Alternative)
Resin creates a seamless, domed look without the fragility of glass. However, early-generation epoxies were notorious for yellowing when exposed to sunlight. When commissioning a resin-sealed necklace with picture pendant, explicitly ask the artisan if they use a UV-stabilized, non-yellowing polyurethane resin. These modern formulas contain HALS (Hindered Amine Light Stabilizers) that absorb UV radiation and prevent the polymer chains from breaking down and turning amber over time.
Step 4: Pairing the Pendant with the Correct Chain
A picture pendant is typically heavier and wider than a standard gemstone drop. A 25mm stainless steel photo pendant can easily weigh between 8 and 15 grams. Pairing it with a delicate 0.9mm chain is a structural hazard waiting to happen. Follow these engineering guidelines for chain selection:
The Bail-to-Chain Ratio
The bail (the loop at the top of the pendant) dictates your maximum chain thickness. A good rule of thumb is that the chain's gauge (thickness) should be no more than one-third the internal diameter of the bail. If the bail has a 3mm opening, use a chain no thicker than 1mm to 1.5mm. This ensures the pendant swings freely and doesn't get stuck, which can bend the bail or snap the chain links under tension.
Recommended Chain Styles for Photo Pendants
- Box Chain: Composed of square, interlocking links. Box chains are incredibly rigid, resist tangling, and distribute the weight of a heavy pendant evenly across the neck. They are the top choice for daily-wear picture pendants.
- Rope Chain: Twisted links that mimic a rope. They offer high tensile strength and catch the light beautifully, drawing the eye toward the pendant. However, they can occasionally pull fine body hair.
- Wheat (Spiga) Chain: Features oval links woven in the same direction. It is highly durable and has a smooth, tubular profile that won't snag on clothing, making it ideal for wearing under shirts.
Avoid: Snake chains and herringbone chains. While elegant, these chains are prone to kinking. Once a snake chain kinks under the weight of a heavy picture pendant, the structural integrity is permanently compromised, and it will eventually snap.
Step 5: Daily Wear and Archival Care Instructions
Proper maintenance ensures your necklace with picture pendant remains vibrant for decades. The cleaning protocol depends heavily on the sealant method used in Step 3.
Cleaning Glass Cabochon Pendants
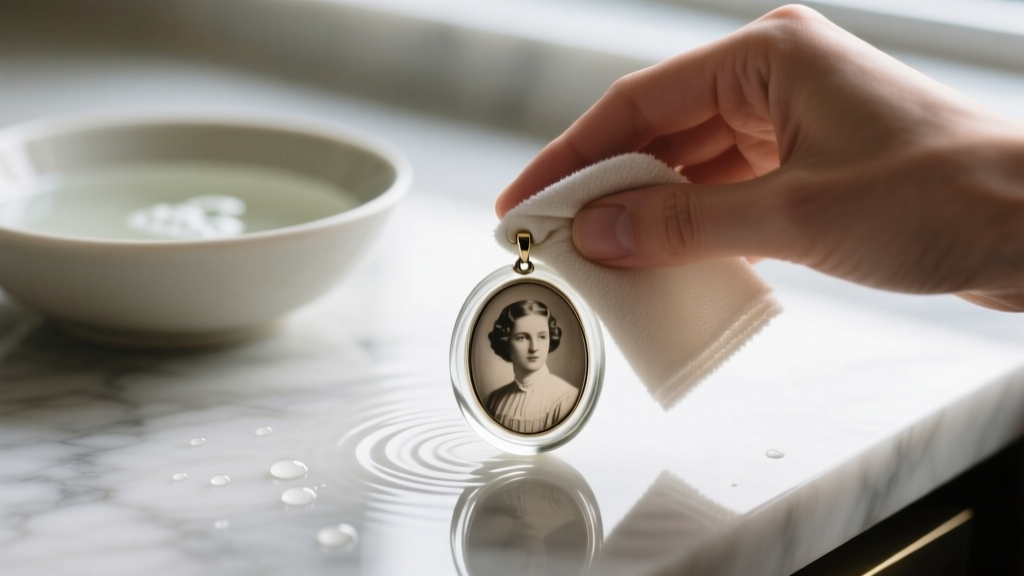
Glass-sealed pendants are robust. You can clean them using a few drops of mild dish soap and warm water. Gently scrub the metal bezel and the glass surface with a soft-bristled baby toothbrush. Crucial Warning: Never place a glass-cabochon pendant in an ultrasonic jewelry cleaner. The high-frequency vibrations will shatter the microscopic adhesive bond between the glass, the paper print, and the metal bezel, causing the image to cloud or detach entirely.
Cleaning Resin-Sealed and Laser-Engraved Pendants
For resin domes, avoid any cleaners containing alcohol, ammonia, or acetone (including standard glass cleaners and perfume overspray). These solvents will chemically degrade the resin, causing it to craze (develop micro-cracks) and lose its optical clarity. Simply wipe the resin with a damp, lint-free microfiber cloth. For laser-engraved metal pendants, use a specialized silver or steel polishing cloth to remove tarnish from the surrounding metal, but avoid applying heavy pressure directly over the engraved image, as polishing compounds can fill the microscopic etched grooves and ruin the contrast of the portrait.
By meticulously selecting your metal grade, optimizing your image files for the specific manufacturing process, and adhering to strict structural and care guidelines, you elevate a simple trinket into a masterfully crafted, heirloom-quality necklace with picture pendant.


