How to Do Necklace Layering: The Step-by-Step Guide
Learn how to do necklace layering without tangling. Our step-by-step guide covers lengths, weights, metals, and clasp hacks for a perfect stack.

The Golden Rule of Spacing: The Two-Inch Minimum
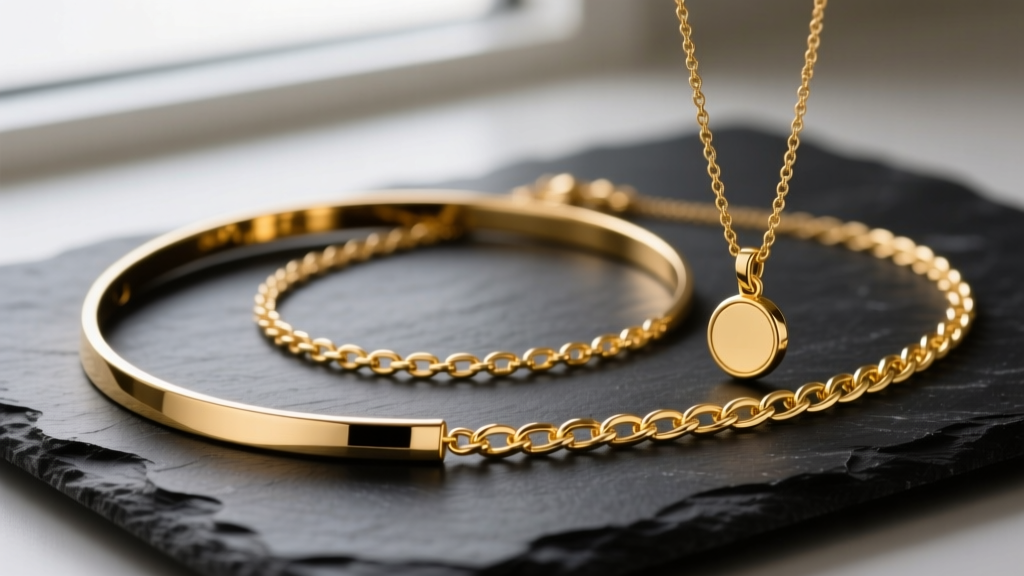
Mastering the art of the stack is a cornerstone of modern jewelry styling. But if you have ever searched for how to do necklace layering only to end up with a frustrating, knotted mess of metal, you are not alone. Tangling occurs due to friction, mismatched weights, and improper chain weaves. The most critical rule in layering is the two-inch minimum. If your chains are less than two inches apart in length, they will constantly compete for the same physical space on your collarbone, leading to inevitable twisting. A standard, foolproof stack utilizes a 14-inch choker, a 16-inch mid-layer, and an 18-inch or 20-inch base chain. According to Blue Nile's comprehensive necklace length guide, understanding where each length falls on the décolletage is the first step to achieving visual harmony without the hardware headaches.
Step 1: Anchor Your Stack with the Base Chain
Your base chain is the foundation of the entire stack. It should sit at or just below the collarbone, typically measuring 18 inches for a standard neckline or 20 inches for a deeper plunge. The base chain must be durable enough to handle the friction of the layers above it. Opt for an 18-gauge to 20-gauge thickness (approximately 1.0mm to 1.2mm). In terms of weight, aim for a chain that weighs between 4 and 7 grams. If the base chain is too lightweight (under 3 grams), it will easily kink when layered with heavier pendants. For material, 14k gold offers an excellent balance of durability and rich color, while 316L stainless steel is a highly durable, budget-friendly alternative that resists tarnishing and bending.
Step 2: Build the Mid-Layer with Purpose
The mid-layer, usually sitting at 16 inches, is where you introduce personality and focal points. This is the ideal placement for a pendant, charm, or gemstone drop. To maintain the two-inch spacing rule, ensure the pendant itself does not exceed 1.5 inches in total drop length; otherwise, it will physically overlap with your 18-inch base chain. When selecting a mid-layer chain, you can afford to go slightly thinner—around 22-gauge (0.8mm)—provided the pendant is relatively light (under 5 grams). If you are using a heavier gemstone or a solid gold coin pendant weighing 8 to 12 grams, you must upgrade the mid-layer chain to an 18-gauge cable or box chain to prevent the links from stretching or snapping under the dynamic weight of daily movement.
Step 3: Frame the Face with a Choker or Collar
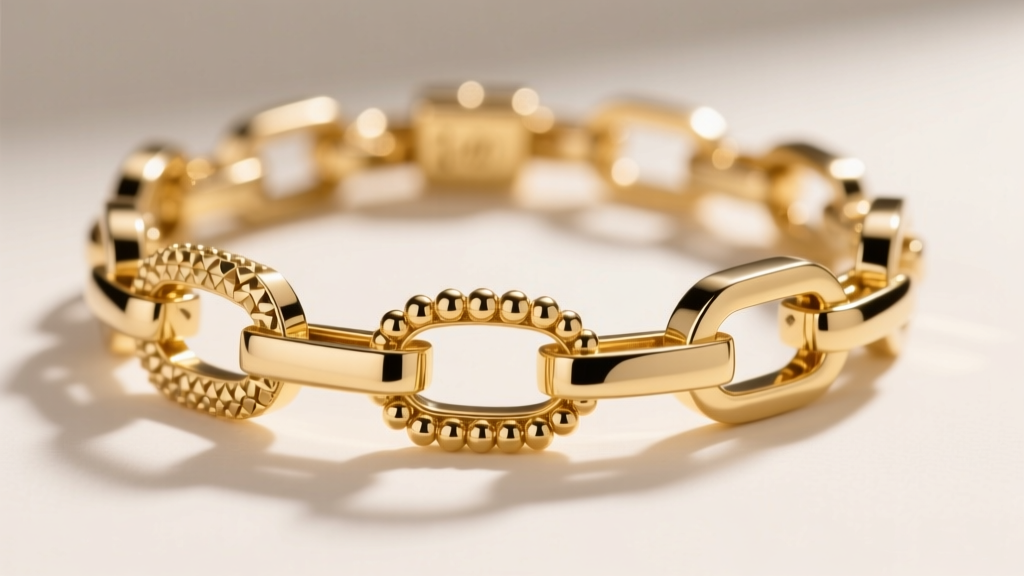
The top layer sits at 14 inches (choker) or 15 inches (collar). Because this layer rests on the narrower part of the neck, it should be visually distinct from the longer chains to avoid a cluttered look. Instead of a delicate chain, consider using a textured velvet ribbon, a solid 3mm to 5mm curb chain, or a sleek 14k gold herringbone choker. If you are using a metal choker, ensure it is rigid enough to hold its own shape. A heavy, flat curb choker weighing 15 to 20 grams will sit flush against the skin and provide a stark, intentional contrast to the delicate, swaying movements of the 16-inch and 18-inch chains below it.
Step 4: Select Tangle-Resistant Chain Weaves
Not all chains are created equal when it comes to friction. The physical geometry of the chain weave dictates how easily it will snag on other chains, clothing, or hair. Understanding these mechanics is crucial when figuring out how to do necklace layering successfully. Below is a breakdown of common chain weaves and their viability for stacking.
| Chain Weave | Tangle Risk | Durability | Best Layer Position |
|---|---|---|---|
| Box Chain | Low | High | Base / Mid (Excellent for pendants) |
| Cable Chain | Low | Medium | Base / Mid (Classic, versatile) |
| Curb Chain | Low | High | Choker / Statement (Lays flat) |
| Rope Chain | Medium | High | Mid / Statement (Adds texture) |
| Snake Chain | High | Low | Solo Wear Only (Catches hair easily) |
| Herringbone | High | Low | Choker Only (Prone to kinking) |
As a general rule, avoid snake chains in a layered stack. Their smooth, continuous surface acts like a magnet for fine hair and loose threads, which will quickly wrap around the chain and drag the rest of your stack into a knot. Box chains and standard cable chains are the undisputed champions of layering due to their uniform, rounded links that glide past one another with minimal friction.
Step 5: Master Mixed Metals and Textures
The modern approach to layering abandons the old rule of sticking to a single metal color. Tri-metal stacking—combining yellow gold, white gold (or silver), and rose gold—adds immense depth to a stack. When mixing metals, ensure you are matching the karat purity or using compatible alloys to prevent galvanic corrosion over time, a phenomenon well-documented by the Gemological Institute of America (GIA) when dissimilar metals are exposed to moisture and skin oils. For example, wearing a sterling silver chain directly against a 14k yellow gold chain is perfectly safe, but ensure both are sealed with a high-quality rhodium plating if you want the silver to match the brightness of white gold elements. Texture mixing is equally important; pair a high-polish box chain with a matte-finished bead chain to create visual separation even when the chains occasionally shift against one another.

Troubleshooting: The "Plumb Bob" Trick for Stubborn Tangles
Even with perfect spacing and the right weaves, gravity and body movement can cause chains to twist. If your 16-inch and 18-inch chains insist on wrapping around each other, employ the "plumb bob" trick. In physics, a plumb bob uses a concentrated weight at the end of a line to maintain tension and resist lateral swinging. You can replicate this by ensuring the pendant on your longest chain (the 18-inch or 20-inch base) is significantly heavier than the mid-layer. A solid 10-gram gold medallion or a dense gemstone drop at the bottom of the stack will pull the base chain taut, creating a stable anchor that the lighter mid-layer simply cannot pull out of alignment.
Hardware Hacks: Upgrading Your Clasps
Finally, evaluate your clasps. Standard 5mm spring ring clasps are notoriously difficult to manage when layering, as they require two hands and precise fingernail leverage to open. If you are hooking multiple chains into a single clasp, spring rings will fail you. Upgrade all your layered pieces to 7mm or 9mm lobster clasps. Lobster clasps feature a wider, ergonomic lever that can easily accommodate the jump rings of two or three chains simultaneously. For the ultimate anti-tangle solution, invest in a multi-clasp necklace spacer. This small, specialized finding features a single clasp on one end and three distinct, separated rings on the other, locking your chains into parallel lines from the nape of your neck down to your collarbone, completely eliminating the possibility of back-of-neck tangles.
Pro Tip: Always put your necklaces on in order from longest to shortest. Fasten the 20-inch chain first, then the 16-inch, and finally the 14-inch choker. This prevents the shorter chains from getting caught under the longer ones while you are fumbling with the clasps behind your neck.


