How to Fix a Broken Necklace: Chain, Clasp & Link Repairs
Learn how to fix a broken necklace at home. Step-by-step repair guides for broken chains, faulty clasps, and jumped rings with expert jewelry tips.

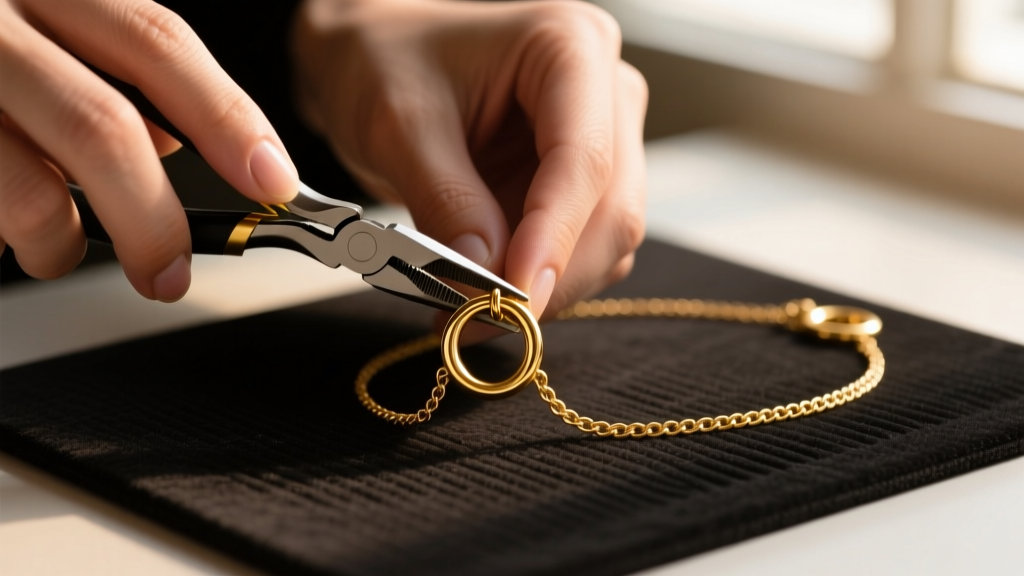
Assessing the Damage: Why Necklaces Break
There are few things more frustrating than reaching for your favorite jewelry piece only to discover a snapped chain or a missing pendant. Before you attempt to figure out how to fix a broken necklace, it is crucial to understand the metallurgical reasons behind the failure. Most necklace breakages occur due to work hardening—a process where repeated bending and stress cause the metal's crystal structure to become brittle and eventually snap. This is especially common in lower-karat gold alloys and sterling silver that have been subjected to years of friction and tension.
Identifying the exact point of failure will dictate your repair strategy. A jumped ring (a split ring that has simply pulled apart) requires a completely different approach than a sheared link or a crushed box chain. According to jewelry manufacturing experts at Rio Grande, attempting to force a crushed link back into shape without annealing the metal first will almost guarantee a secondary break within days.
Essential Tools for DIY Necklace Repair
Professional jewelers rely on precision instruments to manipulate precious metals without marring the finish. If you want to learn how to fix a broken necklace successfully, you must abandon household pliers, which have serrated teeth that will permanently gouge soft metals like 18k gold or fine silver. Invest in a basic jewelry bench kit that includes the following:
- Flat-Nose Pliers (4.5-inch): Ideal for gripping jump rings and applying even torque without slipping.
- Chain-Nose Pliers: Featuring tapered, smooth jaws for reaching into tight, intricate link structures.
- Flush Cutters: For cleanly snipping 20-gauge to 24-gauge wire without leaving sharp, protruding burrs.
- Jump Ring Mandrel & Saw: For cutting perfectly flush jump rings from wire coils, ensuring a seamless closure.
- Magnification Loupe (10x): Essential for inspecting micro-solder joints and clasp springs.
How to Fix a Broken Necklace Chain
Repairing Cable and Curb Chains
Cable and curb chains are the most forgiving when it comes to DIY repair. If a link has snapped, you can often bypass the damaged section by removing it and connecting the two healthy ends using a replacement jump ring. The golden rule of jump rings is to never pull them apart laterally like a clamshell. Instead, use two pairs of pliers to grip the ring on either side of the split, and twist one hand toward you and the other away. This preserves the perfect circular geometry of the ring. Once the healthy links are threaded on, twist the ring closed until you feel a subtle 'click' and hear the metal ends scrape flush against one another.
The Box Chain and Rope Chain Dilemma
Box chains and rope chains are notoriously difficult to repair at home. Box chains rely on interlocking, folded geometric links that distribute weight evenly. When one link crushes, the structural integrity of the adjacent links is compromised. Rope chains, with their twisted, helical geometry, cannot simply be re-linked with a jump ring without creating a visible, stiff hinge point. For these styles, learning how to fix a broken necklace means knowing when to step back and seek professional laser welding, which fuses the metal without melting the surrounding intricate patterns.
Chain Style Repair Feasibility Chart
| Chain Style | Common Failure Point | DIY Repair Feasibility | Required Technique / Tool |
|---|---|---|---|
| Cable / Link | Stretched or sheared oval links | High | Jump ring replacement (20-22g wire) |
| Curb / Cuban | Flattened links losing interlock | Medium | Flat-nose pliers reshaping & cold connection |
| Box | Crushed geometric hinges | Very Low | Professional laser welding required |
| Herringbone | Kinking and permanent folding | Low | Professional roller flattening & soldering |
| Rope | Unraveling of twisted segments | Low | Torch soldering (high risk of melting twist) |
Fixing Clasp and Spring Ring Failures
Often, the chain itself is perfectly intact, but the clasp has failed. Spring rings and lobster claws both rely on a microscopic internal steel spring and a tiny tension pin. If the lever on your spring ring no longer snaps back, the internal spring has likely corroded or dislodged. You cannot easily rebuild a 5mm spring ring at home. The most practical solution is to snip off the broken clasp and the attached jump ring, and install a new lobster claw. Lobster claws are generally more robust than spring rings because their casting is thicker and the internal spring mechanism is less prone to moisture intrusion.
When installing a new clasp, ensure you use a split ring or a properly soldered jump ring to attach the clasp to the chain. An open, unsoldered jump ring will eventually pull apart under the dynamic tension of a heavy pendant, leading to the loss of the entire necklace.
Pearl and Beaded Necklace Restringing Basics
Learning how to fix a broken necklace made of pearls or gemstone beads requires a completely different skill set: textile restringing. Pearl necklaces are traditionally strung on silk thread because silk is soft enough not to abrade the delicate nacre around the drill holes. Over time, silk stretches, degrades from skin oils, and eventually snaps. If your pearl necklace breaks, do not attempt to restring it on synthetic fishing line or wire, which will act like a saw against the pearl nacre.
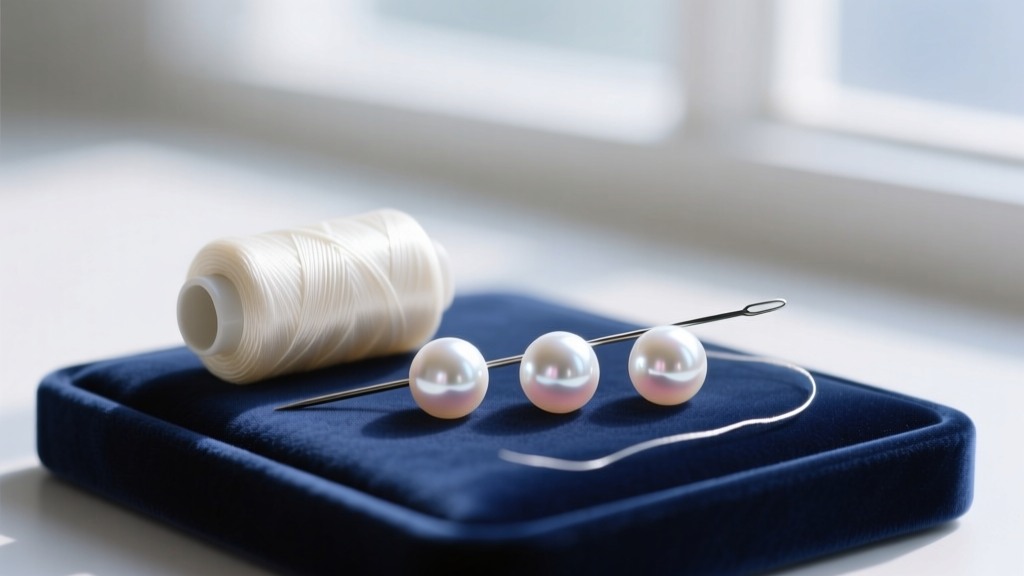
To restring pearls properly, you must match the thread thickness to the drill hole size. According to guidelines from the Gemological Institute of America (GIA), standard Akoya pearls (6-7mm) typically require a Size E or F silk cord. Furthermore, professional stringers tie a hand-knot between every single pearl. This not only prevents the pearls from rubbing against each other but ensures that if the necklace breaks again, you only lose one pearl instead of the entire strand. Finally, always use French wire (also known as bullion or gimp) at the clasp ends to protect the silk thread from fraying against the metal clasp ring.
When to Take Your Necklace to a Professional Jeweler
Expert Rule of Thumb: If the necklace features high-value gemstones (like emeralds or opals) near the break point, or if the metal is platinum, do not attempt a DIY torch solder. Platinum requires temperatures exceeding 3,200°F (1,760°C), which will instantly shatter adjacent heat-sensitive gemstones through thermal shock. A professional jeweler will use a precision laser welder to fuse the metal locally without transferring heat to the stones.
Additionally, if your necklace is an antique or features intricate filigree work, the cost of professional repair (typically ranging from $45 to $120 for standard chain soldering) is a worthy investment to preserve the historical and structural integrity of the piece.
Preventative Maintenance to Avoid Future Breaks
Once you have successfully repaired your necklace, implementing a strict maintenance routine will prevent future failures. Always store your necklaces flat or hanging vertically to prevent micro-kinks. Never sleep in your jewelry; the torsional stress of tossing and turning is the leading cause of work-hardened, snapped chains. Finally, remove your necklaces before showering or swimming. Chlorine and harsh soaps accelerate the chemical degradation of alloyed metals, particularly the copper and zinc found in 14k and 18k gold, making them brittle and highly susceptible to snapping under minimal tension.


