How to Make a Beaded Necklace: Fix Tension, Wire Snaps & Clasp Errors
Learn how to make a beaded necklace without the frustration. Expert troubleshooting for wire tension, crimp bead failures, and clasp breakage.

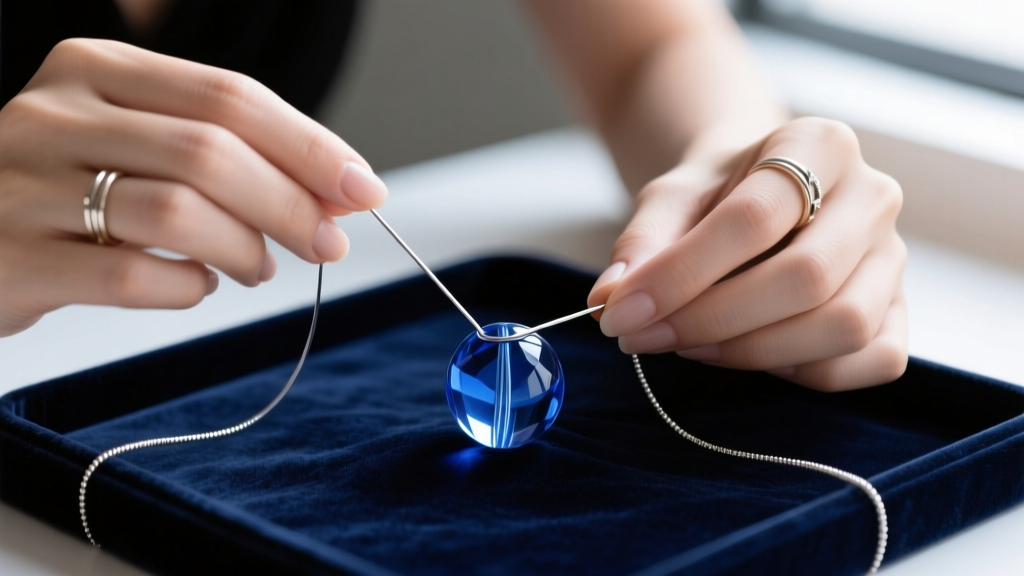
Learning how to make a beaded necklace is often marketed as a simple weekend craft, but the reality of stringing involves precise mechanics, material science, and structural engineering on a micro-scale. When a handmade necklace snaps, sags, or unravels, it is rarely bad luck; it is almost always a predictable failure of tension, metallurgy, or friction. As a jewelry designer, troubleshooting these physical stress points is the difference between an amateur craft project and a professional-grade piece of wearable art.
This guide bypasses basic stringing tutorials and dives straight into the advanced troubleshooting frameworks required to fix the most common, frustrating failures in beaded necklace construction.
The Wire Gauge Dilemma: Why Your Stringing Material Keeps Snapping
The most catastrophic failure in beading is a snapped wire, usually occurring right behind the crimp bead or near the clasp. This is almost always a result of choosing the wrong strand count or diameter for your specific bead material. Nylon-coated stainless steel beading wire is the industry standard, but it is not universally interchangeable.
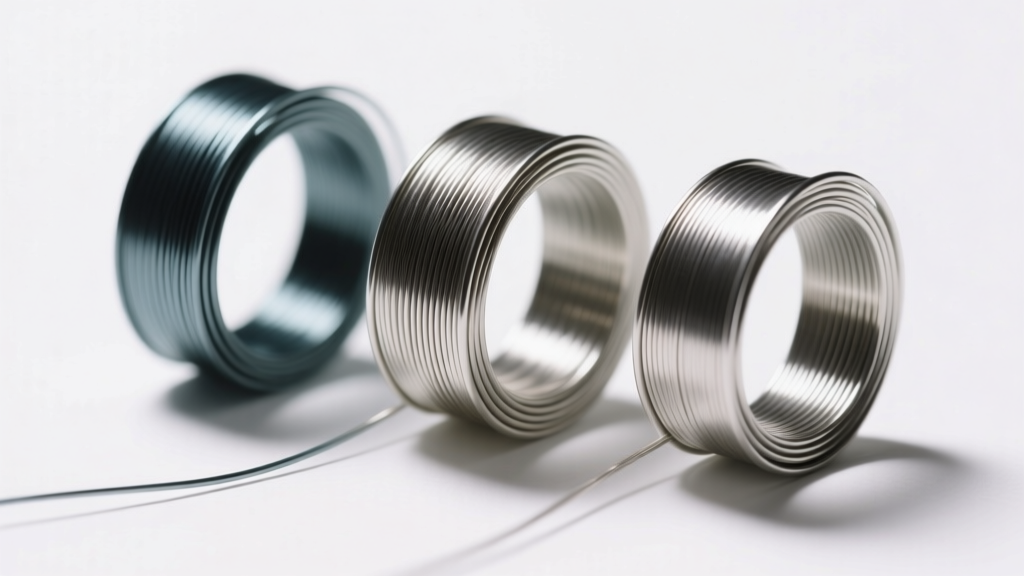
- 7-Strand Wire: Stiff, prone to kinking, and highly susceptible to metal fatigue. Avoid this for necklaces; reserve it for rigid structural elements or cheap temporary stringing.
- 19-Strand Wire: The mid-tier workhorse. Offers decent drape and good tensile strength. Ideal for standard glass, metal, and semi-precious stone beads.
- 49-Strand Wire: Supple, drapes like thread, and resists kinking. Essential for heavy, abrasive beads like lampwork glass, sharp-holed crystals, or high-end gemstones.
Troubleshooting Abrasion: If your wire is snapping near the clasp, inspect the hole of your focal bead or the jump ring. Sharp glass edges act like microscopic saws against the nylon coating. According to the Fire Mountain Gems Encyclopedia, using a bead reamer to smooth the interior of glass beads, or upgrading to a 0.024-inch 49-strand wire, will eliminate 90% of abrasion-based breakages.
Solving the "Sag and Gap" Tension Problem
Nothing ruins the silhouette of a beaded necklace faster than visible wire gaps between beads, or conversely, a necklace so tightly strung that it behaves like a rigid plastic collar. Tension management is the most overlooked aspect of learning how to make a beaded necklace professionally.
"The drape of a necklace is dictated not by the wire, but by the microscopic slack left between the beads during the final crimp."
When beads are packed tightly against one another, the necklace cannot bend, forcing the wire to absorb all the kinetic stress of the wearer's movement. You must calculate slack based on the diameter of the beads and the curvature of the neck.
Crimp Bead Failures: Slipping, Crushing, and Unraveling
If your clasp pulls free or your crimp bead slides down the wire, the issue lies in your metallurgy and your tooling. Base metal crimp beads (often sold in bulk craft kits) are brittle. When squeezed, they crack rather than compress, creating a false sense of security that fails within hours of wear.
The Right Crimp Tube Size
Always use 2x2mm sterling silver or 14k gold-filled crimp tubes. Sterling silver is a soft, malleable metal that will fold and compress securely around the wire without fracturing. A 2mm tube accommodates two passes of 0.018-inch wire comfortably, allowing the metal to grip the nylon coating securely.
The 2-Step Notch Method
Using flat-nose pliers to smash a crimp tube is a critical error that weakens the wire and creates sharp metal burrs. You must use a dedicated crimping plier, as recommended by Beadalon's official stringing guides. Follow this exact sequence:
- Place the crimp tube in the U-shaped notch (the one closest to the handle). Squeeze firmly to create a deep channel, separating the two wires inside the tube.
- Rotate the tube 90 degrees and place it in the oval-shaped notch (closest to the tip). Squeeze to fold the U-shape in on itself, creating a clean, rounded bead that securely locks the wires inside.
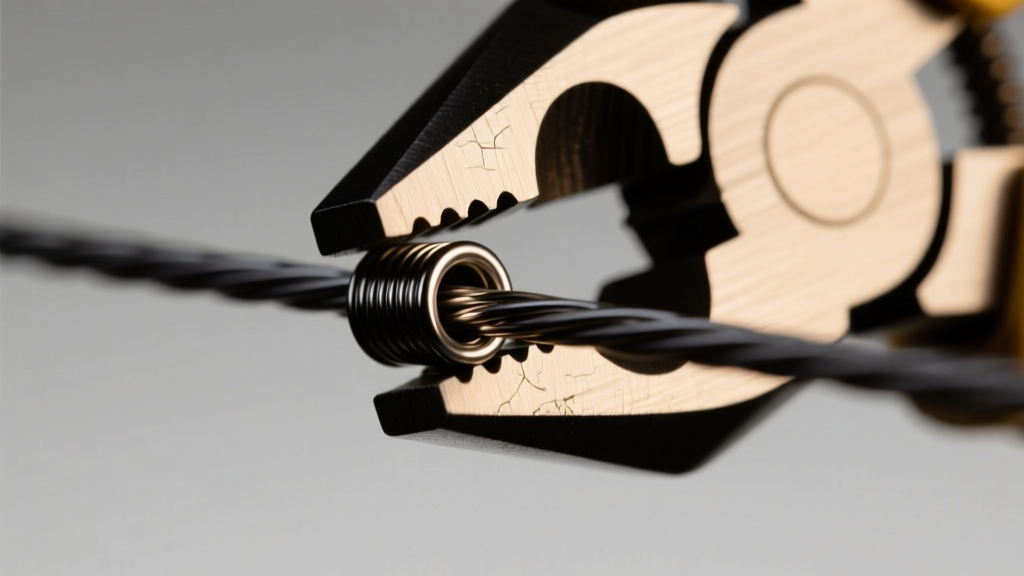
Clasp Alignment and Jump Ring Weak Points
The connection point between your wire loop and the clasp is a high-friction zone. If you loop your beading wire directly through a split jump ring or a lobster claw, the constant rubbing will fray the nylon coating and sever the steel core.
The Fix: Integrate a sterling silver wire guard (also known as French wire or bullion) or a solid wire protector loop. These U-shaped metal findings take the brunt of the mechanical friction, allowing the clasp to swing freely without ever touching the delicate nylon coating of your stringing wire. Furthermore, always use a soldered jump ring or a heavy-gauge split ring to connect the clasp to the chain or wire guard; standard open jump rings will pull apart under the weight of glass or stone beads.
Quick Troubleshooting Matrix
Use this diagnostic table to quickly identify and resolve structural failures in your beaded jewelry designs.
| Problem Symptom | Root Cause Analysis | Expert Solution |
|---|---|---|
| Wire snapping near clasp | Friction and metal fatigue from sharp jump ring edges or direct clasp contact. | Use a sterling silver wire guard (French wire) to create a smooth, protective loop. |
| Necklace feels stiff and rigid | Strung with 7-strand wire or pulled entirely taut during the crimping process. | Upgrade to 49-strand wire and perform the 'drape test' over the edge of a bead board before final crimp. |
| Crimp tube sliding off wire | Using brittle base metal crimp beads that crack, or using the wrong plier notch. | Switch to 2x2mm sterling silver tubes and strictly use the two-step crimping plier method. |
| Visible gaps showing between beads | Insufficient slack left for the bead diameter and the natural curvature of the neck. | Add 1mm to 2mm of slack per inch of necklace length, adjusting upward for heavy, large-hole glass beads. |
| Clasp constantly flips upside down | Center of gravity is off; the focal bead is too light compared to the heavy clasp. | Add a small counterweight bead or a decorative drop charm directly opposite the clasp at the nape of the neck. |
Mastering how to make a beaded necklace requires shifting your perspective from simple threading to structural engineering. By selecting the correct 49-strand wire, calculating precise tension slack, utilizing malleable sterling silver crimp tubes, and protecting your high-friction zones with wire guards, you will eliminate the vast majority of beading failures. The result is jewelry that not only looks exceptional but withstands the rigors of daily wear with professional resilience.


