How to Make a Crystal Necklace Using Advanced Wire-Wrapping Methods
Learn how to make a crystal necklace with our expert wire-wrapping guide. Master gauge selection, tension control, and stone-setting techniques.

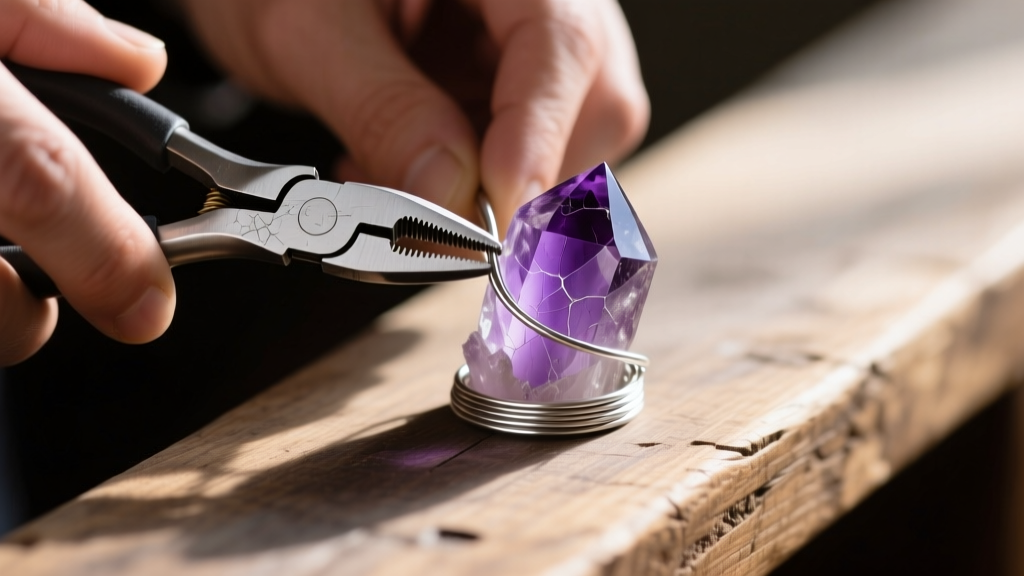
When researching how to make a crystal necklace, most beginners are funneled toward adhesive bails, pre-drilled beads, or simple leather cord knots. While these methods have their place in casual craft jewelry, they fail to provide the structural longevity, light refraction, and bespoke geometry required for fine, heirloom-quality pendants. As a senior bench jeweler, I approach crystal setting not as a craft project, but as an exercise in metallurgical tension and lapidary geometry. This guide bypasses the basics and dives deep into the technical mechanics of advanced wire-wrapping, alloy selection, and stress distribution for raw and faceted crystals.
The Metallurgy of Wire: Selecting Gauge and Temper
The foundation of any wire-wrapped pendant relies on understanding wire temper—the measure of a metal's hardness and malleability resulting from the annealing and drawing processes. For a structural crystal cage, you must combine two distinct tempers:
- 20-Gauge Half-Hard Wire: This serves as the structural skeleton (the frame). Half-hard wire has been drawn through a die, giving it enough tensile strength to hold its shape under the weight of a 30-gram quartz cluster, yet it remains pliable enough to bend with nylon jaw pliers without snapping.
- 28-Gauge Dead Soft Wire: Used exclusively for weaving and binding. Dead soft wire has been fully annealed, making it highly malleable. It will effortlessly wrap around the 20-gauge frame without requiring excessive force that could distort your primary skeleton.
According to technical specifications from Rio Grande, mixing these gauges and tempers ensures that the binding wire conforms to the frame, while the frame resists the outward pressure of the crystal.
Stone Geometry and Mohs Hardness Considerations
Before applying wire to stone, you must evaluate the crystal's position on the Mohs scale of mineral hardness. Data from the Mindat Mineralogy Database highlights the vast differences in cleavage and fracture toughness between common pendant stones.
- Quartz Varieties (Amethyst, Citrine, Clear Quartz) - Mohs 7: These possess high fracture toughness. You can apply moderate tension with a caging technique, and the stone will easily withstand the pressure of a tightened wire wrap.
- Fluorite and Calcite - Mohs 3 to 4: These stones have perfect cleavage planes. Applying uneven lateral pressure with 20-gauge wire will cause the stone to shear or flake. You must use a 'cradle' weave that supports the stone's girdle without squeezing it.
- Selenite - Mohs 2: Never use tension-based wrapping on selenite. It requires a fully formed, pre-shaped wire basket where the stone simply drops in and is secured with a minimal lip fold.
While some jewelers attempt to drill low-Mohs stones to create a traditional pendant bail, this is highly discouraged without specialized equipment. Drilling fluorite or calcite requires a diamond-tipped core bit and continuous water cooling to prevent thermal shock and micro-fracturing. Caging remains the superior, non-destructive method for preserving the stone's structural integrity and resale value.
Step-by-Step: The Modified Bail Wrap Technique
The bail is the critical failure point in any necklace. A poorly constructed bail will bend forward, causing the crystal to flip upside down against the wearer's chest. Here is the technical sequence for a self-supporting, offset bail:
- The Base Frame: Cut two 5-inch lengths of 20-gauge half-hard wire. Bind them together at the center using 4 inches of 28-gauge dead soft wire in a tight, continuous coil.
- The Shoulder Bends: Using flat-nose pliers, create a 45-degree outward bend on both wires, exactly 1 inch below the central coil. This forms the 'shoulders' that will rest against the top facet of the crystal.
- The Bail Offset: At the top of the wires, bend them forward at a 15-degree angle relative to the vertical axis. This offset compensates for the thickness of the chain, ensuring the pendant lays flat against the sternum when suspended on a 20-inch rolo chain.
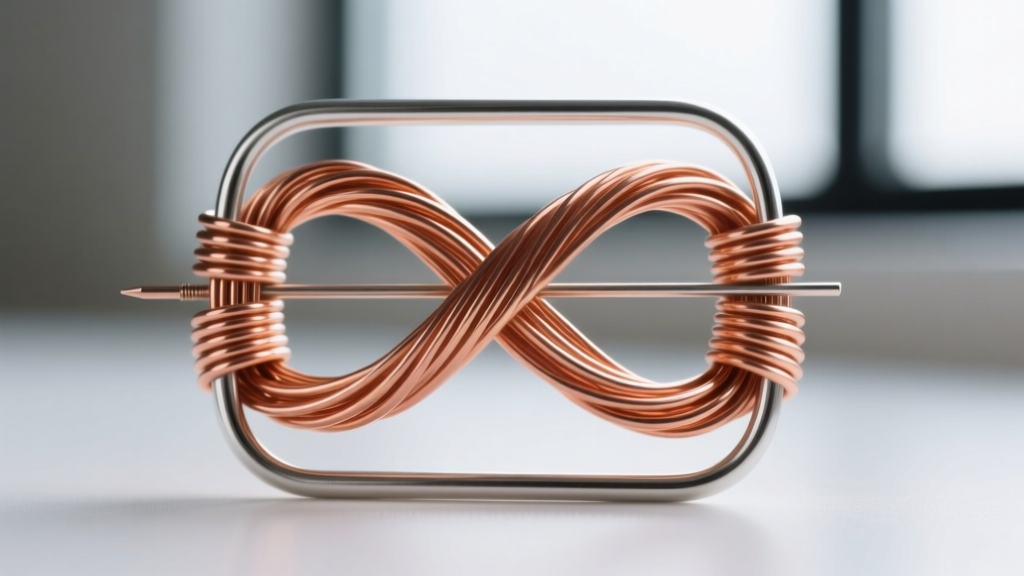
- The Figure-8 Weave: Secure the top of the bail by weaving the 28-gauge wire in a figure-8 pattern. Pass the thin wire over the left frame wire, behind the right frame wire, and pull taut. Repeat this 12 times to create a rigid, interlocking hinge.
Pro-Tip: Always use nylon jaw pliers when bending your 20-gauge frame wire. Standard steel chain-nose pliers will mar the silver, creating micro-abrasions that become highly visible once the piece is oxidized and polished.
Material Comparison Chart
Choosing the right metal affects both the aesthetic patina and the structural work-hardening rate. Below is a technical comparison of the most common wire alloys used in advanced crystal wrapping.
| Alloy | Work-Hardening Rate | Tarnish Resistance | Best Application |
|---|---|---|---|
| Copper (Pure) | Fast | Low (Oxidizes quickly) | Practice weaving, rustic patinas |
| Sterling Silver (.925) | Moderate | Low (Contains copper) | Traditional fine jewelry, bright polish |
| Argentium Silver (.935) | Moderate | Very High (Germanium) | Heirloom pieces, low-maintenance wear |
| Niobium | Slow | High (Anodizable) | Hypoallergenic requirements, color anodizing |
Failure Modes and Structural Troubleshooting
Even experienced jewelers encounter structural failures when figuring out how to make a crystal necklace that withstands daily wear. Recognizing these failure modes early saves time and expensive materials.
- Metal Fatigue at the Bail Hinge: If the bail wire is bent back and forth during fitting, it will work-harden to the point of brittleness and snap. Solution: Bend the wire once to the desired angle. If you make a mistake, anneal the wire with a micro-torch before re-bending.
- Galvanic Corrosion: Mixing metals, such as using a copper weave on a sterling silver frame, can lead to galvanic corrosion in high-humidity environments or when exposed to sweat. Solution: Stick to a single alloy family for the entire piece, or use a protective clear jewelry sealant on the finished wrap.
- Stone Slippage: Smooth, tumbled stones lack the natural geometric 'shoulders' of raw clusters. Solution: Apply a microscopic drop of UV-curing jewelry resin to the inside of the wire cradle before seating the stone. This provides friction without permanent adhesion.
- Weave Distortion: If your 28-gauge weave looks uneven, you are likely pulling the wire with your fingers instead of using flat-nose pliers to seat each wrap. Finger tension varies; plier tension is absolute.
Patina and Finishing Applications
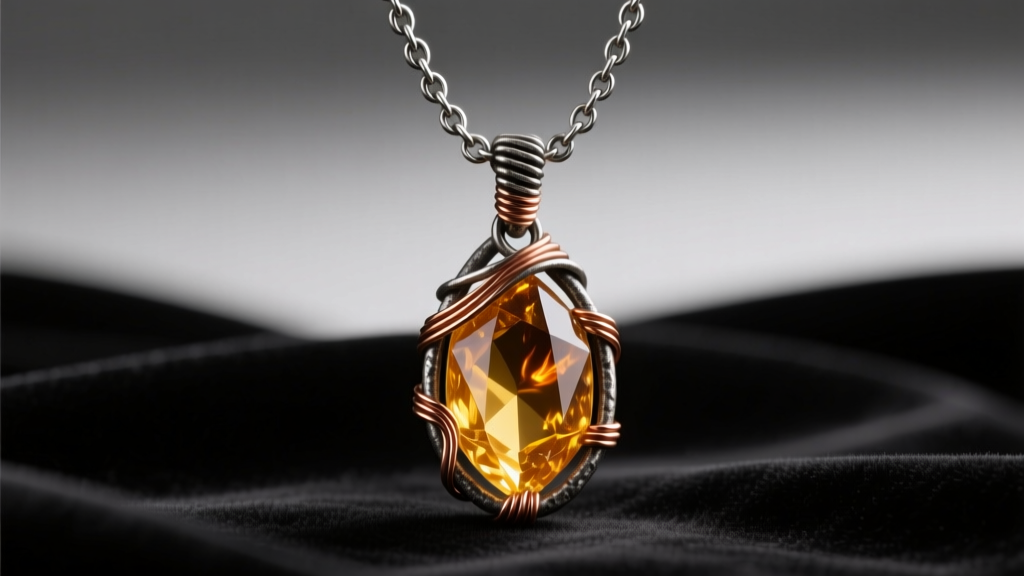
The final step elevates the piece from a craft to a masterwork. Oxidation highlights the texture of the wire weave, creating depth and contrast against the translucent crystal.
- Oxidation: Dilute liver of sulfur (potassium sulfide) in warm distilled water at a ratio of 1:100. Submerge the Argentium or Sterling silver piece for exactly 45 to 60 seconds to achieve a gunmetal grey oxidation. Do not leave it in longer, or the patina will become flaky and rub off on clothing.
- Neutralization: Immediately transfer the piece to a baking soda and water bath to halt the chemical reaction.
- Selective Polishing: Use a fiberglass scratch pen or a high-grit polishing cloth to gently remove the oxidation from the high points of the wire weave, leaving the recesses dark. This technique, known as antiquing, dramatically emphasizes the figure-8 weave and makes the crystal's internal inclusions pop.
Mastering these technical nuances ensures that the crystal necklaces you create are not just visually striking, but structurally engineered to last generations.


