How to Make a Guitar Pick Necklace: Expert Metalworking Guide
Learn how to make a guitar pick necklace with our expert guide. Discover drilling, bail soldering, and skin-safe material techniques.

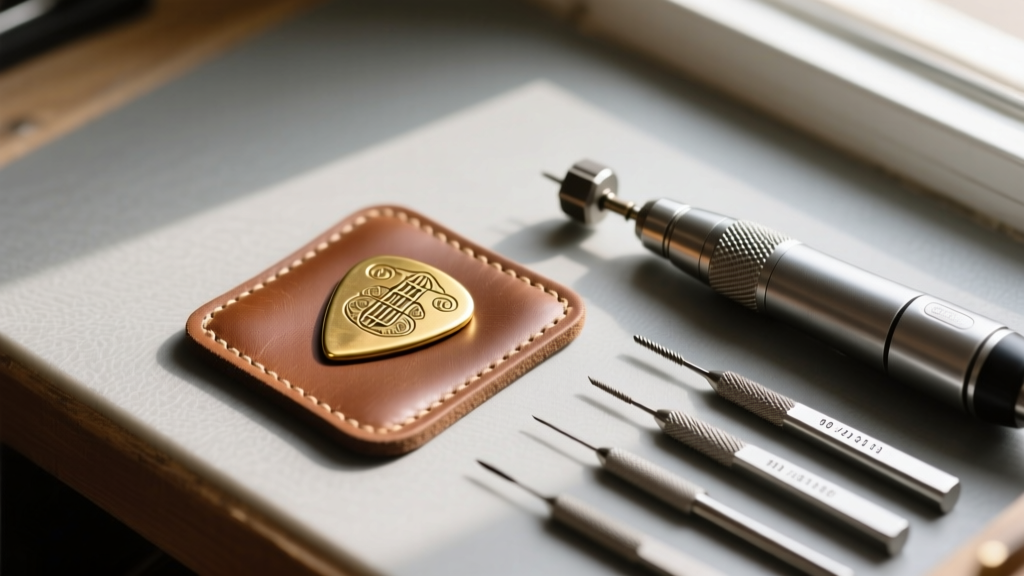
The Intersection of Music and Metallurgy
Transforming a functional guitar pick into a durable, wearable pendant requires more than just punching a hole in a piece of plastic or metal. As a jewelry maker, you must account for stress concentrations, material thermodynamics, and skin-safe finishing techniques. A standard pick is subjected to lateral torque when worn as a necklace, meaning improper drilling or weak jump ring attachments will inevitably lead to structural failure. In this expert deep dive, we will explore the precise metallurgical and fabrication techniques required to learn how to make a guitar pick necklace that withstands daily wear while maintaining its aesthetic and structural integrity.
Material Science: Selecting Your Pick Blank
Before you power up your flex shaft, you must understand the physical properties of your pick material. Different substrates react drastically differently to friction, heat, and chemical patinas. According to fabrication guidelines from Ganoksin, treating plastics like metals will result in melted, ruined blanks, while treating soft metals like steel will dull your tooling.
| Material | Drill Bit Type | Optimal RPM | Coolant Required | Skin Safety Notes |
|---|---|---|---|---|
| Celluloid (Vintage) | HSS (High-Speed Steel) | 300 - 500 | Water/Soap mix | Highly flammable; toxic camphor gas if overheated |
| Acrylic / Delrin | Single-Flute Plastics | 500 - 800 | Water or Air blast | Hypoallergenic; melts at ~160°C |
| Brass / Copper | Cobalt or Carbide | 1200 - 1500 | Cutting Oil | Can cause green skin; requires sealing |
| Sterling Silver (.925) | HSS or Carbide | 1000 - 1200 | Cutting Oil | Hypoallergenic; requires pickling post-solder |
Precision Drilling Techniques for Pick Pendants
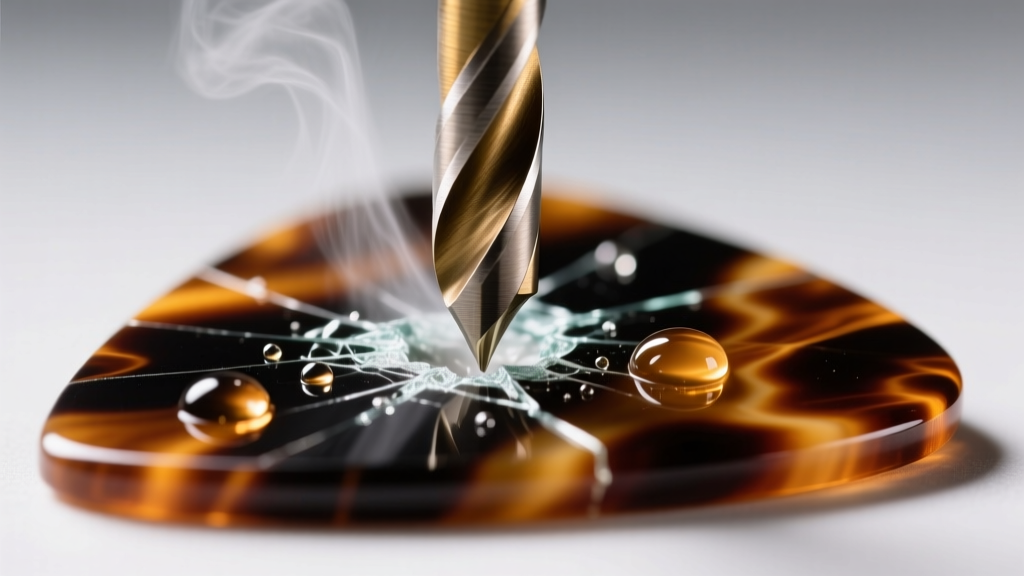
The most common point of failure in a DIY pick necklace is a torn-out hole. Guitar picks are typically 0.7mm to 1.5mm thick, offering very little material for a jump ring to bear against. To prevent tear-out, you must use a peck-drilling technique with a sacrificial backer board.
Step-by-Step Hole Placement and Burr Removal
- Placement: Mark your drilling point exactly 3.5mm from the top edge. Anything closer risks the edge splitting under the weight of the chain.
- Center Punching: For metal picks, use a fine-point center punch to create a dimple. This prevents the drill bit from 'walking' and scratching the pick face.
- The Backer Block: Clamp the pick tightly against a scrap piece of hardwood. The wood supports the exit side of the drill bit, preventing blowout and burring.
- Peck Drilling: Drill down 1mm, pull up to clear the swarf (material shavings), and repeat. This prevents heat buildup, which is critical when working with acrylics that can melt and fuse back together behind the bit.
- Deburring: Use a 1.5mm round needle file or a specialized deburring tool to chamfer the inside of the hole. A sharp inner edge will act like a knife against your jump ring, eventually sawing through the metal.
Attachment Methods: Soldered Bails vs. Pinch Clasps
Once the hole is prepped, you must attach a finding that allows the pick to hang flat against the sternum. Standard unsoldered jump rings are insufficient for heavy metal picks because lateral movement will eventually pry the ring open.
'Never rely on a standard split ring or unsoldered jump ring for a heavy metal pendant. The constant friction and lateral torque will work-harden the wire at the split, leading to a brittle fracture. Always use a soldered ring or a custom-fabricated bail.' — Master Bench Jeweler
Silver Soldering a Custom Bail
For sterling silver or brass picks, fabricating a custom bail from 18-gauge (1.0mm) sheet metal provides the cleanest look. When soldering the bail to the pick, use a Hard grade silver solder (flowing at approximately 1450°F). Hard solder provides a stronger structural bond than Easy solder. Because the pick is thin, heat dissipation is rapid; use a butane micro-torch with a pinpoint flame to avoid melting the edges of the pick. Immediately after soldering, quench the piece and submerge it in a warm Rio Grande Sparex #2 pickling solution to remove copper oxides and flux residue.
Alternative: The Prong Pinch Bail
If you are working with acrylic or celluloid and cannot use a torch, a prong pinch bail is your best alternative. Ensure the prongs are at least 2mm long so they can penetrate the material deeply. After pushing the prongs through the drilled hole, use chain-nose pliers to bend the prongs flat against the back of the pick, then apply a micro-drop of cyanoacrylate (jeweler's glue) over the bent prongs to lock them in place.
Chain Selection and Gauge Matching
The chain must complement the weight and scale of the pick. A heavy brass pick will snap a delicate 0.8mm cable chain. Conversely, a thick 3mm Cuban link chain will overwhelm a thin, elegant celluloid pick.
Optimal Chain Specifications
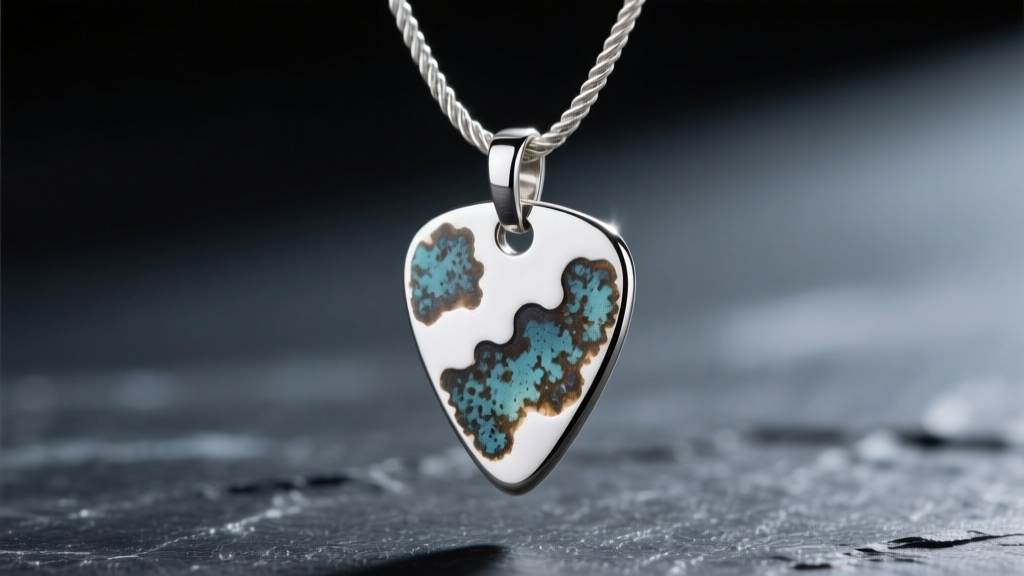
For standard-sized metal picks (approx. 30mm x 26mm), a 1.2mm to 1.5mm gauge chain is ideal. Rope chains and box chains are highly recommended due to their high tensile strength and resistance to kinking. Always equip the chain with a lobster claw clasp rather than a spring ring; lobster clasps feature a solid internal spring mechanism that withstands the pulling force of a heavier pendant without accidentally depressing and opening.
Finishing, Patina, and Skin Safety
The final stage of fabrication dictates both the visual impact and the wearability of the necklace. Raw metal edges must be sanded progressively through 400, 800, 1200, and 2000 grit wet/dry sandpaper. For acrylic picks, finish with a plastic polishing compound like Zam on a muslin buffing wheel to restore optical clarity.
Applying Patinas to Metal Picks
If you are using copper, brass, or sterling silver, applying a Liver of Sulfur (LOS) solution will create a striking oxidized patina that highlights any engraved logos or stamped text on the pick. Dilute the LOS in warm water, dip the pick for 30 seconds, and then use 2000-grit sanding pads to polish the high points, leaving the dark oxidation in the recessed areas.
Preventing Verdigris and Allergic Reactions
Copper and brass picks will oxidize against the skin, leaving a green stain (verdigris) due to the reaction between the metal and the wearer's natural acidity. To prevent this without sacrificing the metal's look, coat the back of the pick with a specialized jewelry sealant like ProtectaClear or apply a micro-crystalline wax like Renaissance Wax. This creates an invisible, skin-safe barrier that prevents oxidation and eliminates the risk of nickel allergies often found in cheap, mass-produced brass alloys.
Conclusion
Learning how to make a guitar pick necklace is a rewarding exercise in micro-fabrication. By respecting the thermodynamic limits of plastics, utilizing proper peck-drilling techniques, and selecting structurally sound attachment methods, you elevate a simple musical accessory into a piece of enduring, professional-grade jewelry. Whether you are preserving a vintage tortoiseshell celluloid pick or fabricating a custom sterling silver blank, precision and material science are your most vital tools on the bench.


