How Do You Make a Necklace? DIY Costs vs. Retail Value
Discover the true cost of DIY jewelry. We analyze how do you make a necklace on a budget, comparing material costs, tools, and retail value.

The True Cost of DIY: How Do You Make a Necklace on a Budget?
When browsing Pinterest or YouTube, the question how do you make a necklace usually yields simple, step-by-step tutorials that make jewelry crafting look incredibly cheap and effortless. However, from a strict budget and value assessment perspective, the reality of DIY jewelry making in 2026 is far more nuanced. While crafting your own necklaces can yield unique, personalized pieces, the financial savings are not always guaranteed when you factor in material sourcing, specialized tooling, and the hidden cost of time.
To determine whether building a necklace is a genuine budget hack or a disguised money pit, we must break down the exact costs of components, compare them to retail markups, and evaluate the long-term durability of handmade versus manufactured pieces. Whether you are looking to create a simple beaded choker or a complex wire-wrapped pendant, understanding the unit economics of jewelry supplies is the first step to maximizing your style budget.
Material Breakdown: Sourcing Components Without Overpaying
The foundation of any necklace is its chain and findings (clasps, jump rings, and crimps). Retail jewelry brands typically mark up these base components by 300% to 800%. By sourcing directly from wholesale suppliers like Rio Grande or Halstead, you can capture that margin for yourself—but only if you understand metal grades.
Chain Grades and Clasp Hardware
Not all gold or silver chains are created equal. If you are making a necklace for daily wear, you must avoid standard gold-plated brass, which will oxidize and turn the wearer's skin green within weeks of exposure to sweat and humidity. Instead, look for these budget-friendly but durable alternatives:
- 1/20 14k Gold-Filled: By law, this means 5% of the total weight of the metal is solid 14k gold alloy, mechanically bonded to a brass core. It costs roughly $1.20 to $2.50 per linear inch for a standard 1.5mm cable chain, offering 10 to 20 years of tarnish resistance.
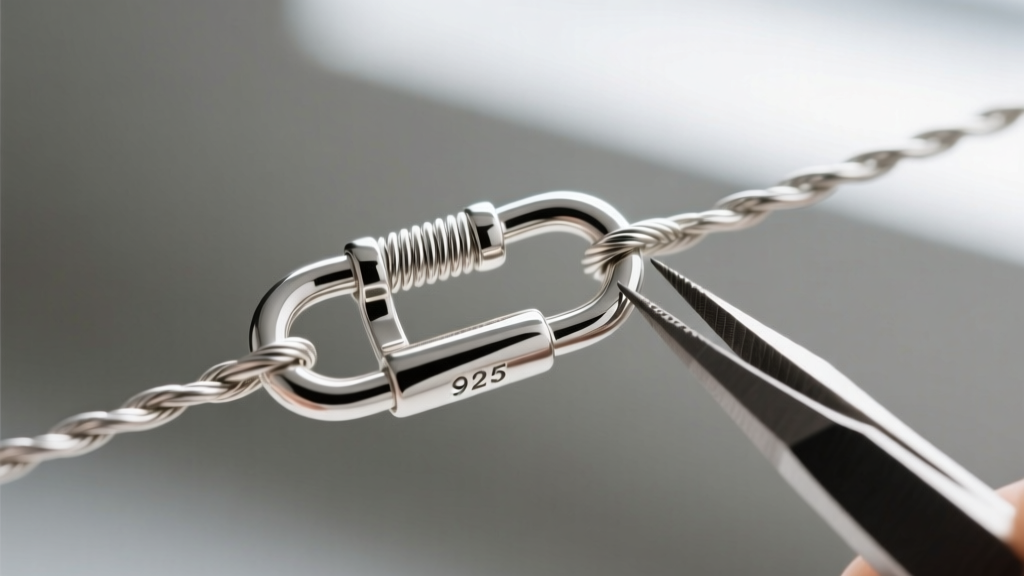
- Sterling Silver (.925): Composed of 92.5% pure silver and 7.5% copper. A delicate 1.2mm rolo chain costs about $0.80 per inch wholesale. It requires occasional polishing but will never flake or peel.
- Gold Vermeil: A heavy plating (minimum 2.5 microns) of gold over sterling silver. While more expensive than standard plating, it is less durable than gold-filled wire and can wear through at high-friction points like the clasp.
Pendants and Gemstone Beads
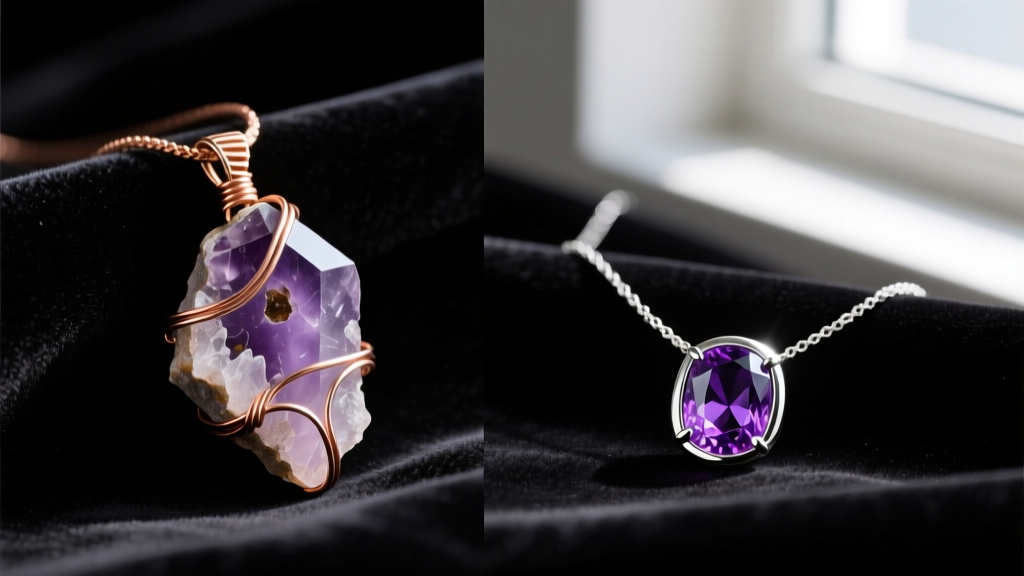
The centerpiece of your necklace dictates a massive portion of your budget. When sourcing gemstone beads or pendants, hardness is a critical value metric. According to the Gemological Institute of America (GIA), stones with a Mohs hardness below 6 (like opal, turquoise, or fluorite) are highly susceptible to scratching and chipping during the DIY wire-wrapping process. For budget-friendly durability, opt for quartz varieties (amethyst, citrine, agate) which sit at a 7 on the Mohs scale and can withstand the pressure of 20-gauge wire wrapping without fracturing.
The Hidden Expenses: Tools and Time Valuation
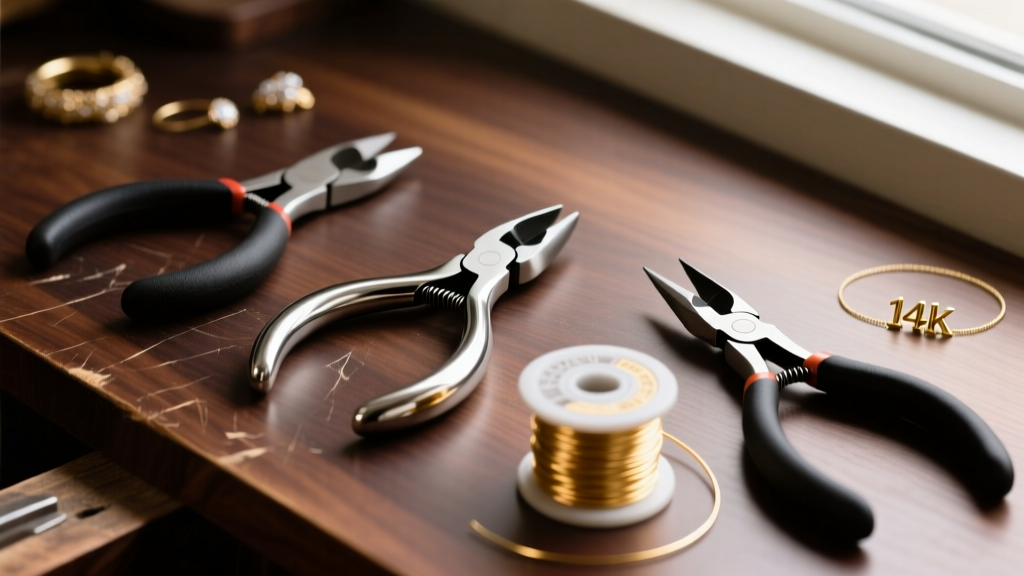
Beginners often overlook the initial capital expenditure required to answer the question of how do you make a necklace properly. You cannot use standard household scissors or hardware store pliers; they will mar the metal and cause structural failure. Below is the baseline investment required for a professional-grade DIY toolkit.
| Tool | Purpose | Budget Tier Cost | Pro Tier Cost |
|---|---|---|---|
| Flush Cutters | Cutting wire flush to prevent sharp edges | $15.00 | $45.00 |
| Chain-Nose Pliers | Opening/closing jump rings, gripping wire | $18.00 | $55.00 |
| Round-Nose Pliers | Creating uniform loops and wire-wrapping | $22.00 | $60.00 |
| Crimping Pliers | Securing crimp beads without weakening wire | $20.00 | $40.00 |
| Total Initial Investment | $75.00 | $200.00 |
If you only plan to make one or two necklaces, this $75 to $200 overhead completely destroys any budget advantage over buying retail. However, if you plan to produce a capsule wardrobe of 10+ layered pieces, the per-unit tool cost drops below $10, making DIY highly cost-effective.
DIY vs. Retail: A Value Assessment by Necklace Type
To truly understand the ROI of making your own jewelry, we must compare specific necklace styles. The savings vary wildly depending on the complexity and materials involved.
| Necklace Style | Avg. DIY Material Cost | Avg. Retail Price | Value Verdict |
|---|---|---|---|
| Simple Beaded Choker (Gemstone) | $18 - $25 | $65 - $120 | High Savings (70%+) |
| 14k Gold-Filled Layering Chain | $22 - $35 | $85 - $150 | High Savings (75%+) |
| Wire-Wrapped Raw Crystal Pendant | $12 - $18 | $45 - $90 | Moderate Savings (Time Intensive) |
| Solid 14k Gold Figaro Chain | $250 - $400 | $450 - $800 | Low Savings (High Capital Risk) |
As the data illustrates, the sweet spot for DIY budget hacks lies in gold-filled chains and semi-precious beaded designs. Attempting to make solid gold chains or complex cast-metal pendants at home requires equipment (like torches and casting kilns) that pushes you out of the budget category entirely.
When to Buy Instead of Build: The Durability Factor
A cheap necklace is not a good value if it breaks in a month. Handmade jewelry has specific failure modes that mass-manufactured, laser-welded jewelry does not. When assessing your budget, consider the cost of replacement and repair. Here are the most common DIY failure points:
- Jump Ring Pull-Apart: If you do not properly solder your jump rings, a slight tug on the pendant will cause the ring to pull open. Always use two pairs of pliers to twist jump rings laterally rather than pulling them apart, which weakens the metal's temper.
- Crimp Bead Fatigue: Using cheap, base-metal round crimp beads often results in the bead cracking under pressure, causing the necklace to snap. Always use 2x2mm sterling silver or gold-filled tube crimps and a dedicated crimping tool to fold the metal securely over the wire.
- Wire Hardening: When wire-wrapping a pendant, the act of bending the wire causes "work hardening." If you use 20-gauge dead-soft wire and bend it too many times, it will become brittle and snap. Budget makers must learn to anneal wire or buy "half-hard" wire for structural loops.
Final Verdict: Maximizing Your Jewelry Budget
So, how do you make a necklace that actually provides financial value? The secret lies in strategic outsourcing and smart material selection. Buy your chains pre-finished from wholesale suppliers to avoid the frustration of attaching clasps to bulk spools. Invest your time and DIY effort into creating custom, wire-wrapped pendants or unique beaded focal points that retail brands would charge a premium for.
By mastering the use of 1/20 14k gold-filled wire and .925 sterling silver findings, you can build a high-end, layered necklace collection for roughly 25% of the cost of boutique retail pricing. Just remember to amortize your tool costs over a minimum of five projects to ensure your DIY jewelry habit remains a savvy financial decision rather than an expensive hobby.


