How to Make a Seashell Necklace: Sourcing & Craft Guide
Learn how to make a seashell necklace with our expert buying guide. Discover the best drill bits, stringing materials, and ethical sourcing tips.

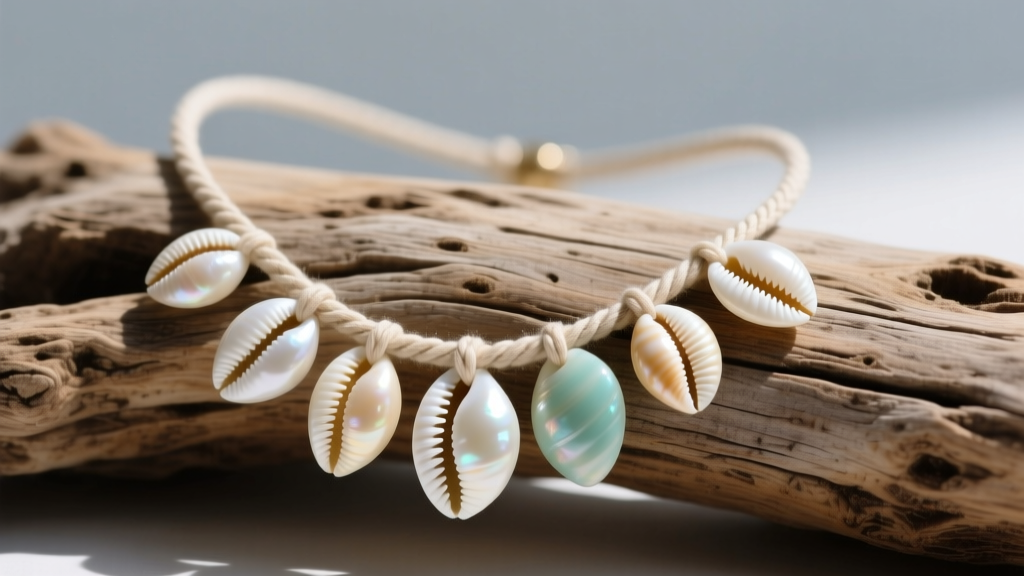
The Resurgence of Artisan Coastal Jewelry
In 2026, the jewelry market has seen a massive pivot toward sustainable, hyper-personalized coastal aesthetics. Learning how to make a seashell necklace is no longer just a childhood beach craft; it has evolved into a sophisticated lapidary art form. However, transitioning from collecting shells on the shoreline to engineering a durable, high-end piece of jewelry requires a deep understanding of organic gemology, material tensile strength, and precision tooling.
This comprehensive buying and crafting guide will walk you through the exact materials, hardware, and techniques required to fabricate a seashell necklace that withstands daily wear without shattering, degrading, or snapping.
Sourcing Shells: What to Look For & What to Avoid
When sourcing shells for jewelry fabrication, your primary concern should be the structural integrity of the calcium carbonate matrix. Shells are organic gems composed of calcium carbonate crystals bound together by a protein called conchiolin. According to the Gemological Institute of America (GIA), the conchiolin acts as a flexible mortar, giving the shell its toughness.
The Dangers of Bleached Shells
Avoid buying bulk shells from tourist shops or unverified online marketplaces. Many commercial suppliers bleach shells using harsh chlorine solutions to achieve a uniform white color. This chemical process destroys the conchiolin protein matrix, leaving the shell brittle, chalky, and highly prone to micro-fractures during the drilling process. Always look for 'raw,' 'unbleached,' or 'naturally polished' shells.
Ethical and Legal Sourcing
Before purchasing exotic shells, verify their legal status. Certain species, such as the Queen Conch (Strombus gigas) and specific Giant Clams, are protected under international law. Always cross-reference your intended materials with the CITES species database to ensure you are not purchasing endangered or illegally harvested organic materials.
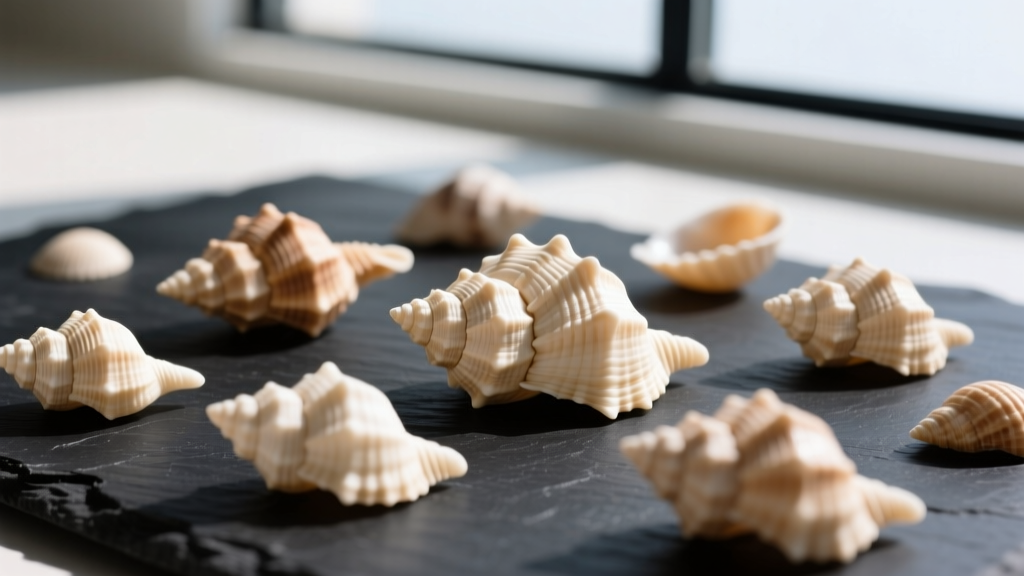
Shell Hardness & Drillability Matrix
Not all shells are created equal. Understanding the Mohs hardness and structural density of your chosen shell will dictate the tools you need to buy. Refer to the matrix below when planning your design:
| Shell Type | Mohs Hardness | Structural Profile | Recommended Drill Bit | Best Stringing Material |
|---|---|---|---|---|
| Cowrie | 3.0 - 3.5 | Dense, thick dorsal lip | 1.5mm Diamond Twist | 0.018' Beading Wire |
| Puka | 2.5 - 3.0 | Naturally hollow, thin edges | 1.0mm Diamond Bur | Size F Silk Thread |
| Conch | 3.0 - 4.0 | Extremely dense, cross-lamellar | 2.0mm Sintered Diamond | 0.024' Heavy Wire |
| Mother of Pearl | 2.5 - 3.5 | Flat, layered nacre, prone to delamination | 1.2mm Diamond Twist | Waxed Cotton Cord |
Essential Tools & Hardware Buying Guide
To successfully drill and string organic materials, you must invest in specialized lapidary tools. Standard woodworking or metalworking bits will shatter a shell instantly due to excessive friction and heat.
The Drill Bit Dilemma: Diamond vs. Carbide
Never use standard high-speed steel (HSS) or carbide bits on shells. The aggressive cutting edges will catch the brittle calcium carbonate and blow out the exit hole, ruining the piece. You must purchase diamond-coated twist drill bits or diamond burr bits. Diamond grit grinds the material away smoothly rather than cutting it. For most standard cowrie and puka shells, a 1.2mm to 1.5mm diamond twist bit is the industry standard.
Choosing the Right Stringing Material
The stringing material must accommodate both the weight of the shell and the abrasive nature of the drilled hole. Even with polishing, the inside of a drilled shell hole can act like a microscopic saw against soft threads.
- 49-Strand Micro Beading Wire (0.015' to 0.018'): The gold standard for heavy shells like conch or large cowries. The 49-strand construction provides supreme flexibility, while the nylon coating prevents the calcium carbonate from sawing through the steel core.
- Waxed Cotton Cord (1mm to 1.5mm): Ideal for rustic, surf-style necklaces. The wax coating protects the cotton fibers from moisture and abrasion. Use a double surgeon's knot for closure instead of metal crimps.
- Griffin Silk Thread (Size F or G): Best reserved for lightweight, naturally holed puka shells where you want a traditional, high-end knotted look between each shell.
Step-by-Step Assembly & Failure Point Prevention
The most critical failure point in learning how to make a seashell necklace is the drilling phase. Heat and pressure are the enemies of organic gems. When a diamond bit grinds against calcium carbonate, it generates intense localized heat. Without mitigation, this heat causes the moisture inside the shell to expand, resulting in catastrophic thermal shock and shattering.
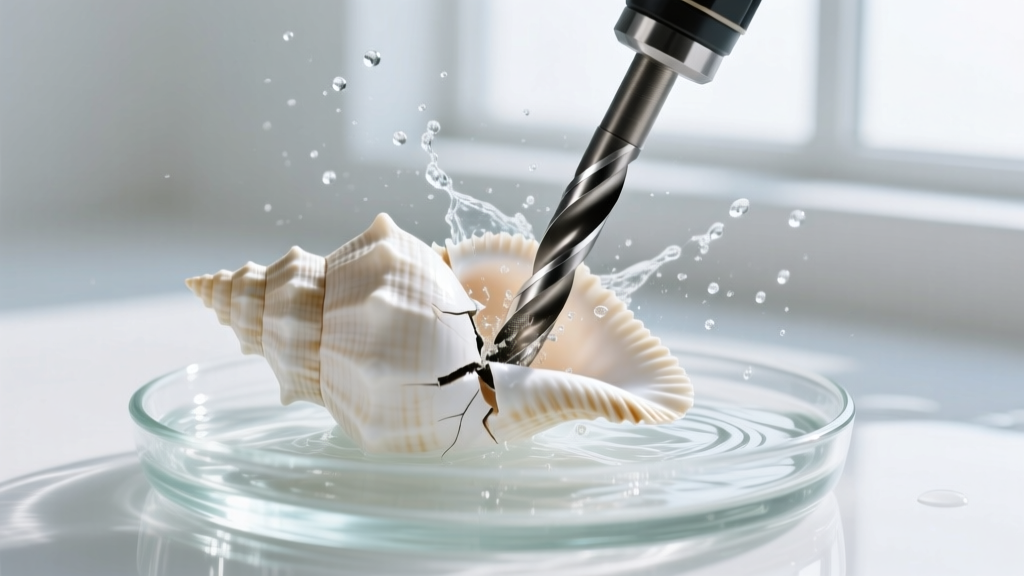
The Water-Bath Drilling Technique
To prevent thermal shock and protect your lungs from hazardous silica dust, you must use a water suppression method.
- Prepare the Bath: Fill a shallow glass or plastic dish with about half an inch of water. Place a piece of high-density foam or a folded towel at the bottom to prevent the shell from slipping and to protect the dish.
- Submerge the Shell: Place the shell in the water. The water level should be just high enough to cover the drilling area, but low enough that your rotary tool (e.g., Dremel 3000 or 4000) does not get wet.
- Drill at Low RPM: Set your rotary tool to a low speed (around 5,000 to 10,000 RPM). High speeds generate too much heat. Let the diamond grit do the work; apply zero downward pressure.
- Pump and Clear: Every 3 to 5 seconds, lift the bit out of the hole to allow water to flush out the calcium carbonate slurry. If the slurry packs into the hole, the bit will bind and crack the shell.
- Flip for the Exit Hole: To prevent the 'blowout' effect where the shell chips as the bit breaks through the back, drill exactly halfway through from the top, then flip the shell over and drill from the bottom to meet your pilot hole.
Finishing Hardware: Clasps and Crimps
Seashell necklaces are frequently worn in beach environments, exposing them to saltwater, sweat, and sunscreen. Base metals like brass or copper will oxidize rapidly and stain both the skin and the porous surface of the shell.
Always purchase 14k or 18k gold-filled or solid sterling silver hardware. For clasps, a standard lobster claw or a magnetic push-clasp offers the best security. If you are using beading wire, you must use micro crimp tubes (2x2mm) and a wire guardian (French wire) to protect the wire loop where it attaches to the clasp ring. According to Fire Mountain Gems Jewelry Making 101, using a wire guardian increases the lifespan of a beaded necklace's clasp connection by over 400% by preventing metal-on-metal fatigue.
Long-Term Care and UV Protection
Once your necklace is assembled, proper care is vital. Prolonged exposure to direct ultraviolet (UV) light can cause the natural pigments in shells like the Queen Conch or Melo Pearl to fade irreversibly. Furthermore, the acidic pH of human sweat (typically between 4.5 and 7.0) can slowly etch the polished surface of calcium carbonate over time.
Expert Tip: Always wipe your seashell jewelry with a damp, lint-free microfiber cloth after wearing it against the skin. Never use ultrasonic cleaners or commercial silver dips on organic jewelry, as the harsh chemicals will strip the shell's natural luster and weaken the conchiolin bonds.
By investing in unbleached shells, diamond-coated tooling, and proper stringing wire, you elevate a simple beach souvenir into a masterfully crafted, heirloom-quality piece of coastal jewelry.


