How Do You Measure a Necklace Chain? A Step-by-Step Guide
Learn exactly how do you measure a necklace chain for length, width, and pendant fit. Step-by-step guide with pro jeweler tips and sizing charts.

Why Precision Matters in Chain Measurement
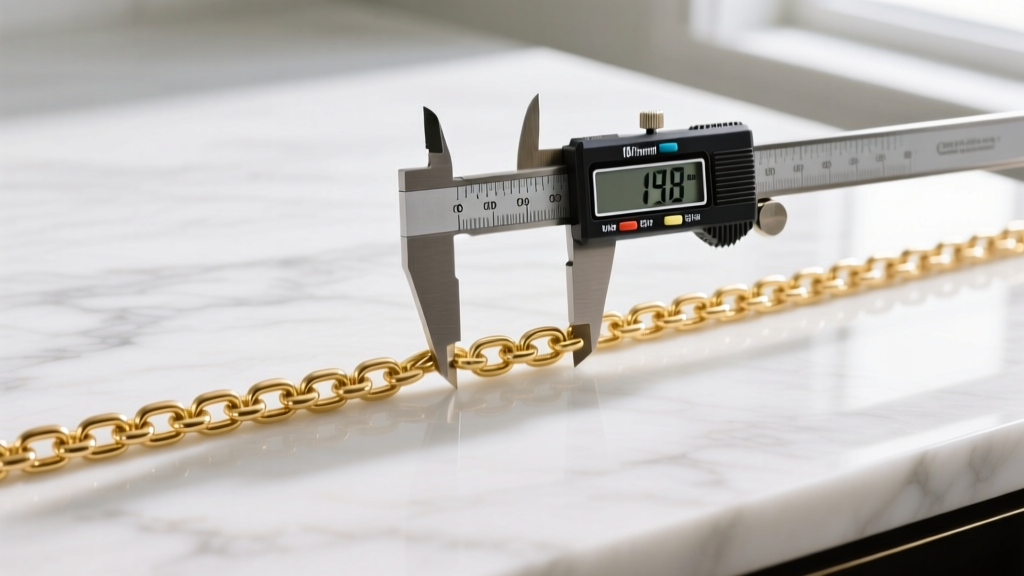
Whether you are ordering a custom pendant, replacing a broken clasp, or buying a gift, guessing a chain's dimensions is a recipe for disappointment. A necklace that is even half an inch off can completely alter how it drapes across the collarbone or how it interacts with a specific neckline. Furthermore, misunderstanding chain width and gauge can lead to catastrophic failures, such as a heavy pendant snapping a delicate link. Understanding exactly how do you measure a necklace chain ensures structural integrity, aesthetic perfection, and proper bail compatibility. In this comprehensive guide, we break down the exact methodologies used by bench jewelers to measure length, width, and tensile capacity.
The Essential Toolkit for Accurate Sizing
Before you begin measuring, you need the right tools. Relying on a standard wooden ruler or a cotton sewing tape will introduce significant margins of error. Cotton tapes stretch over time, and wooden rulers lack the precision required for fine jewelry link work.
- Digital Calipers (0.01mm resolution): Essential for measuring chain width, link thickness, and the inner diameter of pendant bails. According to industrial standards cited by Rio Grande, digital calipers are the only reliable way to verify wire gauge and link dimensions.
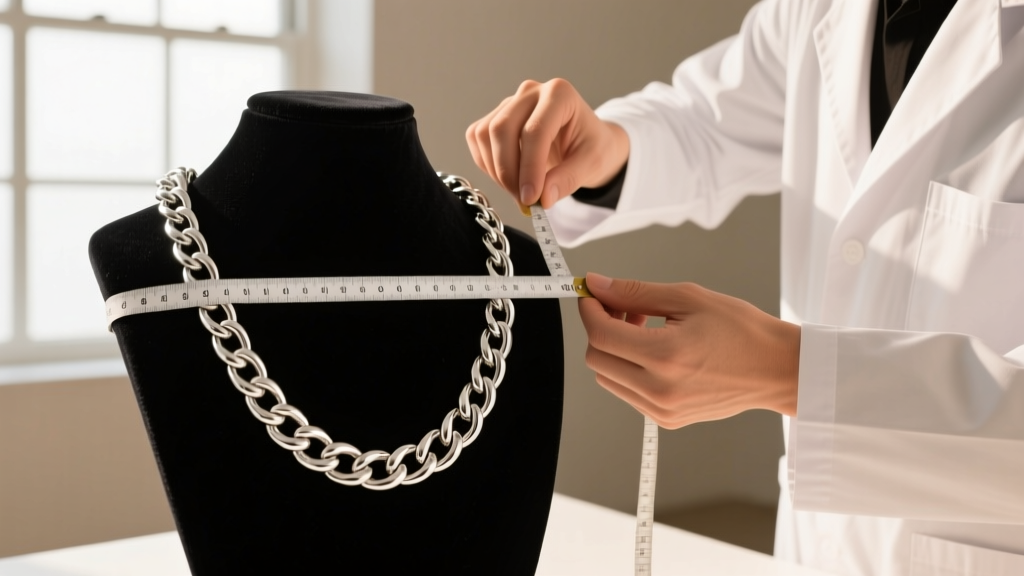
- Fiberglass Tailor's Tape: Unlike cotton, fiberglass does not stretch. This is crucial for measuring the total circumference of a chain when laid flat or draped.
- Jewelry Mandrel or Neck Bust: A standardized velvet bust (typically representing a 14-inch or 15-inch neck circumference) allows you to visualize the drop length accurately.
Step-by-Step: How Do You Measure a Necklace Chain Length
When customers ask, "how do you measure a necklace chain for length?", the most common mistake is excluding the clasp. The jewelry industry standard dictates that the total length of a necklace includes all hardware from end to end.
Step 1: Unclasp and Lay Flat
Open the clasp and lay the chain completely flat on a non-snagging surface, such as a microfiber mat or a smooth glass table. Gently pull the chain taut to remove any twists, but do not stretch it with force, as this can distort delicate links like serpentine or omega chains.
Step 2: Measure End-to-End
Place the zero mark of your fiberglass tape measure at the very outer edge of the jump ring on one side. Extend the tape to the outer edge of the clasp mechanism on the opposite side. If the necklace features an extender chain, measure to the base of the clasp first, then note the maximum length including the extender.
Step 3: Verify with a Mandrel
For chains that have memory or stiffness (like herringbone or torque styles), laying them flat may yield inaccurate results. Drape the chain over a standardized neck bust to see where the bottom link naturally rests. This is particularly vital for chokers (14-16 inches) where a quarter-inch difference dictates whether the chain sits comfortably or chokes the wearer.
Decoding Chain Width, Gauge, and Tensile Strength
Length is only half the equation. To determine if a chain can support a specific pendant, you must understand its width and structural gauge. In the necklace industry, width is measured in millimeters (mm), while the individual wire thickness is often referenced in American Wire Gauge (AWG).
A 2.0mm box chain and a 2.0mm rope chain might share the same outer width, but their tensile strengths differ vastly due to their internal geometry. A rope chain distributes weight across multiple intertwined links, whereas a box chain relies on the structural integrity of square, hollow or semi-solid links. Bench jewelers always measure the outer width with calipers, but they assess the wire thickness to determine weight capacity.
| Chain Width (mm) | Style Example | Approx. Wire Gauge | Safe Pendant Weight Limit |
|---|---|---|---|
| 0.8mm - 1.2mm | Delicate Cable / Thread | 20 - 18 AWG | Under 3 grams |
| 1.5mm - 2.5mm | Box / Wheat / Franco | 16 - 14 AWG | 3 to 10 grams |
| 3.0mm - 5.0mm | Curb / Figaro / Rope | 12 - 10 AWG | 10 to 25 grams |
| 6.0mm - 10.0mm+ | Cuban Link / Mariner | 8 - 4 AWG | 25+ grams (Heavy Pendants) |
As noted by the Jewelers of America, matching the pendant weight to the chain's tensile capacity prevents premature link fatigue and catastrophic snapping at the solder joints.
Bail Compatibility: Measuring for Pendants
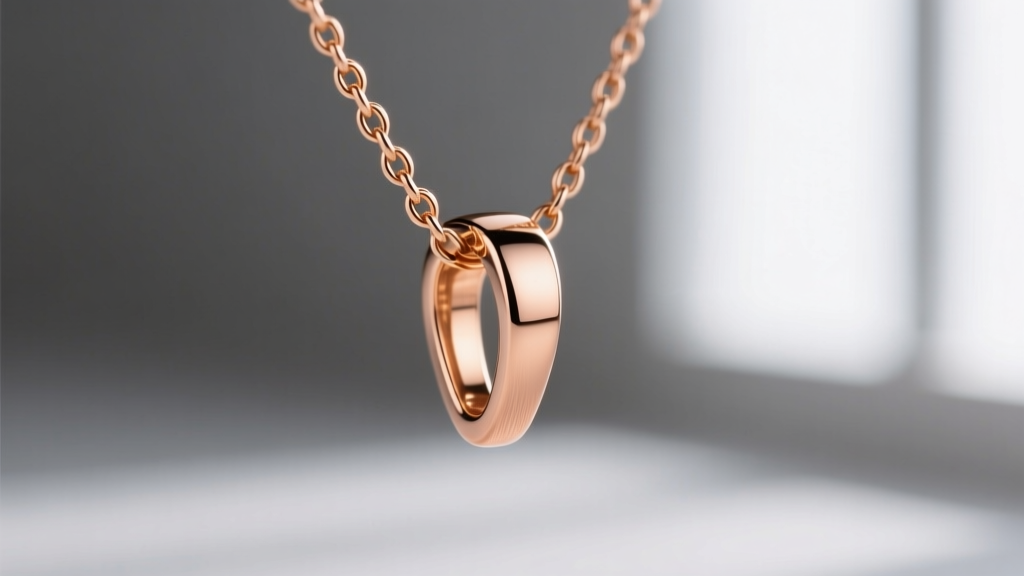
Knowing how do you measure a necklace chain is useless if the chain cannot physically pass through the pendant's bail. The bail is the loop or hole at the top of a pendant. You must measure the inner diameter of the bail, not the outer.
Using your digital calipers, gently insert the smaller jaws into the bail opening. If the inner diameter is 3.5mm, a 4.0mm Cuban link will not fit, regardless of how much force you apply. Furthermore, consider the shape of the chain. A 3.0mm flat curb chain will easily slide through a 3.2mm oval bail, but a 3.0mm round box chain might catch on the corners of a square bail. Always allow a minimum clearance of 0.5mm between the chain's outer width and the bail's inner diameter to ensure the pendant slides freely and doesn't cause abrasive wear on the metal.
Standard Necklace Length Chart & Neckline Pairing
To contextualize your measurements, refer to this standard industry length chart. These measurements assume an average neck circumference of 14.5 inches.
- 14 Inches (Collar): Sits tightly against the base of the neck. Best for open-neck tops and off-the-shoulder garments.
- 16 Inches (Choker): Rests just above the collarbone. The most versatile length for everyday wear and standard pendants.
- 18 Inches (Princess): Falls directly on the collarbone. Ideal for crew necklines and business attire.
- 20-24 Inches (Matinee): Drops to the upper chest. Perfect for layering over turtlenecks or blouses.
- 28-36 Inches (Opera/Rope): Falls below the bust. Often worn doubled over or with large, statement pendants.
Troubleshooting Common Measurement Mistakes
"The most frequent error I see at the repair bench is customers measuring a chain while it is still clasped in a circle, using a rigid ruler. This curves the links and shortens the apparent length by up to an inch. Always unclasp, lay flat, and measure linearly." — Master Bench Jeweler
Dealing with Broken Chains
If you are trying to replace a broken chain and only have a fragment left, do not attempt to extrapolate the length mathematically. Link wear and tear can stretch a chain over time. Instead, measure the fragment, count the exact number of links in that fragment, and calculate the average length per link. Multiply that by the estimated total link count of the original style. However, the safest method is to measure a similar, intact chain that already fits the wearer perfectly.
Accounting for Stretch
Chains like omega, herringbone, and serpentine are prone to kinking and stretching. When measuring these styles, never pull them taut. Allow them to rest in their natural, relaxed state on the measuring mat. If an 18-inch herringbone chain measures 18.5 inches when relaxed, it has suffered structural stretching and should be evaluated by a jeweler for potential link separation.
Mastering how do you measure a necklace chain transforms you from a guesser into an informed buyer. By utilizing digital calipers, understanding the relationship between millimeter width and wire gauge, and respecting the inner dimensions of pendant bails, you guarantee that every piece of jewelry you acquire or gift will fit flawlessly and endure for a lifetime.


