How to Repair Necklace Chains and Clasps: Expert Guide
Learn how to repair necklace chains, fix broken clasps, and reattach jump rings at home with our expert step-by-step jeweler's guide.

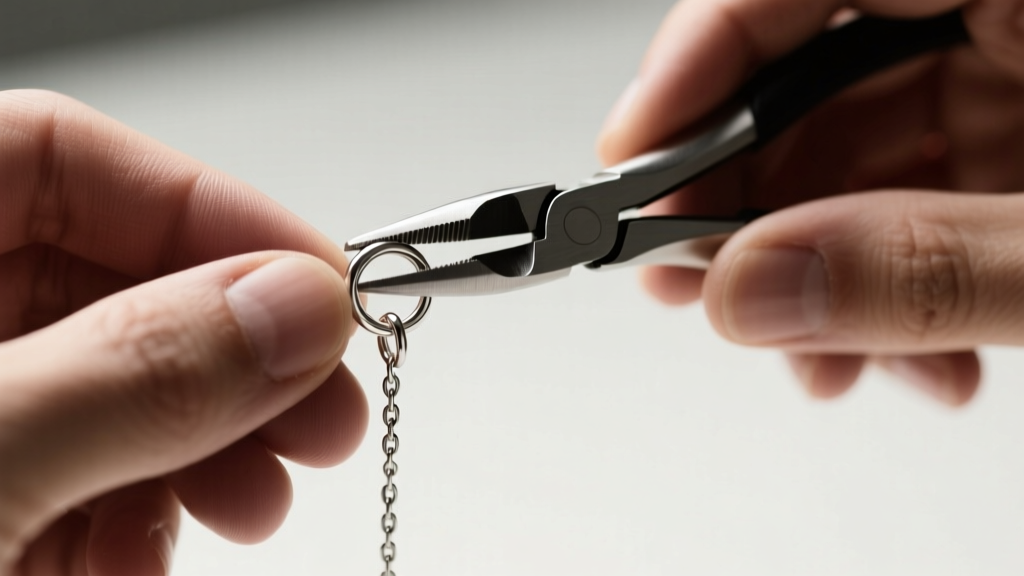
There are few things more frustrating than hearing the faint ting of a broken chain hitting the floor. Whether it is a sentimental gold pendant or a trendy layered silver choker, a snapped chain or a malfunctioning clasp can render your favorite jewelry unwearable. While many people immediately rush to a jeweler, learning how to repair necklace connections at home is a highly valuable skill that can save you time and money. However, it requires the right technique, an understanding of metal fatigue, and precision tools. In this comprehensive guide, we will walk you through the exact steps professional jewelers use to fix common necklace failures, from simple jump ring adjustments to knowing when a chain requires advanced laser welding.
Understanding Necklace Chain Failures
Before you attempt a repair, you must diagnose the failure point. Necklace chains typically break in three specific areas: the jump ring connecting the clasp, the clasp mechanism itself, or a weak link in the middle of the chain. According to the Gemological Institute of America (GIA), metal fatigue and stress corrosion are the primary culprits behind chain degradation.
Different chain styles fail in different ways. For example, delicate cable chains (often 22-gauge or 0.64mm thick) usually snap at the jump ring due to repetitive friction against the clasp. On the other hand, heavier curb or figaro chains (typically 16-gauge to 18-gauge) rarely break at the links; instead, the lobster clasp's internal spring mechanism fails, or the tiny ring on the clasp itself wears thin. Understanding the metallurgy of your piece is crucial. Sterling silver (925) work-hardens over time, becoming brittle if bent repeatedly, while 14k gold is softer and more prone to stretching and thinning under the weight of heavy pendants.
Essential Tools for Professional-Grade Repair
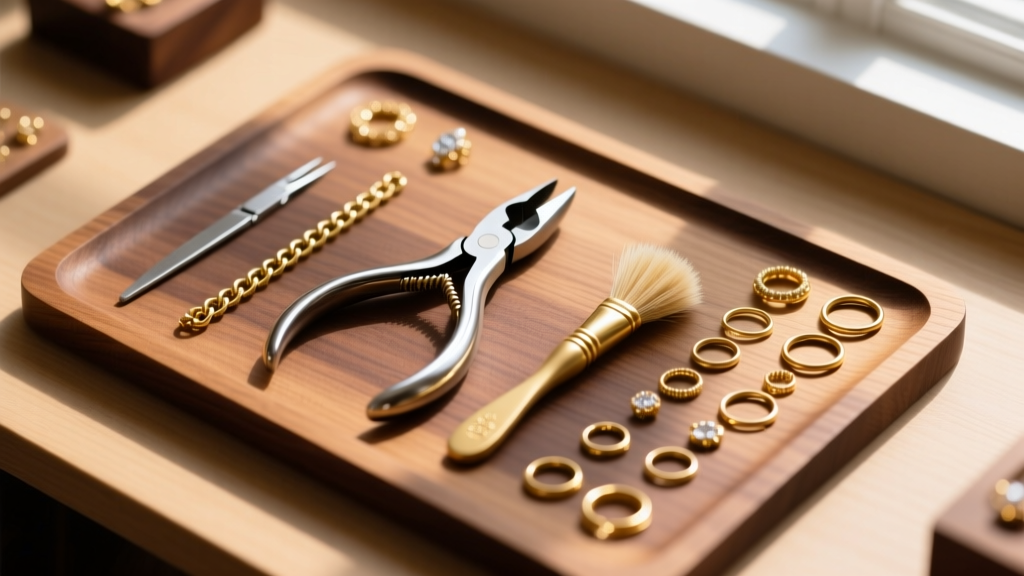
The most common mistake beginners make when figuring out how to repair necklace hardware is using standard hardware-store pliers. These tools feature serrated teeth that will permanently mar, scratch, and weaken precious metals. To execute a clean repair, you need specialized jewelry pliers with smooth, polished jaws. Suppliers like Rio Grande and Halstead Bead offer professional-grade tools that provide the necessary leverage without damaging the metal.
Jeweler's Tool Comparison Chart
| Tool Type | Primary Purpose | Recommended Specification |
|---|---|---|
| Chain-Nose Pliers | Gripping, bending, and closing jump rings | Smooth jaw, tapered tip (e.g., Wubbers or Lindstrom) |
| Flat-Nose Pliers | Holding one side of a jump ring steady while twisting | Smooth jaw, flat 15mm wide tip for maximum grip |
| Flush Cutters | Trimming excess wire or removing damaged links | Micro-shear blade for a perfectly flat cut |
| Loupe (Magnifier) | Inspecting clasp springs and link integrity | 10x magnification, triplet lens for distortion-free viewing |
Step-by-Step: How to Repair Necklace Connections
The vast majority of necklace breaks occur at the connection points. Here is how to fix the two most common issues using cold-connection techniques (no heat required).
Fixing a Separated or Distorted Jump Ring
Jump rings are the unsung heroes of jewelry design. When a necklace pulls or snags, the jump ring often pulls apart. The critical rule of jump ring repair is never pull the ring outward. Pulling the ends away from each other distorts the perfect circle, weakens the metal, and makes it nearly impossible to close flush.
- Secure the Ring: Hold the jump ring with your flat-nose pliers on one side of the cut (the seam).
- Twist Laterally: Grip the other side of the cut with your chain-nose pliers. Instead of pulling apart, twist one hand toward you and the other away from you. This lateral twisting motion preserves the circular shape.
- Reattach the Chain: Slip the detached chain link or clasp onto the opened jump ring.
- Close Flush: Reverse the twisting motion to bring the ends back together. Gently wiggle the ends back and forth past each other until you feel a slight "click" or friction bump. This ensures the ends are perfectly flush and will not catch on clothing or hair.
Replacing a Broken Lobster Clasp
If the internal spring of a lobster clasp has failed, or the lever is stuck, the clasp must be replaced. You cannot repair the internal mechanism of a standard cast lobster clasp at home.
- Remove the Old Clasp: Use your flush cutters to snip the jump ring attached to the broken clasp, or use the lateral twist method to open it if you wish to reuse the ring.
- Select the Replacement: Choose a new lobster clasp that matches the metal color and scale of the chain. For a standard 18-inch cable chain, a 12mm or 15mm lobster clasp is ideal.
- Size the Jump Ring: The jump ring must be large enough to accommodate the thickness of the chain link and the clasp loop, but small enough not to look bulky. A 4.0mm to 5.0mm outer diameter (OD) jump ring in 20-gauge wire is the industry standard for most pendant necklaces.
- Assemble and Close: Thread the new clasp and the chain end onto the jump ring. Twist it closed flush, ensuring no gaps remain. Run your fingernail over the seam; if it catches, the ring is not fully closed.
When Cold Connections Fail: Soldering and Laser Welding
Not every break can be fixed with pliers. If you are wondering how to repair necklace styles like herringbone, snake, box, or omega chains, you must abandon DIY cold connections. These chains rely on continuous tension or interlocking geometric links that cannot be held together by a simple jump ring. Attempting to force a jump ring through a broken box chain will result in immediate re-breakage.
For mid-chain breaks on soldered links, or for repairing hollow tubular chains, professional intervention is required. Traditional torch soldering uses a butane or oxy-acetylene flame and silver or gold solder to fuse the links. However, as of 2026, professional laser welding has become the gold standard for delicate or heat-sensitive repairs. Laser welders use concentrated pulses of light to fuse metal at a microscopic level without heating the surrounding links, preventing the melting of adjacent gemstones or the ruining of rhodium plating.
Pricing and Material Considerations for Professional Repair
- Standard Torch Soldering (Sterling Silver/14k Gold): Typically ranges from $35 to $65 for a simple link repair or clasp solder.
- Laser Welding (Platinum, Titanium, or Hollow Chains): Ranges from $75 to $150. Platinum requires significantly higher temperatures, making laser welding the safest and most effective option.
- Herringbone/Snake Chain Flattening: If these chains kink, they often require professional flattening and soldering, which can cost upwards of $85 due to the labor-intensive nature of the repair.
Preventative Maintenance for Chain Longevity
The best way to handle necklace repairs is to prevent them from happening in the first place. Chain longevity relies heavily on proper wear and storage habits.
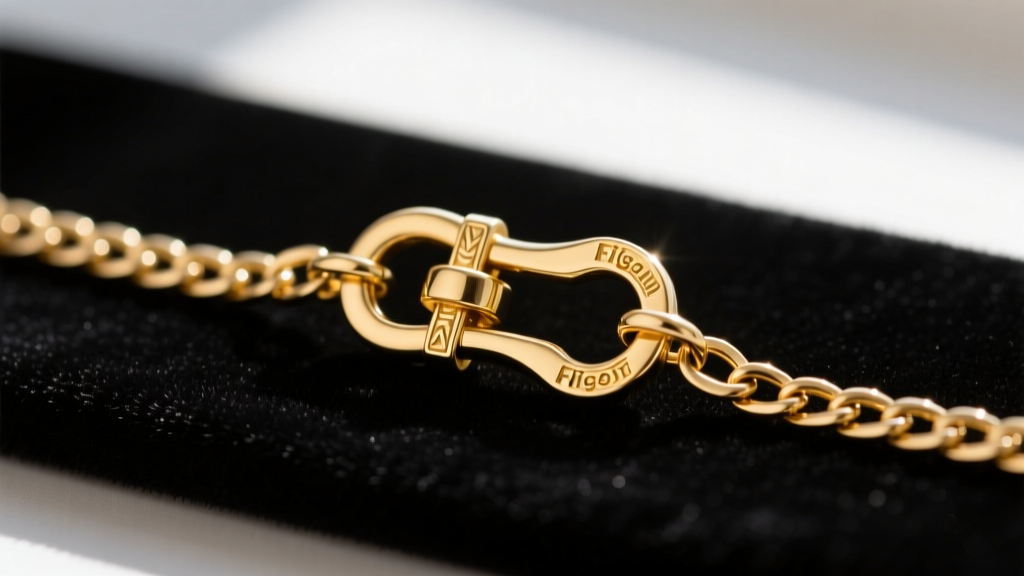
First, always remove your necklaces before showering or swimming. Chlorine and hard water minerals accelerate the corrosion of base metals and can degrade the alloys in lower-karat golds. Second, practice proper layering techniques. If you wear multiple chains, ensure they are at least two inches apart in length (e.g., 16 inches and 18 inches). Chains of the exact same length will constantly rub against each other, acting like a microscopic saw that will eventually cut through the softer metal links.
Finally, store your necklaces flat or hanging. Tossing a delicate chain into a jewelry box creates tangles, and the act of forcefully pulling a knot out of a 22-gauge chain introduces severe stress fractures to the links. By investing in a proper jewelry arbor or using individual anti-tarnish ziplock bags, you can extend the life of your chains by decades. Mastering the basics of how to repair necklace hardware empowers you to maintain your collection, but knowing when to hand a piece over to a master jeweler ensures your most precious items remain intact for generations.


