Troubleshooting Your Metal Chain Necklace: Breaks & Tangles
Is your metal chain necklace tangled, tarnished, or broken? Learn expert troubleshooting steps to fix clasps, untangle micro-links, and prevent snapping.

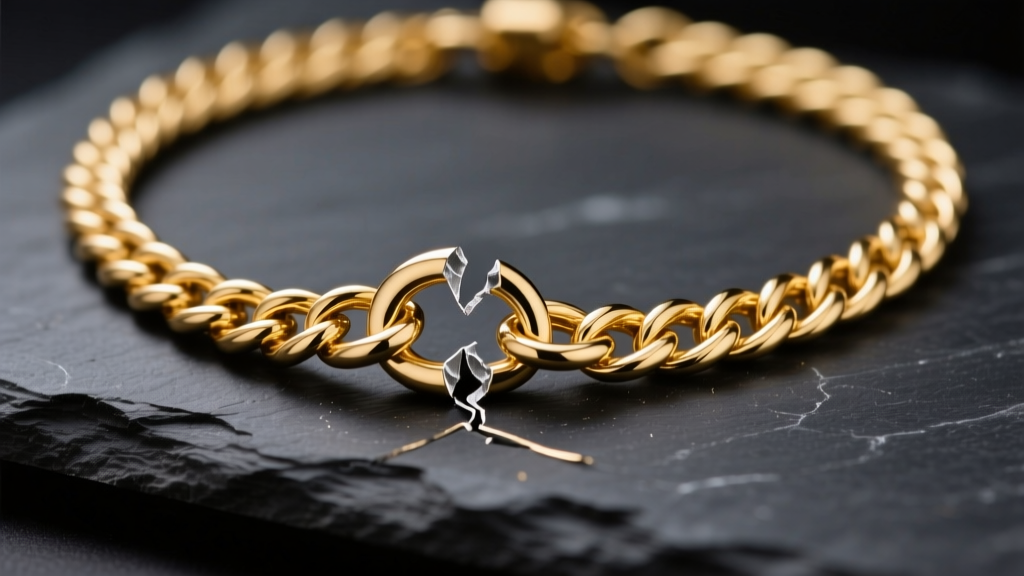
A high-quality metal chain necklace is a foundational piece in any jewelry collection, but daily wear exposes it to relentless mechanical stress, chemical reactions, and environmental hazards. Whether you are dealing with a mysteriously snapped cable chain, a hopelessly knotted micro-box chain, or a clasp that refuses to click shut, understanding the structural mechanics of your jewelry is the first step toward a permanent fix. In this comprehensive troubleshooting guide, we bypass generic care tips and dive deep into the metallurgy, gauge tolerances, and mechanical failure points of chain necklaces, providing actionable solutions for the most common issues encountered in 2026.
The Anatomy of Chain Failure: Why Necklaces Break
When a metal chain necklace snaps, it rarely happens in the middle of a link. According to structural analyses by master jewelers, over 85% of chain failures occur at the solder points or the jump rings connecting the clasp. To troubleshoot a break, you must first identify the chain's link style and gauge thickness.
- Cable and Curb Chains: These rely on a single soldered seam per link. If the solder flux was improperly cleaned during manufacturing, the joint becomes brittle. A 20-gauge (0.81mm) sterling silver cable chain has a static tensile strength of roughly 4 pounds, but dynamic stress (like snagging on a sweater) can snap it with less than 1 pound of sudden force.
- Box and Wheat Chains: These are structurally rigid but highly susceptible to kinking. Once a box chain kinks, the metal undergoes work hardening. Repeated bending at the kink point causes metal fatigue, leading to a clean fracture.
- Rope Chains: While incredibly strong due to their twisted, interlocking geometry, rope chains hide weak spots. If one link fails, the entire twist can unravel rapidly.
The Fix: If your chain breaks at a jump ring, do not simply twist the ring back together. The metal has already stretched and weakened. You must replace the jump ring with a new, appropriately sized one (usually 4mm or 5mm in diameter) and, ideally, have it laser-welded or soldered shut. For breaks in the middle of a rope or box chain, a professional laser welder is required to fuse the microscopic links without melting the surrounding geometry.
Troubleshooting Tangles: The Micro-Link Rescue Method

There is nothing more frustrating than pulling a delicate metal chain necklace from your jewelry box only to find it fused into a microscopic ball of knots. This happens most frequently with box, snake, and herringbone chains under 1.5mm in width. Pulling at the knot tightens the links, causing severe kinking and potential structural failure.
The Step-by-Step Untangling Protocol
- Preparation: Lay the necklace flat on a smooth, non-porous surface like a glass table or a ceramic plate. Avoid fabric, as the fibers will catch on the links and create more friction.
- Friction Reduction: Generously apply a dry lubricant over the knot. Baby powder, talcum powder, or cornstarch works best. Avoid liquid lubricants like oil or lotion, as they attract dust and degrade certain porous gemstones that might be attached to the chain.
- Tool Selection: Do not use your fingers or thick tweezers. You need two fine-tipped tools. A pair of 0.3mm beading needles or specialized extra-fine jewelers' awls are ideal.
- The Technique: Insert the needles into the center of the knot and gently push outward, creating a tiny gap. Work from the outermost loops inward. Never pull the ends of the chain; this acts as a drawstring and tightens the core of the knot.
"The biggest mistake people make with knotted snake chains is using oil. Oil creates a sticky residue that traps dead skin cells and dust inside the tight interlocking links, eventually causing the chain to stiffen and snap. Always use a dry powder."
— Master Bench Jeweler, Jewelers of America
Clasp Malfunctions: Fixing Lobster and Spring Rings
The clasp is the most mechanically complex part of any metal chain necklace. When it fails to close or pops open unexpectedly, the issue is usually internal debris or spring fatigue.
Spring Ring Clasps: These contain a microscopic steel spring inside a hollow metal tube (often brass or gold). If the trigger lever feels loose or fails to snap back, the internal steel spring has likely rusted or lost tension due to moisture intrusion. Troubleshooting: You cannot repair a dead spring ring. It must be cut off and replaced. To prevent this, never wear spring ring chains in chlorinated pools, as chlorine gas penetrates the tiny seam of the clasp and destroys the steel spring.
Lobster Clasps: These are more robust but prone to clogging. Lotions, dead skin, and soap scum accumulate in the trigger track, preventing the lever from closing fully. Troubleshooting: Submerge the clasp in a small cup of 90% isopropyl alcohol for five minutes. Use a soft-bristled toothbrush to scrub the trigger track. Pump the lever repeatedly while submerged to flush out the debris. If the lever still feels spongy, the casting itself may be warped, requiring a replacement.
Material-Specific Tarnish and Corrosion Fixes
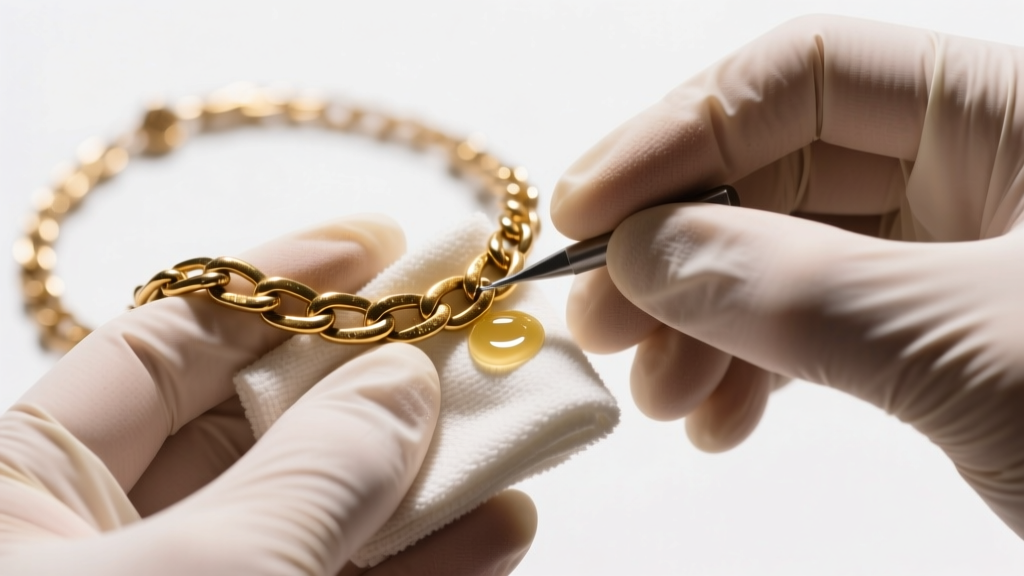
Tarnish is not dirt; it is a chemical reaction. Sterling silver (92.5% silver, 7.5% copper) reacts with hydrogen sulfide (H2S) in the atmosphere to form silver sulfide (Ag2S), which appears as a black or yellowish film. Brass and copper chains undergo oxidation, forming a green or brown patina. Understanding the chemistry allows you to reverse the damage without abrading the metal.
| Metal Type | Chemical Cause of Tarnish | Safe Reversal Method | What to Avoid |
|---|---|---|---|
| Sterling Silver (925) | Silver Sulfide (H2S exposure) | Electrochemical bath (Aluminum foil, boiling water, baking soda) | Harsh abrasive dips that strip the rhodium plating |
| Brass / Bronze | Copper Oxidation (O2 and moisture) | Mild acid wash (Lemon juice and salt paste, rinsed immediately) | Ammonia-based cleaners (causes stress corrosion cracking) |
| Gold Vermeil | Base metal bleeding through worn gold | Professional re-plating (Electroplating) | Polishing cloths (will remove the remaining gold layer) |
| Stainless Steel (316L) | Surface contamination (not true tarnish) | Warm water, mild dish soap, and a microfiber cloth | Bleach or chlorine (causes pitting and rust spots) |
The Electrochemical Silver Bath Recipe
For heavily tarnished sterling silver metal chain necklaces, skip the polishing cloth, which removes microscopic layers of silver over time. Instead, use an electrochemical reaction to convert the silver sulfide back into pure silver. Line a glass bowl with aluminum foil (shiny side up). Add 1 tablespoon of baking soda and 1 tablespoon of non-iodized salt. Pour in boiling water to dissolve the powders. Submerge your silver chain so it physically touches the aluminum foil. Within 60 seconds, the sulfur transfers from the silver to the aluminum, leaving your chain bright and unharmed. Rinse thoroughly with distilled water and dry completely.
Preventative Maintenance: Gauge and Length Rules
According to the Gemological Institute of America (GIA), the lifespan of a chain is directly correlated to its gauge relative to its intended use. To prevent future troubleshooting sessions, adhere to these structural guidelines:
- The 1/3 Weight Rule: The pendant you attach should never weigh more than 1/3 of the chain's estimated breaking strength. If you are wearing a heavy 15-gram gold medallion, a delicate 22-gauge (0.64mm) chain will inevitably stretch and snap. Upgrade to a minimum 16-gauge (1.29mm) curb or rope chain.
- Friction Points: Necklaces that sit at the collarbone (16-18 inches) experience the most friction against the skin and clothing. If you prefer this length, opt for smooth link styles like snake or herringbone, avoiding intricate rope chains that catch on hair and fabrics.
- Storage Protocol: Never store a metal chain necklace in a pile. The microscopic edges of one chain will act like a saw against another. Always hang chains from a multi-tier jewelry stand or lay them completely flat in individual, anti-tarnish polyethylene bags with the clasps left slightly open to prevent the internal springs from remaining under constant tension.
By understanding the mechanical and chemical vulnerabilities of your jewelry, you can transition from reactive repairs to proactive preservation. Whether you are rescuing a knotted micro-chain or reversing years of silver oxidation, applying these specialized troubleshooting techniques will ensure your favorite pieces remain structurally sound and visually brilliant for decades to come. For further education on precious metal standards and hallmarking, consult resources provided by Jewelers of America to ensure your replacement parts meet industry purity benchmarks.


