How to Restring and Knot a Bead and Pearl Necklace Like a Pro
Learn how to restring and knot a bead and pearl necklace step-by-step. Master silk thread sizing, French wire, and professional finishing techniques.

A beautifully crafted bead and pearl necklace is a timeless investment that requires meticulous care to maintain its structural integrity and visual appeal. Over time, the silk thread holding your precious gems together stretches, frays, and accumulates oils from the skin. When you notice gaps between your pearls or visible fraying near the clasp, it is time for a professional restringing. Learning how to properly restring and knot a bead and pearl necklace not only saves you hundreds of dollars in jeweler fees but also ensures your heirloom pieces remain secure for generations.
In this comprehensive guide, we will walk you through the exact techniques used by master jewelers, from selecting the correct Griffin silk thread size to executing flawless overhand knots using a beading awl.
The Anatomy of a Professional Bead and Pearl Necklace
Before you begin restringing, it is crucial to understand the components that make up a high-quality piece of pearl jewelry. A professional-grade necklace relies on specific findings that protect both the nacre of the pearls and the structural integrity of the silk.
- Silk Thread: The industry standard for pearl stringing. Silk is chosen for its natural drape, tensile strength, and ability to hold tight knots.
- French Wire (Gimp/Bullion): A tiny, coiled metal spring that covers the silk thread where it loops through the metal clasp. This prevents the metal from cutting the silk over time.
- Bead Tips (Calottes): Small metal clamshell findings that conceal the final knot and attach seamlessly to the jump ring of your clasp.
- Beading Awl: A precision tool with a sharp, tapered steel needle used to push and tighten knots flush against the bead.
Sizing Your Silk Thread and Beads
One of the most common mistakes beginners make is using a thread that is too thick or too thin for the bead holes. If the thread is too thick, it will fray as you force it through the pearl. If it is too thin, the knots will slip through the drill holes, or the necklace will lack structural rigidity. According to the Fire Mountain Gems Beading Encyclopedia, matching the thread size to the bead hole diameter is critical for a lasting finish.
| Silk Thread Size | Thread Diameter | Ideal Pearl / Bead Type | Typical Drill Hole Size |
|---|---|---|---|
| Size A | 0.20 mm | Seed beads, small gemstones, Keshi pearls | 0.30 mm - 0.40 mm |
| Size D | 0.30 mm | Standard Freshwater pearls, small Akoya (5-6mm) | 0.45 mm - 0.50 mm |
| Size F | 0.35 mm | Standard Akoya (7-8mm), round glass beads | 0.50 mm - 0.60 mm |
| Size FFF | 0.45 mm | Large South Sea & Tahitian pearls (10mm+) | 0.70 mm - 0.90 mm |
Pro Tip: Always test your thread on the bead with the smallest drill hole in your design before stringing the entire necklace.
Step-by-Step Guide to Restringing
Step 1: Preparation and Layout
Begin by carefully cutting the old thread and removing the pearls. Lay them out on a beading design board in the exact order you want them strung. This is also the perfect time to gently clean your pearls. According to the Gemological Institute of America (GIA), pearls should only be cleaned with a soft, damp cloth. Never use ultrasonic cleaners or harsh chemicals, as these will strip the delicate nacre and ruin the luster of your bead and pearl necklace.
Step 2: Securing the Clasp with French Wire
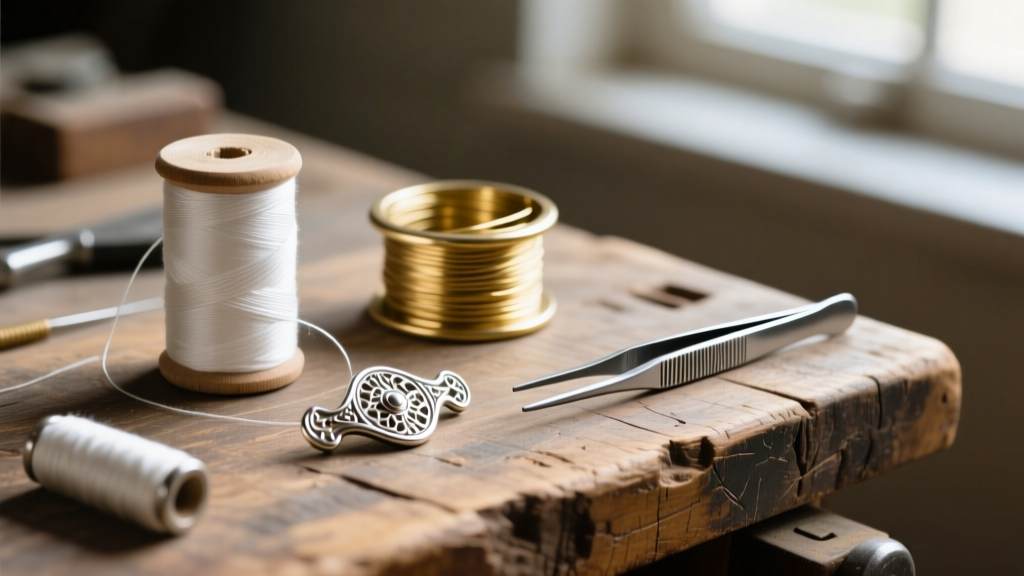
Cut a piece of French wire about 1/2 inch long. Thread your needle with the silk, pass it through the jump ring of your clasp, and then slide the French wire onto the thread. The French wire should cover the silk loop that passes through the metal clasp. This metal-on-metal friction barrier is what prevents the clasp from sawing through your silk thread over years of wear. Tie a secure overhand knot to lock the clasp in place, and apply a microscopic drop of G-S Hypo Cement to seal the knot.
Step 3: The Overhand Knotting Technique
String your first pearl down to the clasp. Now, you must tie an overhand knot. Form a loose loop with the silk thread, pass the long end through the loop, and pull it gently to tighten it near the pearl. Insert the tip of your beading awl into the center of the loose knot. Push the awl downward and toward the pearl simultaneously. The taper of the awl will force the knot to shrink and sit perfectly flush against the bead. Slowly withdraw the awl as the knot tightens completely.
Jeweler's Insight: The tension you apply when pulling the silk is what determines the longevity of the necklace. Pull firmly, but never aggressively, as sudden jerks can cause the silk to stretch unevenly or snap.
Repeat this process—string a bead, tie a loose knot, use the awl to seat the knot flush—for the entire length of the necklace. The knots serve a dual purpose: they prevent the pearls from rubbing against each other (which causes nacre wear) and ensure that if the necklace breaks, you only lose a single bead rather than the entire strand.
Step 4: Finishing and Setting the Clasp
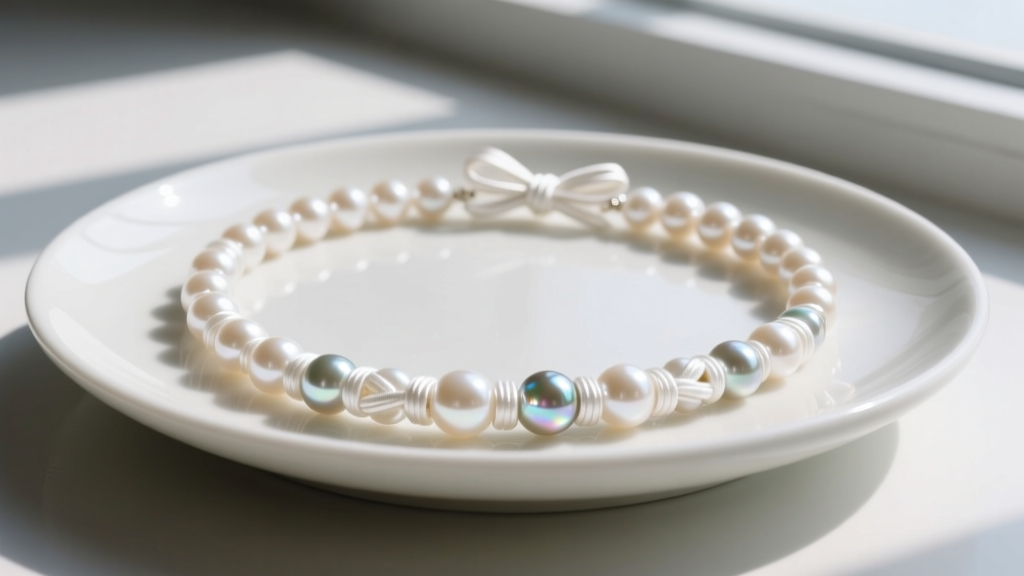
Once the final pearl is knotted, string on your second bead tip (calotte). Tie three tight overhand knots inside the cup of the bead tip. Apply a tiny drop of flexible jewelry cement to the knots, let it cure for a few minutes, and then use chain-nose pliers to gently squeeze the clamshell shut, hiding the knots inside. Attach the other half of your clasp to the bead tip's loop using a jump ring.
Troubleshooting Common Restringing Mistakes
Issue: Gaps Between the Knots and Beads
Cause: This happens when the knot is tightened before it is fully seated against the bead, or if the thread is too thin for the drill hole. Solution: Always use your beading awl to slide the knot down the thread while simultaneously pulling the thread taut. If the drill holes are unusually large, consider doubling up your silk thread or using a larger thread size.
Issue: Frayed Silk Thread
Cause: Forcing a thick thread through a small bead hole, or the bead having a sharp, unlined drill hole edge. Solution: Inspect your beads. If a specific bead has a sharp edge, use a pearl reamer to gently smooth the inside of the drill hole. Never force thread; if it resists, size down your thread.
Issue: Stiff or Kinked Necklace
Cause: Using synthetic threads like nylon or fishing line instead of natural silk, or knotting too tightly without allowing the thread to relax. Solution: Always use 100% natural silk. After restringing, gently stretch the entire necklace by pulling it between your hands. This pre-stretches the silk so it won't sag after a few weeks of wear.
Long-Term Care for Your Bead and Pearl Necklace
Now that you have successfully restrung your bead and pearl necklace, proper maintenance is essential to maximize the lifespan of the silk. Silk is an organic protein fiber that degrades when exposed to moisture, acids, and cosmetics.
- The 'Last On, First Off' Rule: Always put your pearls on after applying perfume, hairspray, and makeup, and take them off before bathing or exercising.
- Storage: Never hang a pearl necklace on a jewelry stand for long periods. Gravity will stretch the wet or humid silk, causing permanent gaps. Always store your necklace flat in a soft pouch.
- Restringing Schedule: If you wear your bead and pearl necklace frequently, plan to have it inspected and restrung every 12 to 18 months. If worn occasionally, every 3 to 5 years is sufficient.
By mastering these professional restringing techniques, you gain complete control over the preservation and presentation of your fine jewelry, ensuring your pearls remain as breathtaking as the day they were formed.


