How to Shorten a Necklace Chain for Flawless Layering
Learn how to shorten a necklace chain safely for perfect layering. Expert guide on chain types, tools, and DIY alteration techniques.

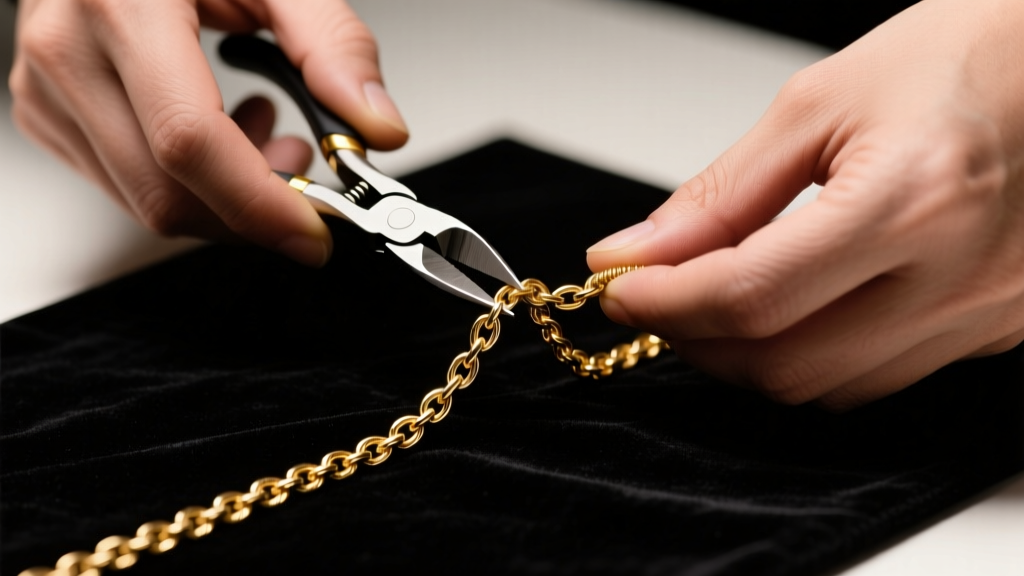
The Layering Imperative: Why Length is Everything
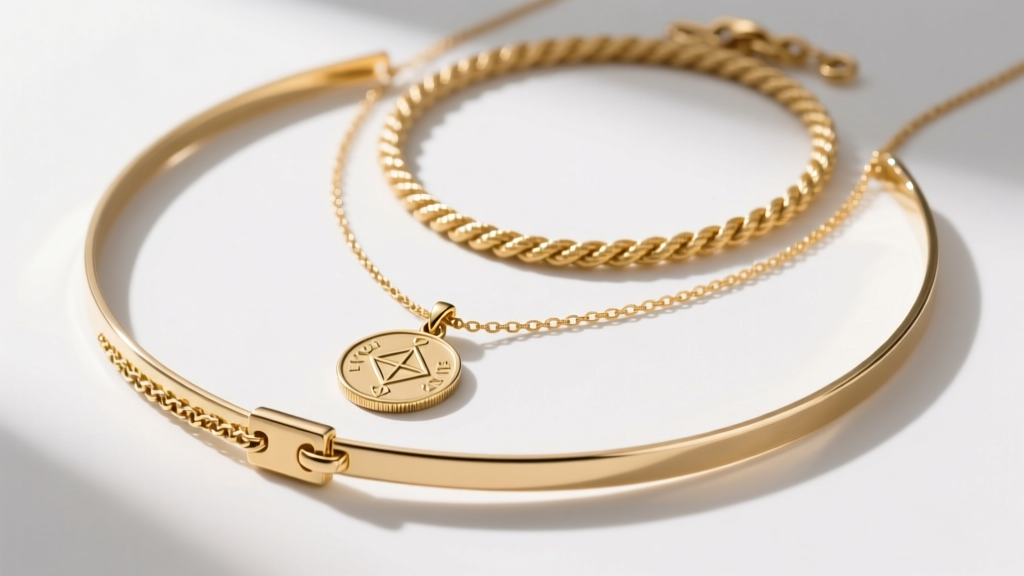
In the contemporary jewelry landscape, the art of layering has evolved from a casual trend into a fundamental pillar of personal style. However, the most common barrier to achieving a curated, high-end layered look is improper chain length. Off-the-rack necklaces typically default to standard 16-inch or 18-inch lengths, which often result in tangled clusters or awkward overlaps when worn together. Learning how to shorten a necklace chain is not merely a DIY repair skill; it is an essential styling technique that allows you to customize your jewelry to your unique neckline, collarbone structure, and layering strategy.
When you master chain alteration, you unlock the ability to convert a standard matinee-length piece into a snug choker, or adjust a princess-length chain to sit precisely two inches below a shorter pendant. According to jewelry fabrication experts at Rio Grande, understanding the structural integrity of different chain links is the first step before making any cuts. Altering a chain without respecting its metallurgical properties can lead to kinking, weakened links, and ultimately, the loss of a cherished pendant.
Chain Anatomy: Which Links Can Actually Be Shortened?
Not all chains are created equal. The feasibility of shortening a necklace chain at home depends entirely on the link structure and the metal's work-hardening characteristics. Here is a breakdown of common chain types and their alteration difficulty.
| Chain Type | Structure | DIY Shortening Feasibility | Required Tools / Methods |
|---|---|---|---|
| Cable Chain | Uniform oval or round links | High (Very Easy) | Flush cutters, jump rings, chain-nose pliers |
| Curb / Figaro | Interlocking flattened links | Moderate | Flush cutters, heavy-duty jump rings, filing tools |
| Box Chain | Square links folded into each other | Low (Risky) | Specialized tube clasps or professional laser welding |
| Snake Chain | Tightly joined wavy rings forming a tube | Very Low (Do Not Cut) | Professional bench jeweler (laser soldering required) |
| Rope Chain | Twisted links woven in a spiral | Low | Professional soldering to prevent unraveling |
For beginners, cable and simple curb chains are the ideal candidates for home alteration. Snake and rope chains possess a fluid drape that is entirely dependent on their continuous tension; cutting them with standard wire cutters will cause the ends to fray and the chain to stiffen permanently.
Step-by-Step: How to Shorten a Necklace Chain at Home
If you are working with a cable, bead, or simple curb chain, you can safely shorten the piece using the jump ring re-attachment method. This technique preserves the original clasp and maintains the structural balance of the necklace.
Step 1: Gather the Correct Tools
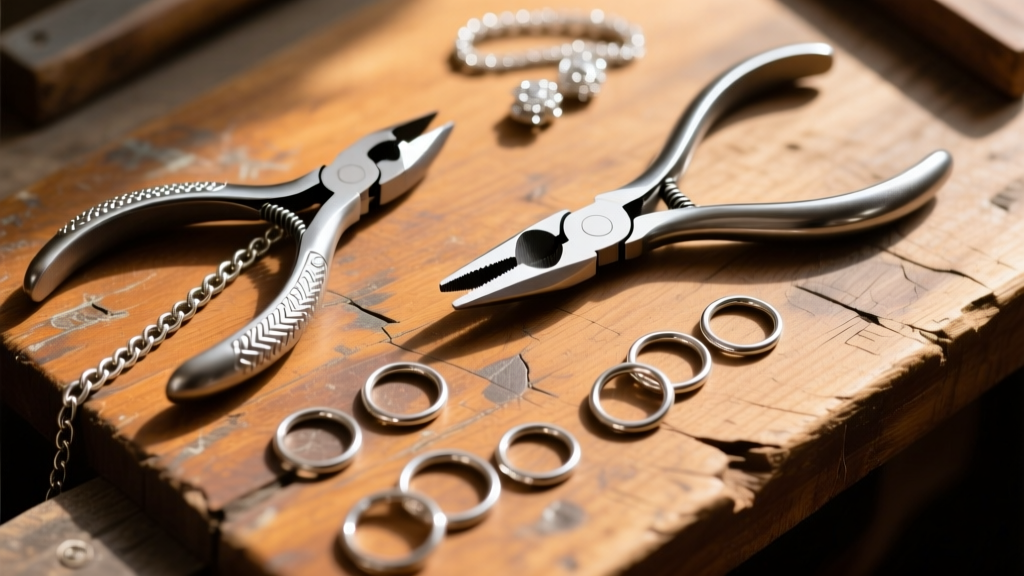
Avoid standard household wire cutters. Hardware store cutters pinch the metal, leaving a sharp, work-hardened burr that will scratch your skin and catch on silk garments. You must use flush cutters, which feature one flat blade and one beveled blade, ensuring a clean, flat cut on the link. You will also need two pairs of chain-nose pliers (without serrated teeth, to avoid marring the metal) and a pack of jump rings that match the gauge and metal color of your chain. As noted by the educational resources at Fire Mountain Gems, matching the jump ring gauge (typically 18-gauge or 20-gauge for delicate chains) is critical for a seamless repair.
Step 2: Measure and Mark the Cut Point
Put the necklace on and use a small piece of painter's tape or a non-permanent fabric marker to indicate exactly where you want the new length to sit. Remember to account for the length of the clasp itself. Remove the necklace and lay it flat on a velvet mat or soft towel to prevent the links from sliding.
Step 3: Execute the Cut and Reattach
Using your flush cutters, snip the chain at the marked link. Ensure the flat side of the cutter blade is facing the portion of the chain you intend to keep; this guarantees a perfectly flush edge that will sit seamlessly against a jump ring. Open a jump ring using your two pairs of chain-nose pliers by twisting it laterally (never pull it apart outward, which weakens the metal's temper). Thread the jump ring through the end link of your shortened chain and the loop of the original clasp. Twist the jump ring closed until you hear a faint 'click' or feel the ends align perfectly.
The Invisible Clasp Tuck: A Non-Destructive Alternative
What if you want to know how to shorten a necklace chain without permanently altering an heirloom piece or a complex snake chain? The 'invisible tuck' is a stylist's secret for temporary adjustments.
- The Safety Pin Method: For lightweight chains, gather the excess chain at the nape of the neck and secure it to the inside of your collar with a small, flat safety pin. This works exceptionally well for adjusting lengths under high-neck blouses.
- The Pendant Loop Trick: If your chain features a pendant, you can sometimes double-wrap the chain through the pendant's bail. This instantly halves the visible drop length while creating a trendy, layered look directly over the sternum.
- Adjustable Extender Hooks: Purchase a specialized adjustable necklace shortener—a tiny, discreet silicone or metal hook that gathers the chain at the back of the neck, allowing you to slide the length up or down by millimeters.
Professional Alteration vs. DIY: Cost and Risk Analysis
While learning how to shorten a necklace chain at home is empowering, knowing when to visit a bench jeweler is equally important. If you are dealing with a heavy 14k or 18k solid gold curb chain, or a platinum rope chain, the cost of a mistake far outweighs the price of professional alteration.
A professional jeweler will typically charge between $25 and $60 to shorten a complex chain. This fee includes laser welding (which fuses the metal without the discoloration caused by traditional torch soldering), polishing the cut link to match the factory finish, and properly sizing the end caps. For hollow-filled chains or gold-plated brass, DIY is the only logical route, as the cost of professional repair often exceeds the replacement value of the item itself.
Styling the Newly Shortened Chain: Neckline Pairings
Once you have successfully shortened your chain, integrating it into your wardrobe requires an understanding of geometric balance. A newly created 14-inch choker pairs flawlessly with square necklines and off-the-shoulder tops, drawing the eye horizontally across the collarbones. Conversely, a chain shortened to a precise 17-inch princess length acts as the perfect anchor for a deep V-neck, creating a parallel line that elongates the torso. By taking control of your chain lengths, you transition from simply wearing jewelry to actively curating your silhouette, ensuring every piece sits exactly where the eye is meant to linger.


