How to Style a Necklace Spike: Step-by-Step Guide
Learn how to style, layer, and maintain a necklace spike. Our step-by-step guide covers metal grades, chain pairings, and neckline matching.

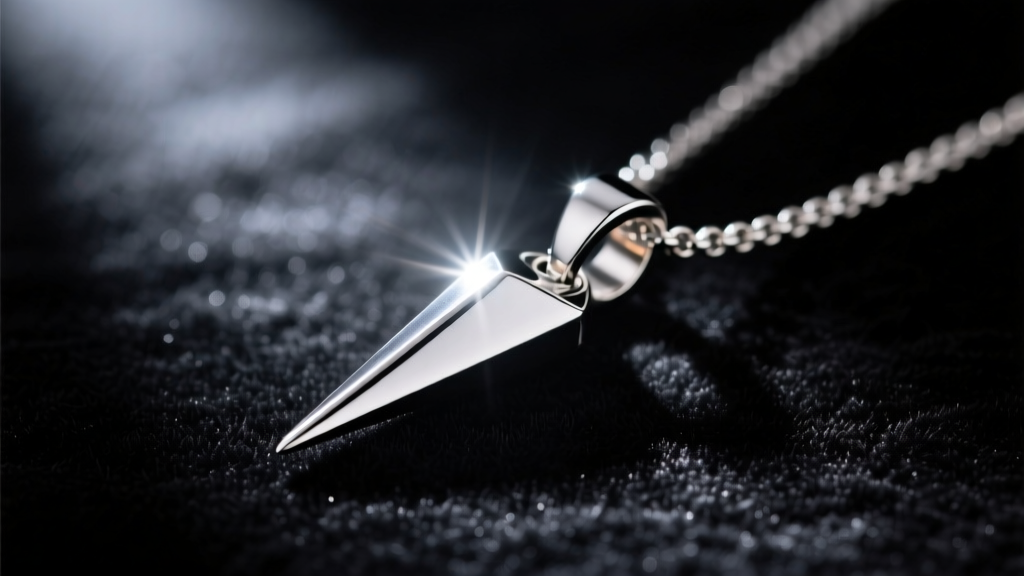
The Architecture of Edge: Mastering the Spike Pendant
As we navigate the jewelry trends of 2026, the architectural aesthetic has firmly taken root, moving beyond traditional punk subcultures into high-end, everyday styling. At the center of this movement is the necklace spike. Far from being a mere novelty, a well-crafted spike pendant introduces sharp geometric contrast to soft fabrics and organic layering techniques. However, styling a spike requires a deliberate approach to proportion, metallurgy, and chain selection. This step-by-step guide will teach you how to select, style, and maintain your necklace spike with expert precision.
Step 1: Selecting the Right Metal Grade and Dimensions
The foundation of any premium necklace spike lies in its material composition. Because spikes are often worn close to the sternum and collarbone, the metal must be biocompatible, durable, and appropriately weighted. Avoid cheap zinc alloys or unverified brass, which frequently contain nickel—a common contact allergen. According to the American Academy of Dermatology, nickel allergies can develop over time, making hypoallergenic metals a non-negotiable investment.
Metal Grade Comparison for Spike Pendants
| Material | Grade / Standard | Hypoallergenic Rating | Avg. Price Range (2026) | Best Use Case |
|---|---|---|---|---|
| Surgical Steel | 316L (Low Carbon) | High (Nickel-free variants) | $25 - $60 | Daily wear, high moisture environments |
| Titanium | Grade 23 (Ti-6Al-4V) | Exceptional (100% Biocompatible) | $70 - $150 | Sensitive skin, lightweight layering |
| Sterling Silver | 925 Solid Silver | Moderate to High | $90 - $250 | Formal styling, heirloom pieces |
| Solid Gold | 14K or 18K Yellow/White | Exceptional | $300 - $800+ | Luxury layering, investment pieces |
Dimensional Guidelines: For a subtle, minimalist look, opt for a 'micro spike' measuring 5mm to 10mm in length with a 2mm base. For a bold, statement-making focal point, choose a standard spike measuring 15mm to 25mm. Anything exceeding 30mm enters avant-garde territory and requires a heavier chain gauge (minimum 3.0mm) to support the pendant's weight without warping the jump ring.
Step 2: Pairing Your Necklace Spike with Necklines
A necklace spike acts as a visual arrow, drawing the eye downward. To maximize this effect, you must align the spike's geometry with your garment's neckline.
- The V-Neck: This is the most harmonious pairing. A 15mm to 20mm spike resting precisely at the vertex of a V-neck blouse elongates the neck and mirrors the garment's natural lines.
- The Crew Neck: Use the spike to create contrast. Pair a tight crew-neck sweater with a shorter, 16-inch chain featuring a sharp, polished steel spike to break up the horizontal expanse of the fabric.
- The Scoop Neck: Because scoop necks expose more collarbone, utilize a wider, heavier chain (like a 2.5mm Cuban link) with a broader spike base to fill the negative space without looking lost.
- The Turtleneck: Opt for a longer chain (22 to 24 inches) with a dramatic, matte-black titanium spike that rests over the sternum, providing a striking monochromatic contrast.
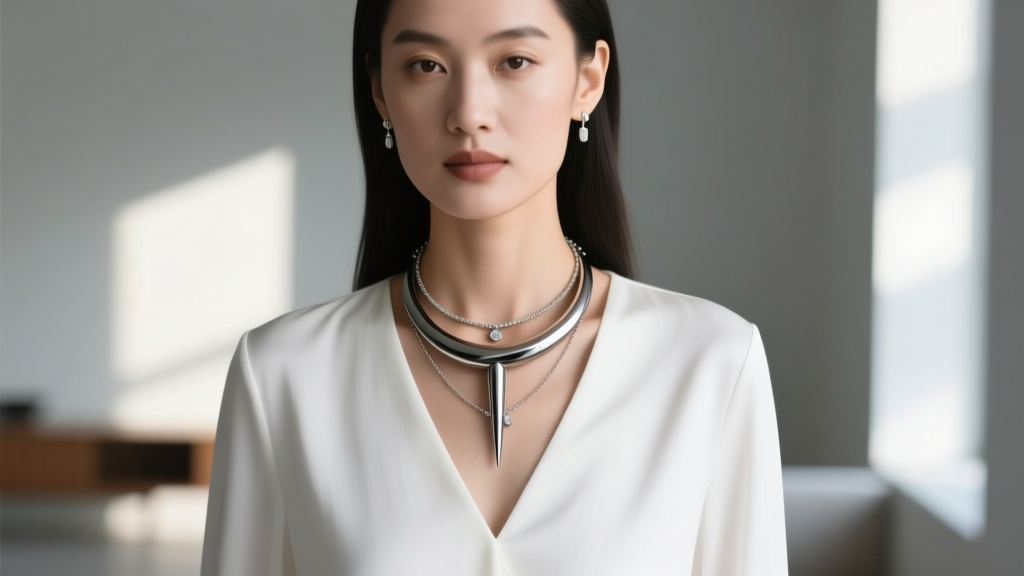
Step 3: The 3-Point Layering Method
Layering a necklace spike requires balancing its aggressive visual weight with softer, complementary chains. The 3-point method ensures your spike remains the focal point without tangling or clumping.
1. The Base Layer (The Anchor)
Start with a delicate 14-inch or 16-inch chain. A 1.2mm cable chain or a subtle 1.5mm bead chain works best. This layer should sit high on the collarbone and contain no pendants, or perhaps a microscopic 3mm bezel-set diamond or moissanite to catch the light.
2. The Focal Spike (The Centerpiece)
Your necklace spike should hang on an 18-inch chain. A 2.0mm box chain or a 2.5mm Figaro chain provides the necessary structural integrity. Ensure the clasp is a sturdy lobster clasp; spring-ring clasps will inevitably fail under the pendulum-like swinging motion of a solid metal spike.
3. The Deep Layer (The Elongator)
Finish with a 22-inch or 24-inch lariat or a 3.0mm rope chain. This bottom layer frames the spike and draws the eye down the torso, completing the architectural gradient.
Expert Styling Tip: Always use a magnetic clasp or a spacing bar if you are layering more than three chains. This prevents the heavy spike pendant from sliding around and scratching the delicate links of your base layer.
Step 4: Maintenance and Tarnish Prevention
The sharp points and deep crevices where the spike meets the bail (the loop connecting it to the chain) are prime locations for trapping skin oils, lotions, and environmental dust. Proper maintenance ensures your spike retains its razor-sharp luster.
Ultrasonic vs. Manual Cleaning
If your necklace spike is made of 316L stainless steel or Grade 23 titanium, an ultrasonic jewelry cleaner is highly effective. The high-frequency sound waves will dislodge debris from the base of the spike in mere minutes. However, if your spike is crafted from oxidized sterling silver or features any gemstone inlays, avoid ultrasonic cleaners entirely, as they can strip intentional patinas and loosen settings.
For sterling silver spikes, manual cleaning is required. The Gemological Institute of America (GIA) recommends using a dedicated silver-polishing microfiber cloth rather than liquid dips, which can be overly abrasive and degrade the silver's natural protective rhodium plating over time.
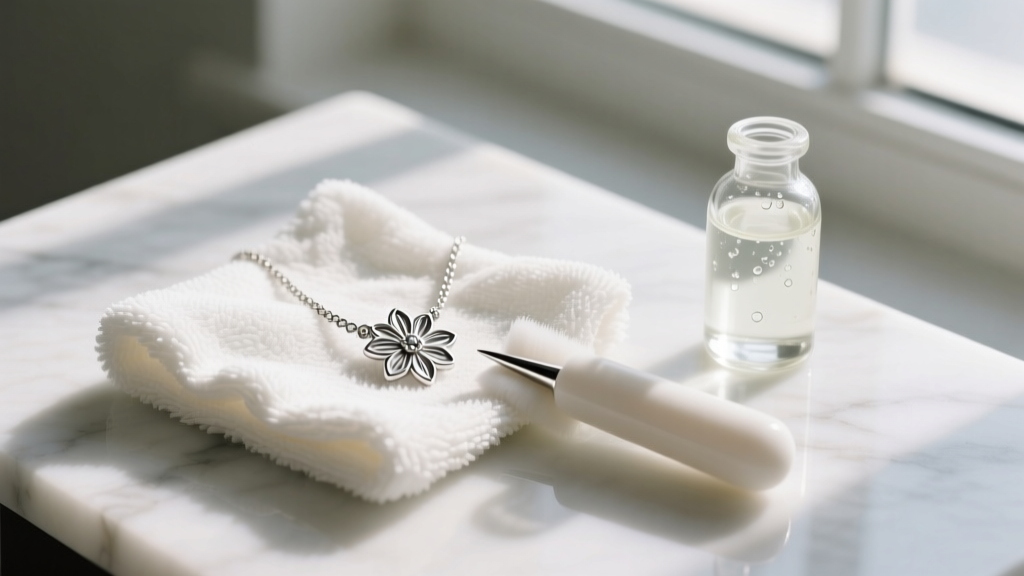
- Wipe Down: After each wear, gently wipe the spike with a dry, lint-free microfiber cloth to remove acidic skin oils.
- Deep Clean (Steel/Titanium): Mix warm water with a drop of mild, phosphate-free dish soap. Use a soft-bristled baby toothbrush to gently scrub the junction where the spike meets the jump ring.
- Dry Thoroughly: Moisture trapped in the bail can cause chain degradation. Pat dry with a towel and allow to air dry completely before storing.
- Storage: Store your spike necklace hanging up or laid perfectly flat. Tossing it into a jewelry box can cause the hardened tip of the spike to scratch softer gold or silver pieces nearby.
Final Thoughts on Spike Styling
The necklace spike is a testament to the power of contrast in personal styling. By understanding the metallurgical properties of your pendant, matching its geometry to your wardrobe, and employing structured layering techniques, you transform a simple piece of metal into a masterclass of modern accessorizing. Whether you choose the indestructible nature of titanium or the classic luxury of solid gold, treating your spike with intentionality guarantees it will remain a cornerstone of your jewelry collection for years to come.


